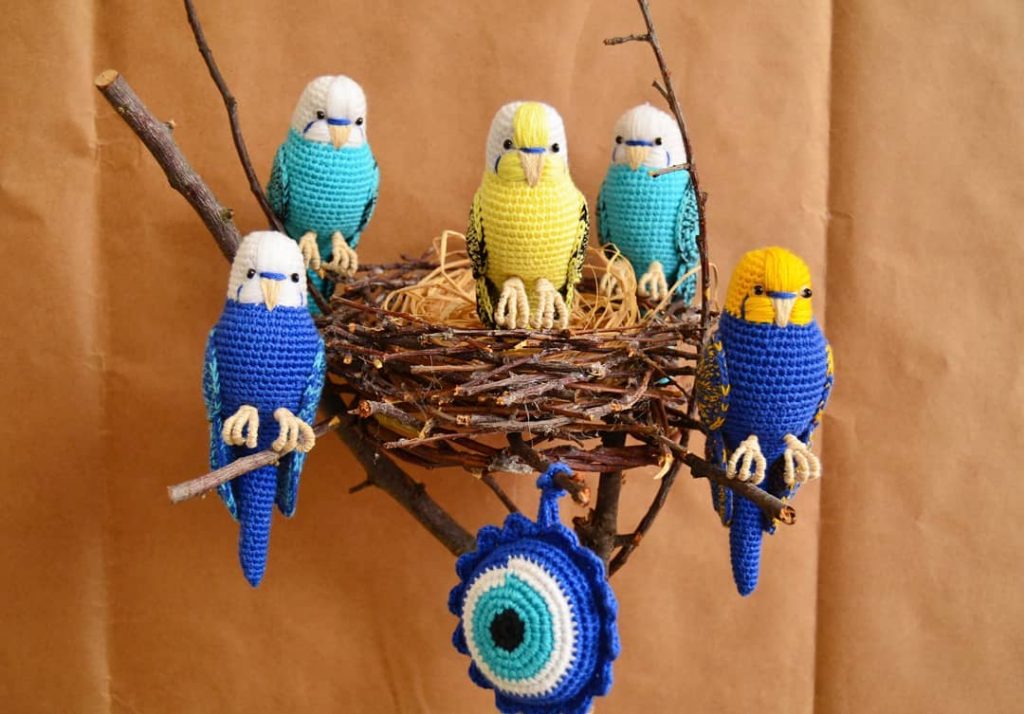
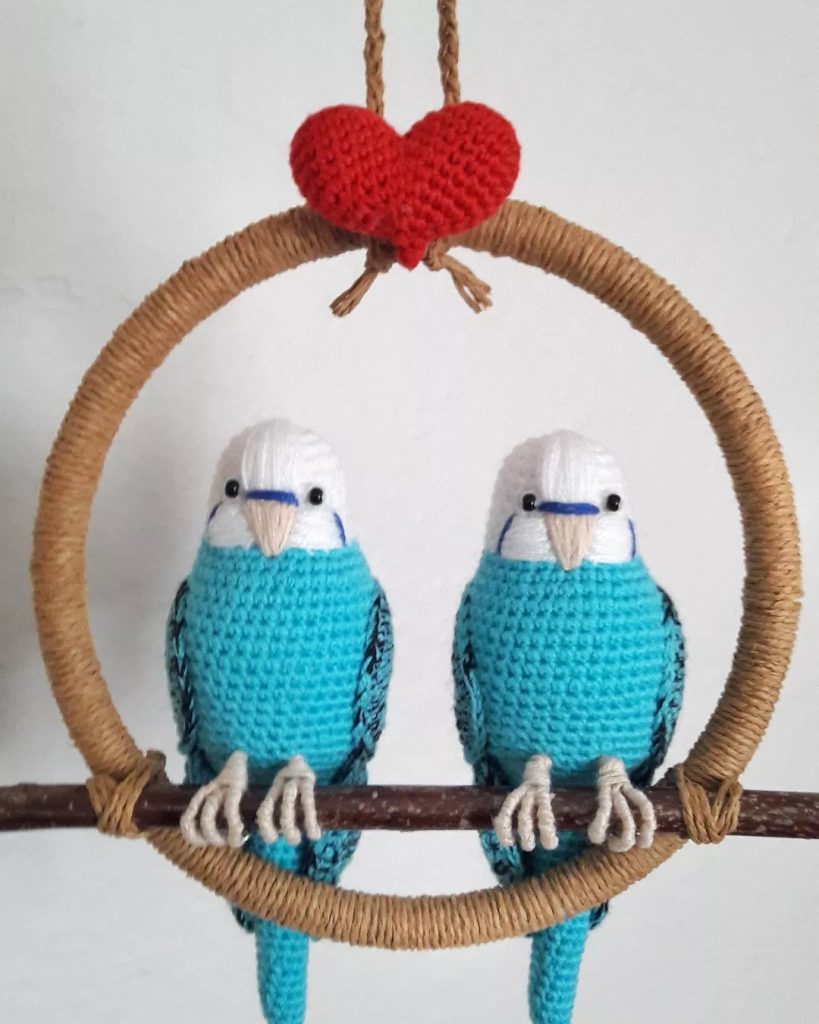
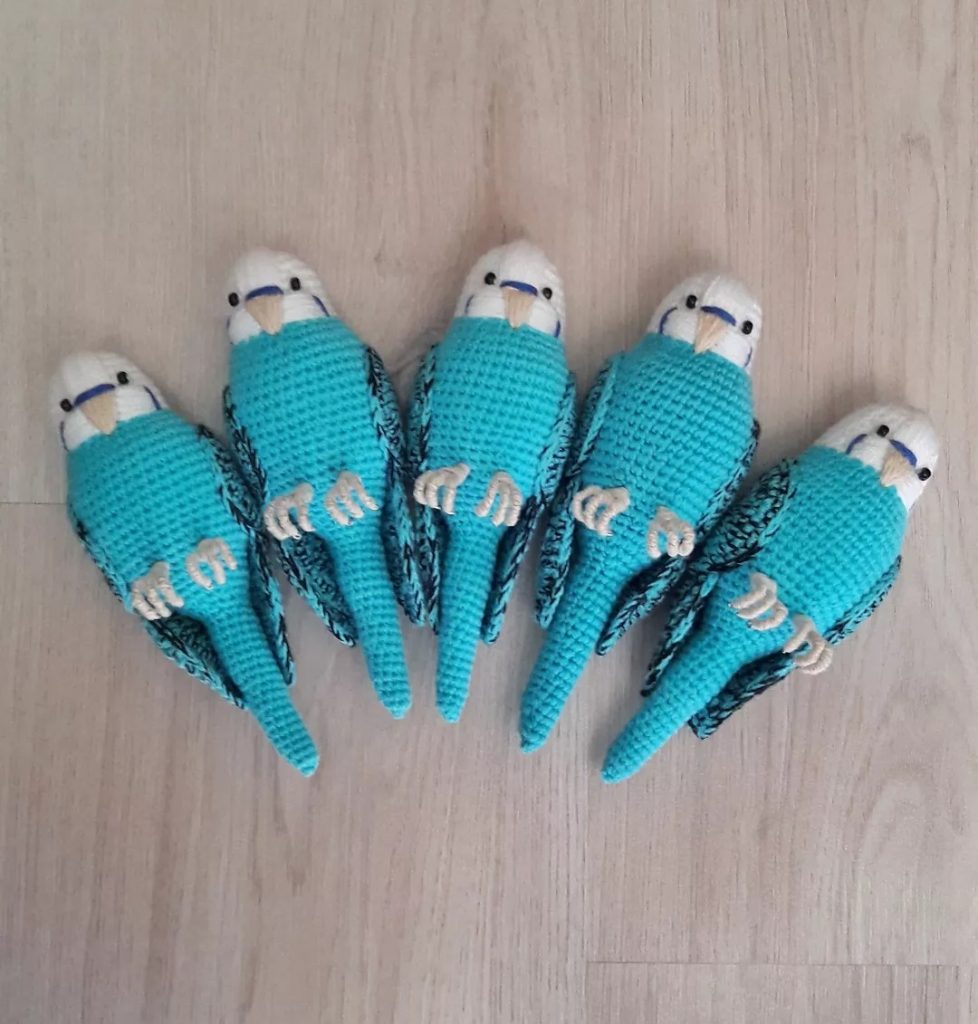
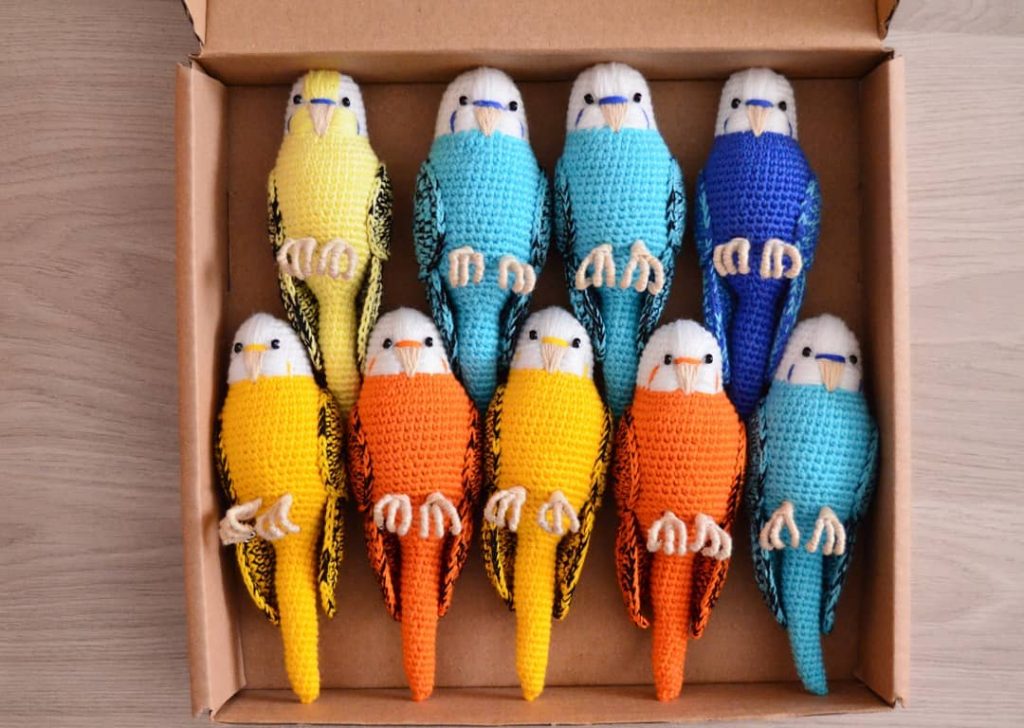
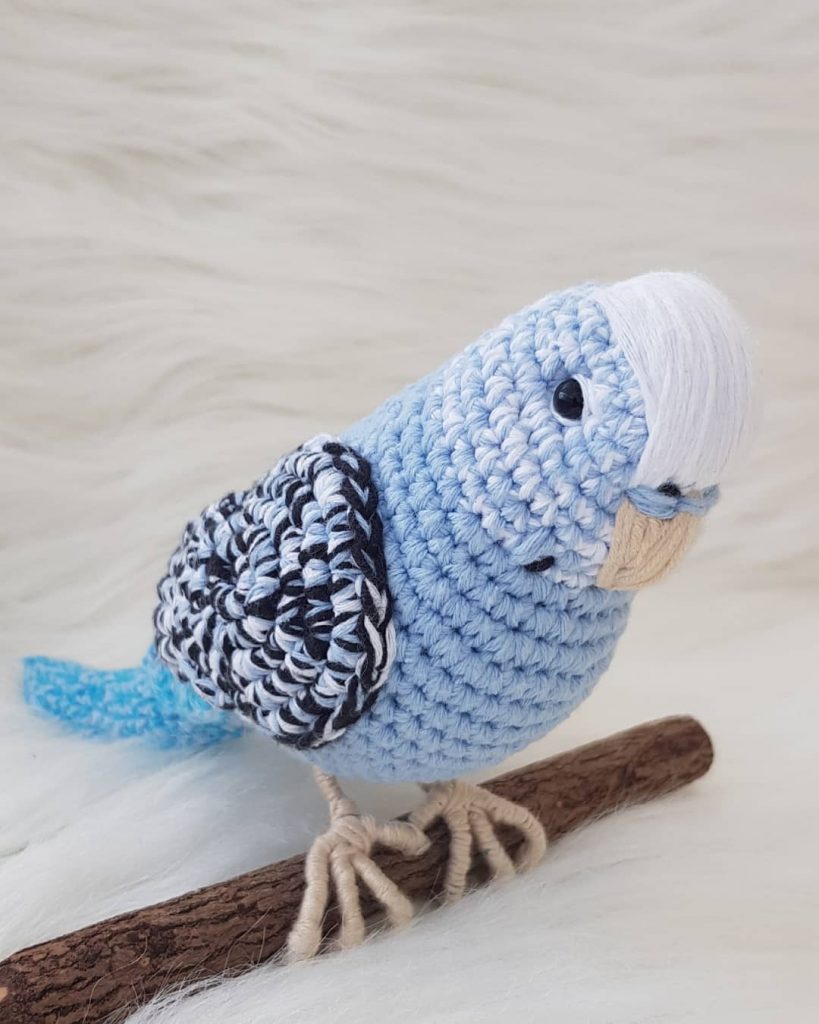
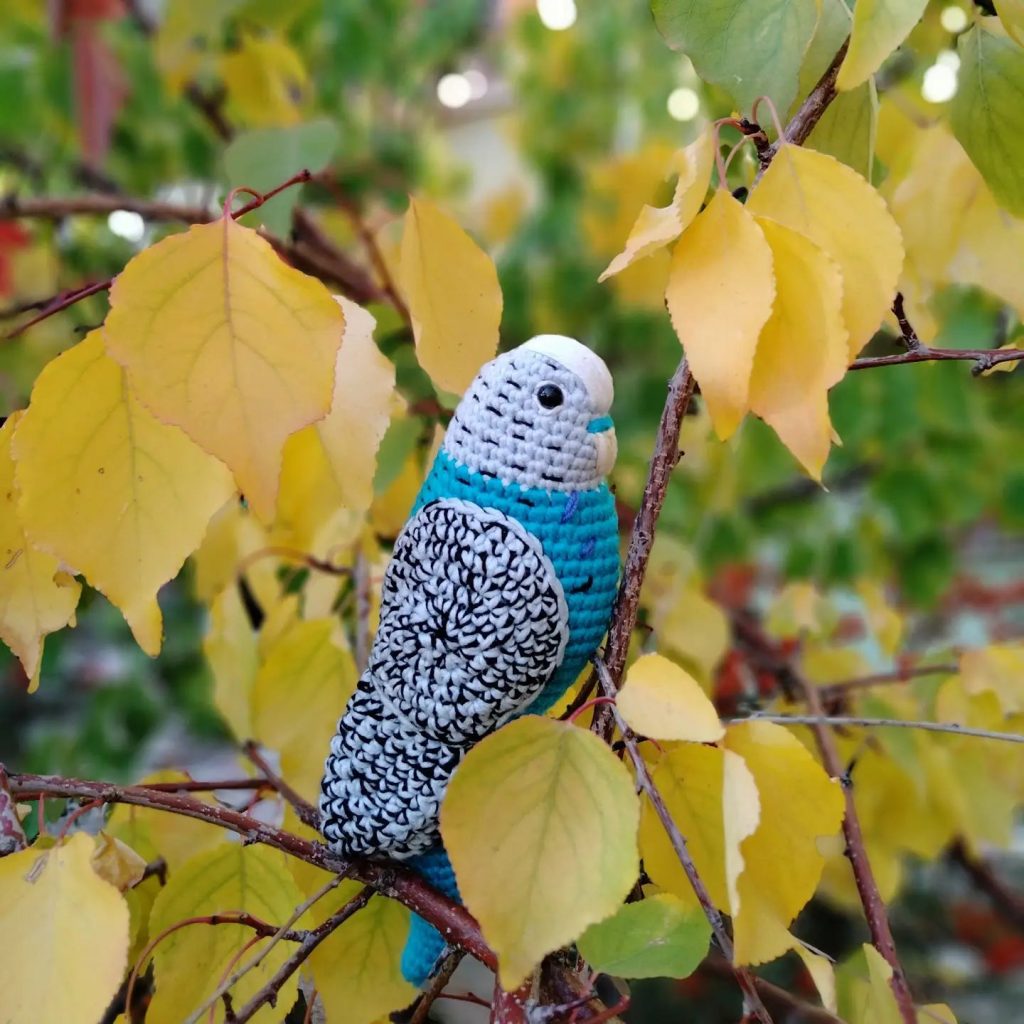
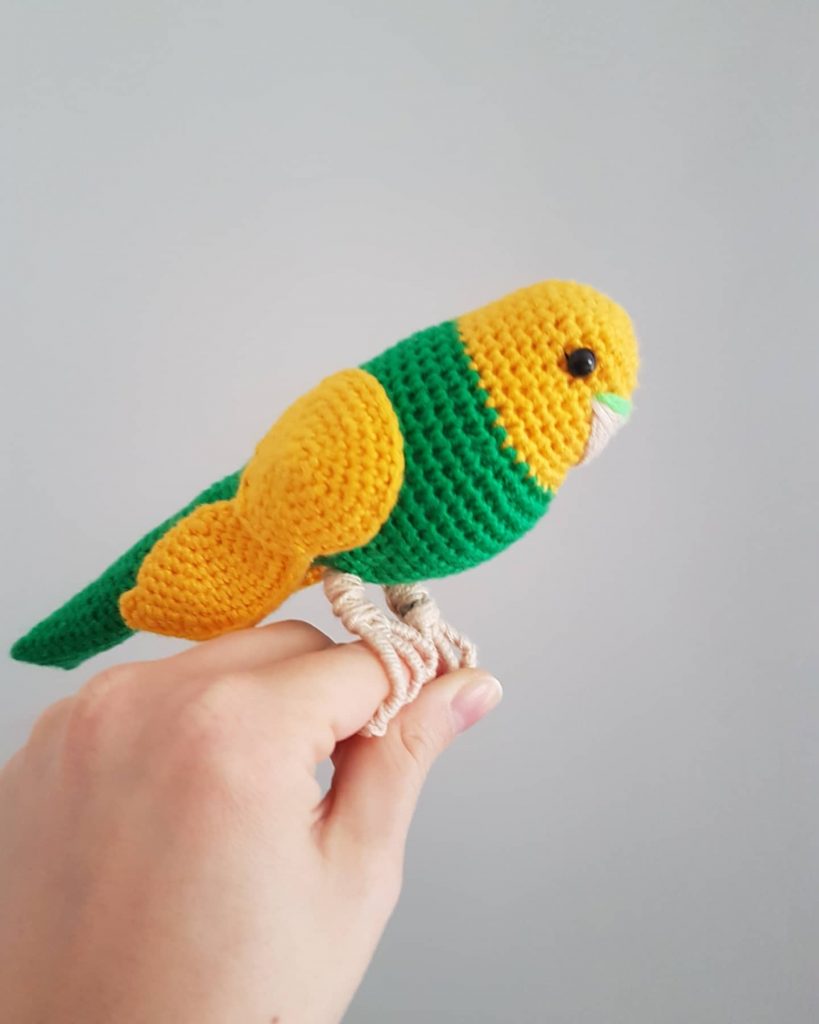
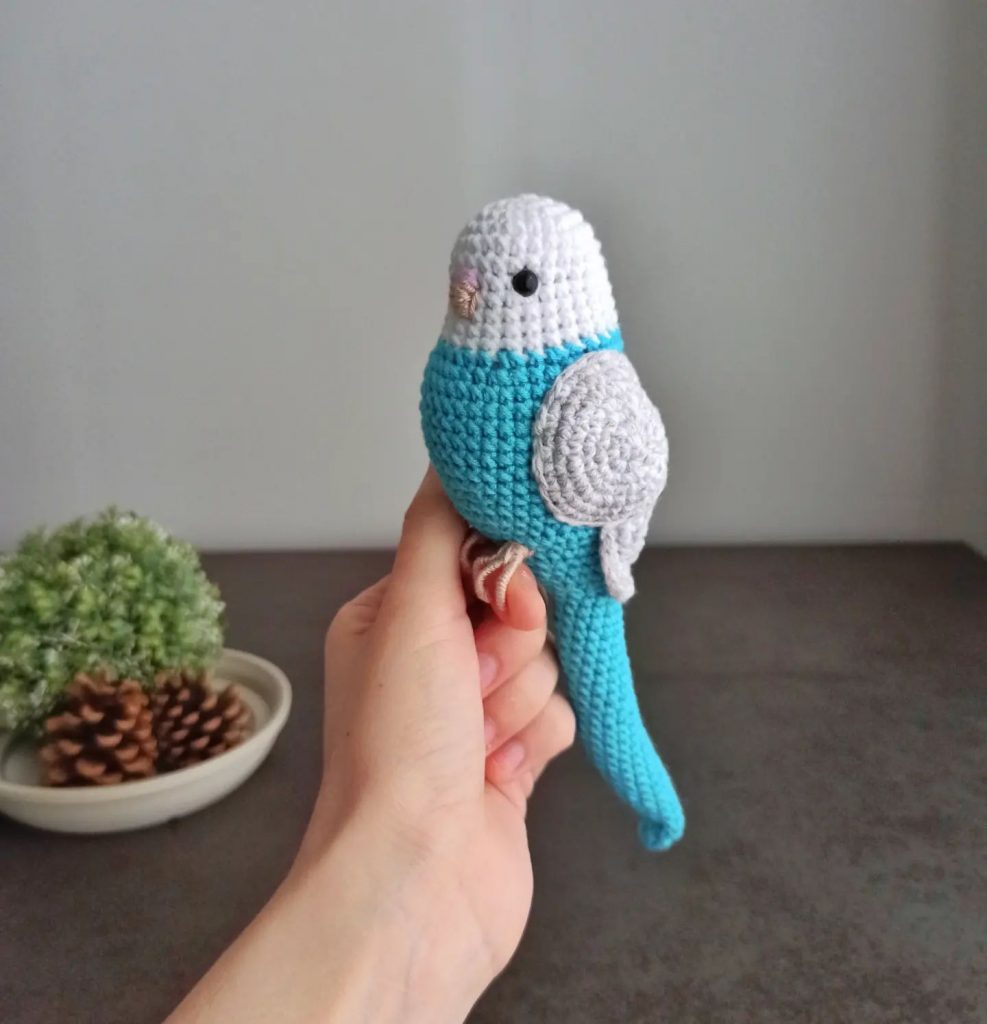
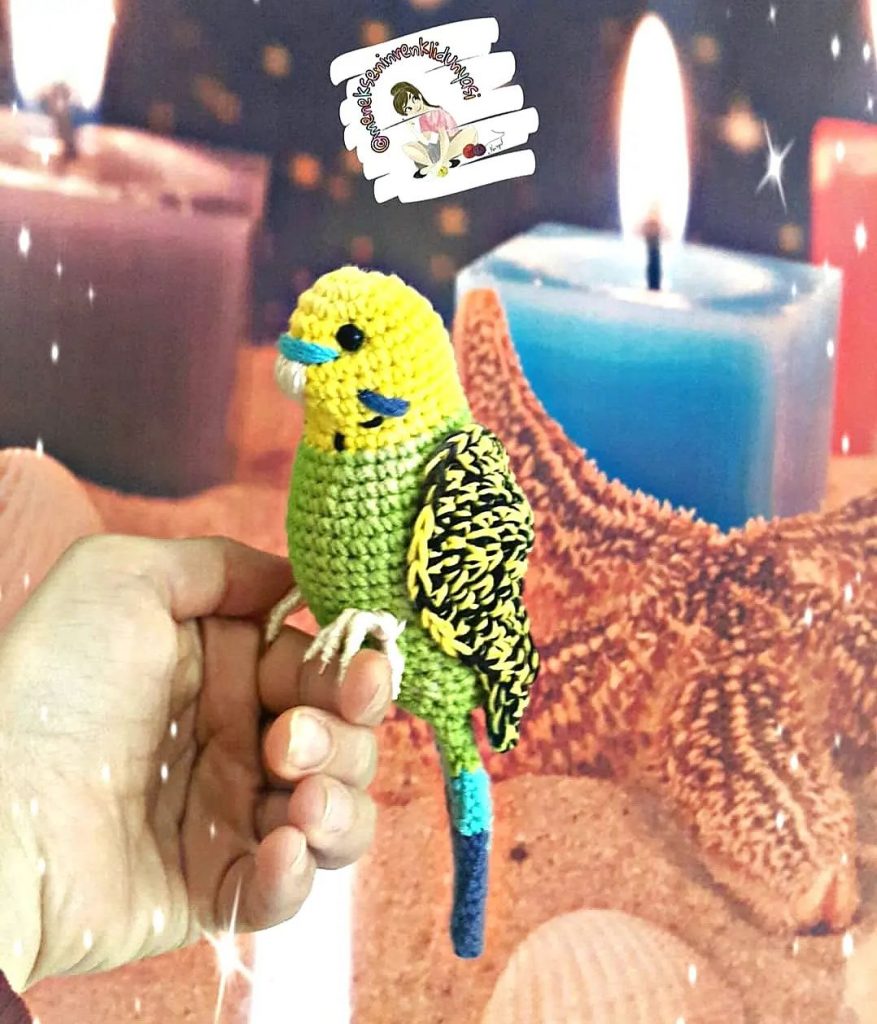
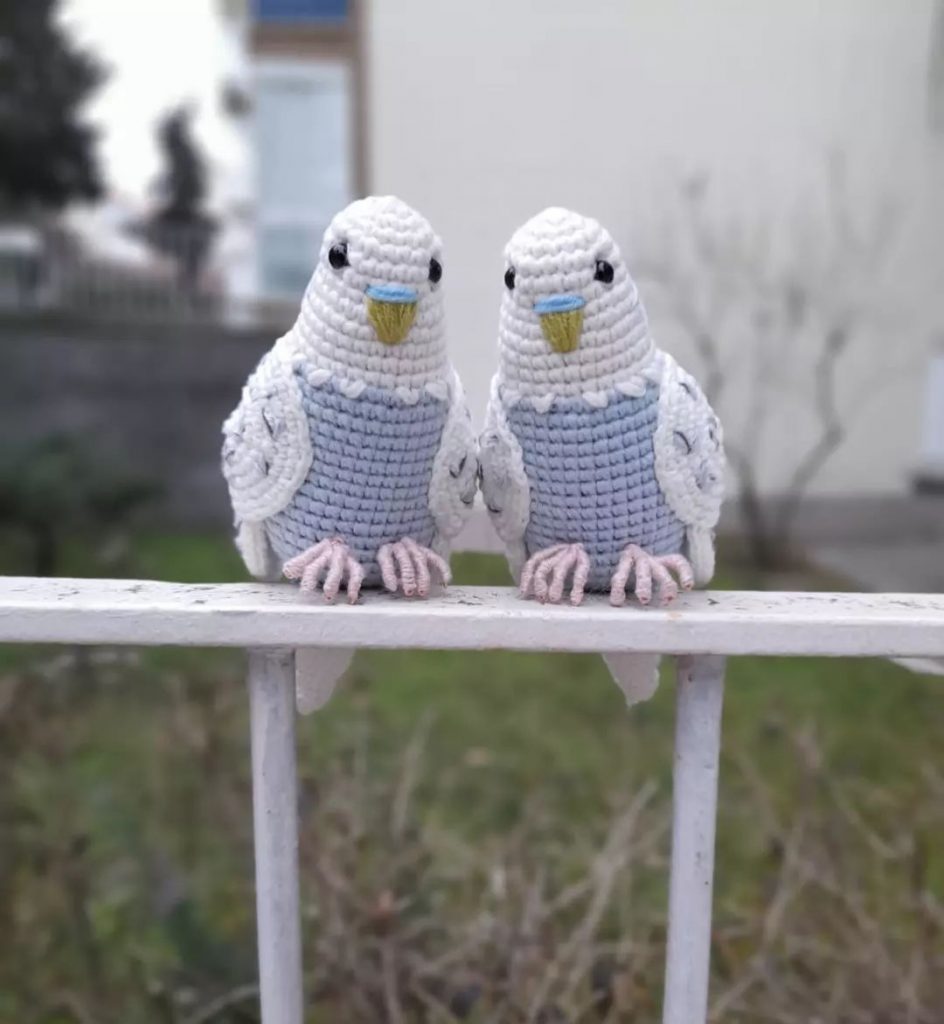
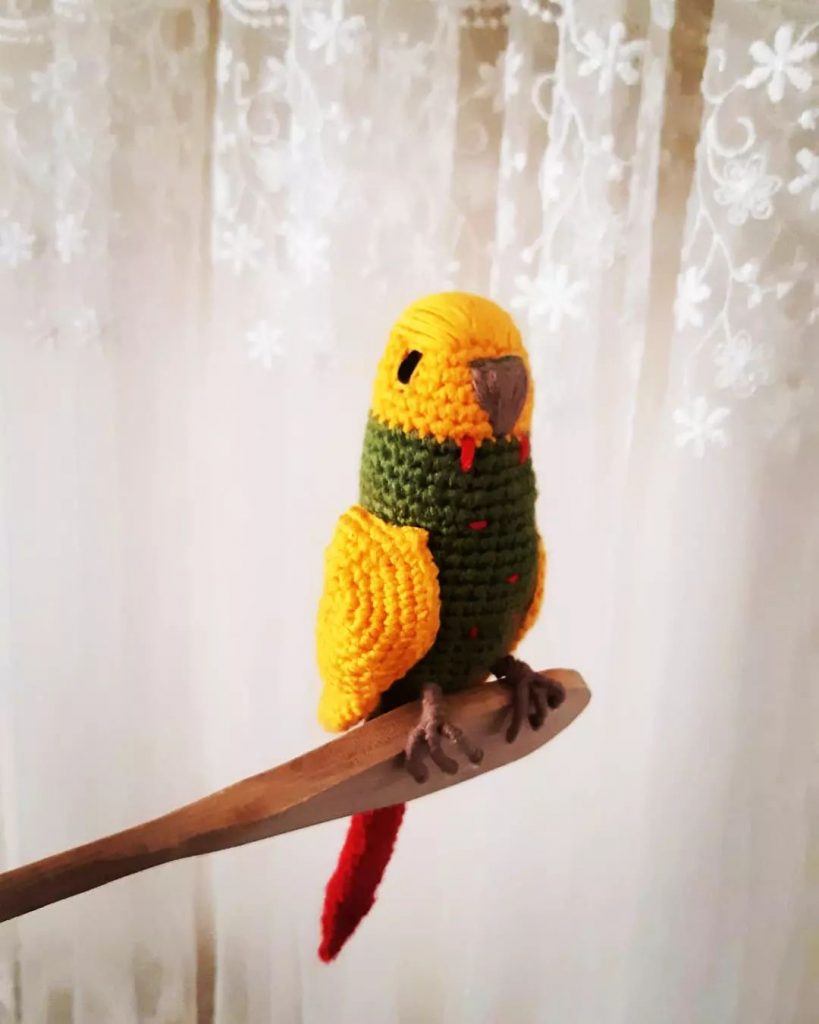
Tit Bird Amigurumi Free Pattern
Materials
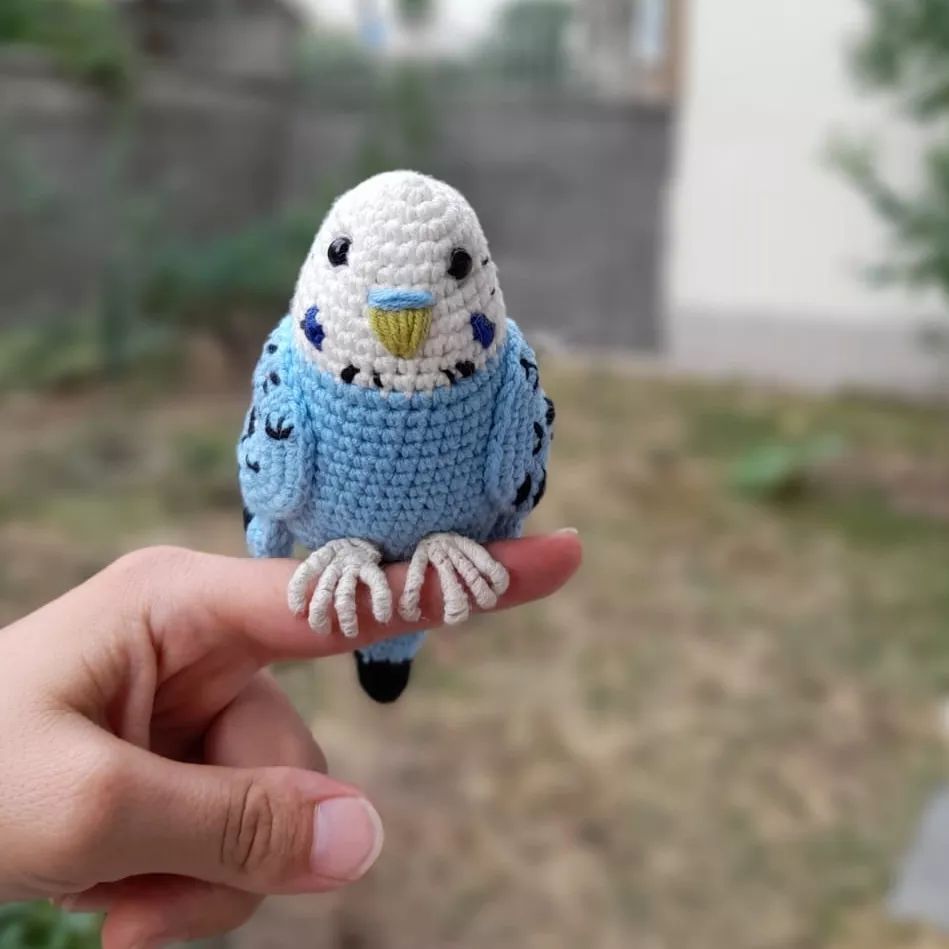
DK/light worsted weight cotton yarn in blue, white, yellow and black (I used Rico Creative Ricorumi in Denim (034), Cream (002), Black (060) and Yellow (006))
2.5mm/size B or C crochet hook
4mm (0.16″) safety eyes or black embroidery floss/yarn
Fiberfill
Yarn needle
Stitch markers
Sewing pins
30cm / 12″ long piece of 1 or 2mm thick craft wire
Small flat pliers (optional)
Scissors
Abbreviations
R = row
Rnd = rd
St(s) = stitch(es)
Ch = chain
Sl st = slip stitch
Sc = single crochet
Inc = single crochet 2 in same st
Dec = invisible decrease: Insert hook in front loops of next 2 sts, yarn over, pull through both front loops, yarn over, pull through 2 remaining loops
Sk = skip
[…] = series of stitches to be repeated
(…) = stitch count once round is completed
Crochet the beak in gray
Ch 2, leaving a long tail for sewing
Sc 1 in 2nd ch (1)
Crochet the head and body
Make a magic ring in blue
Rnd 1: Sc 6 in the magic ring (6)
Rnd 2: Inc in every stitch (12)
Rnd 3: [sc 1 in next st, inc 1 in next st] repeat 5 times, sc 1 in next st, inc 1 in next st changing to white in 2nd sc (18)
Rnd 4: [inc 1, sc 5]*2, inc 1, sc 4, sc 1 changing to black (21)
Rnd 5: Inc 1, sc 6, inc 1, sc 5, sc 1 changing to blue, inc 1, sc 5, sc 1 changing to white (24)
Rnd 6: Sc 7, sc 1 changing to black, sc 1 changing to white, sc 6, sc 1 changing to blue, sc 7, sc 1 changing to black (24)
Fasten off white yarn.
Rnd 7: Sc 15, sc 1 changing to blue, sc 7, sc1 changing to yellow (24)
Attach the beak centered between round 5 and 6. Tie the yarn ends together inside the head.
Rnd 8: [inc 1, sc 3]3, inc, sc 2, sc 1 changing to blue, [inc 1, sc 3 ]2 (30)
Rnd 9: Sc 1 changing to yellow, sc 2, dec, [sc 3, dec]2, sc 3, dec changing to blue, [sc 2, inc 1 ]3, sc 1 (29)
Rnd 10: Sc 1, inc 1 changing to yellow, sc 6, sc 1 changing to blue, sc 1 changing to yellow, sc 6, sc 1 changing to blue, sc 12 (30)
Rnd 11: Sc 2, sc 1 changing to yellow, sc 6, sc 1 changing to blue, sc 1 changing to yellow, sc 6, sc 1 changing to blue, sc 12 (30)
Rnd 12: Sc 2, sc 1 changing to yellow, sc 6, sc 1 changing to blue, sc 1 changing to yellow, sc 6, sc 1 changing to blue, sc 6, ch 5, sk 5 (30)
Fasten off blue yarn.
Rnd 13: [sc 4, dec]*6 (30) (treat the chains as you would treat regular sc stitches)
Rnd 14: [sc 3, dec]*6 (24)
Rnd 15: [sc 2, dec]*6 (18)
Fill the head and body with fiberfill and keep filling after each following round.
Rnd 16: [sc 1, dec]*6 (12)
Rnd 17: Dec 6 times (6)
Fasten off and close the round.
Crochet the tail
Join blue yarn at the left side of the opening between round 12 and 13.
Rnd 1: Sc 5, sc 1 in side between rnd 12 and 13 changing to yellow, sc 3, sc 1 in side where you joined yarn changing to blue (10)
Rnd 2: Sc 5, sc 1 changing to yellow , sc 3, sc 1 changing to blue (10)
Rnd 3: Sc 2, dec, sc 1, sc 1 changing to yellow, sc 3, sc 1 changing to blue (9)
Rnd 4 to 8 (5 rnds): Sc 9 (9)
Rnd 9: [sc 1, dec]*3 (6)
Fasten off and close the round.
Crochet the wings in blue (make 2)
Leaving an approx. 30cm/12″ long tail, ch 2
R 1: Inc 1 (2)
R 2: ch 1, turn, inc 2 (4)
R 3: ch 1, turn, sc 4 (4)
R 4: Ch 1 in white, turn, sc 4 (4)
R 5: Ch 1 in blue, turn, sc 4 (4)
R 6 and 7 (2 rs): Ch 1, turn, sc 4 (4)
R 8: ch 1, turn, sc 1, sk 1, sc 2 (3)
R 9: ch 1, turn, sk 1, sc 2 (2)
R 10: ch 1, turn, sc 2 (2)
R 11: ch 1, turn, sk 1, sc 1 (1)
R 12: ch 1, turn, sc 1 (1)
Sc all around the wing from where you are:
Sc 12 up towards the top of the wing,
sc 2 in the ch on top of the wing,
sc 12 back down towards the tip of the wing.
Fasten off with an invisible finish, leaving a long tail for sewing. Weave in the working end and white yarn ends.
Sew the wings on the body.
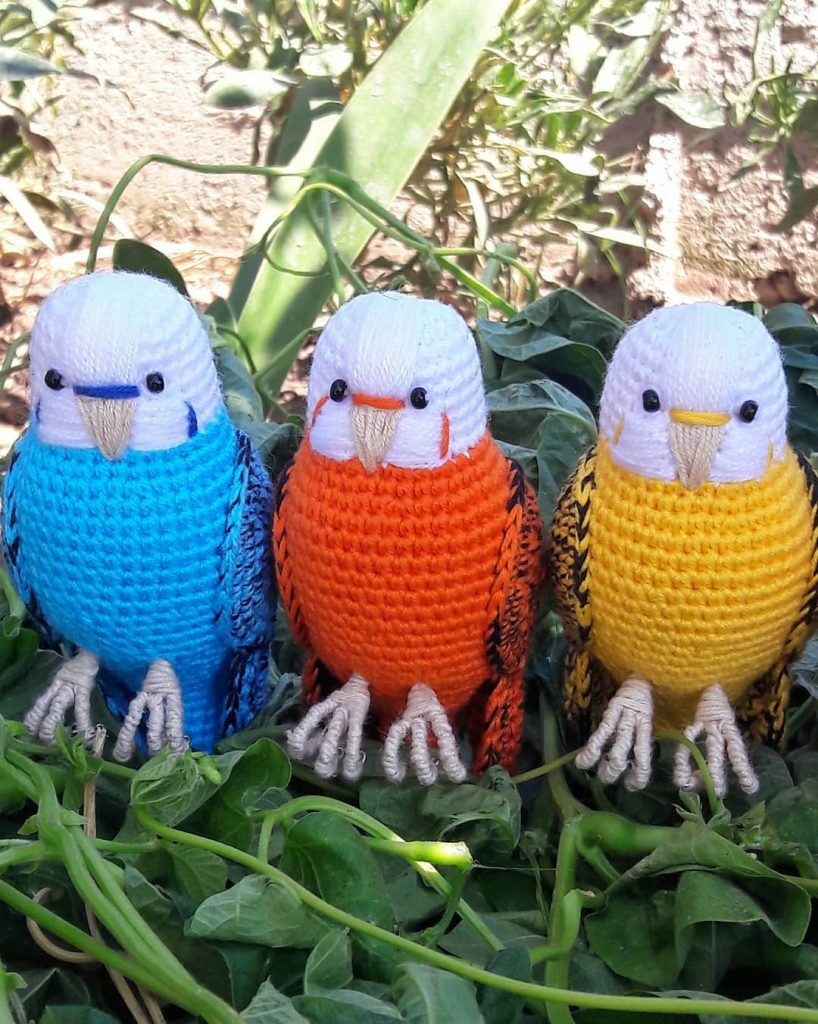
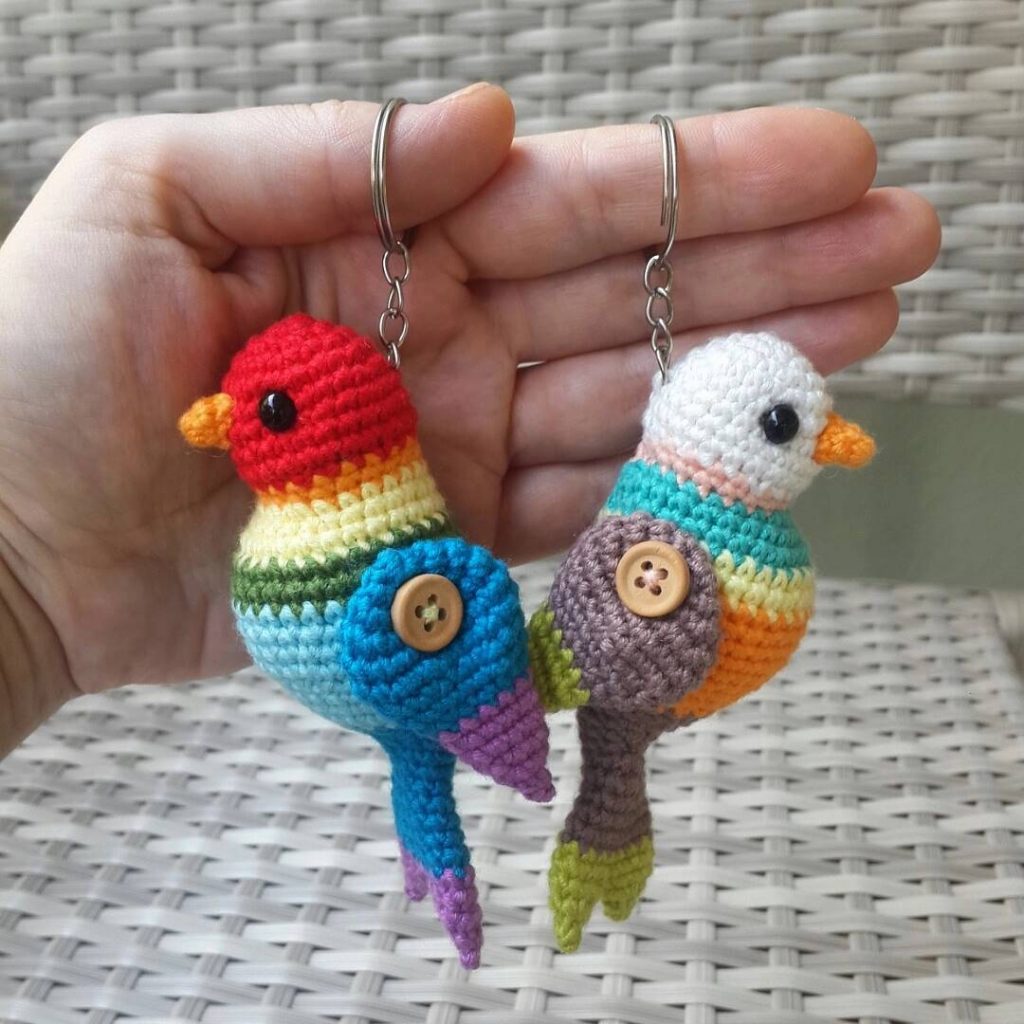
More Amigurumi Bird İdeas