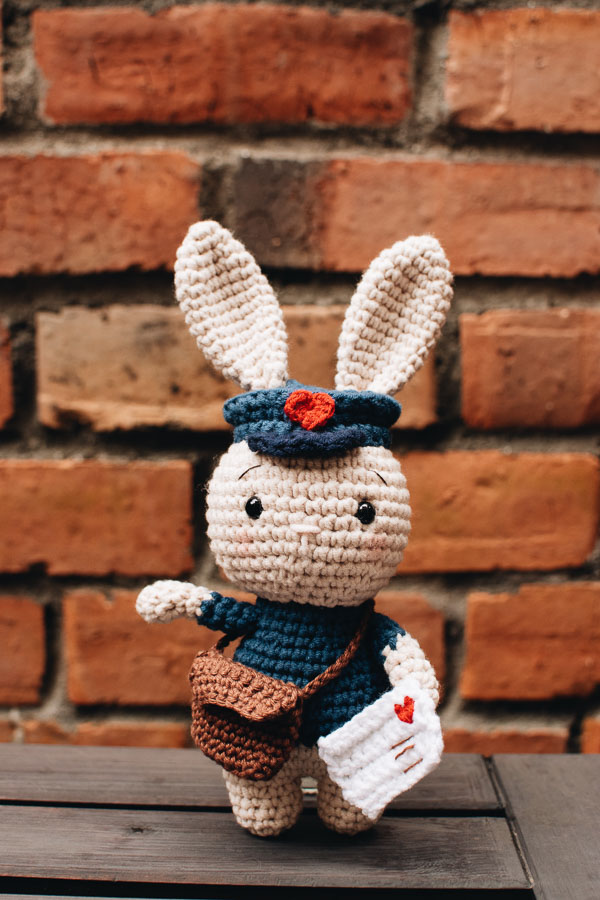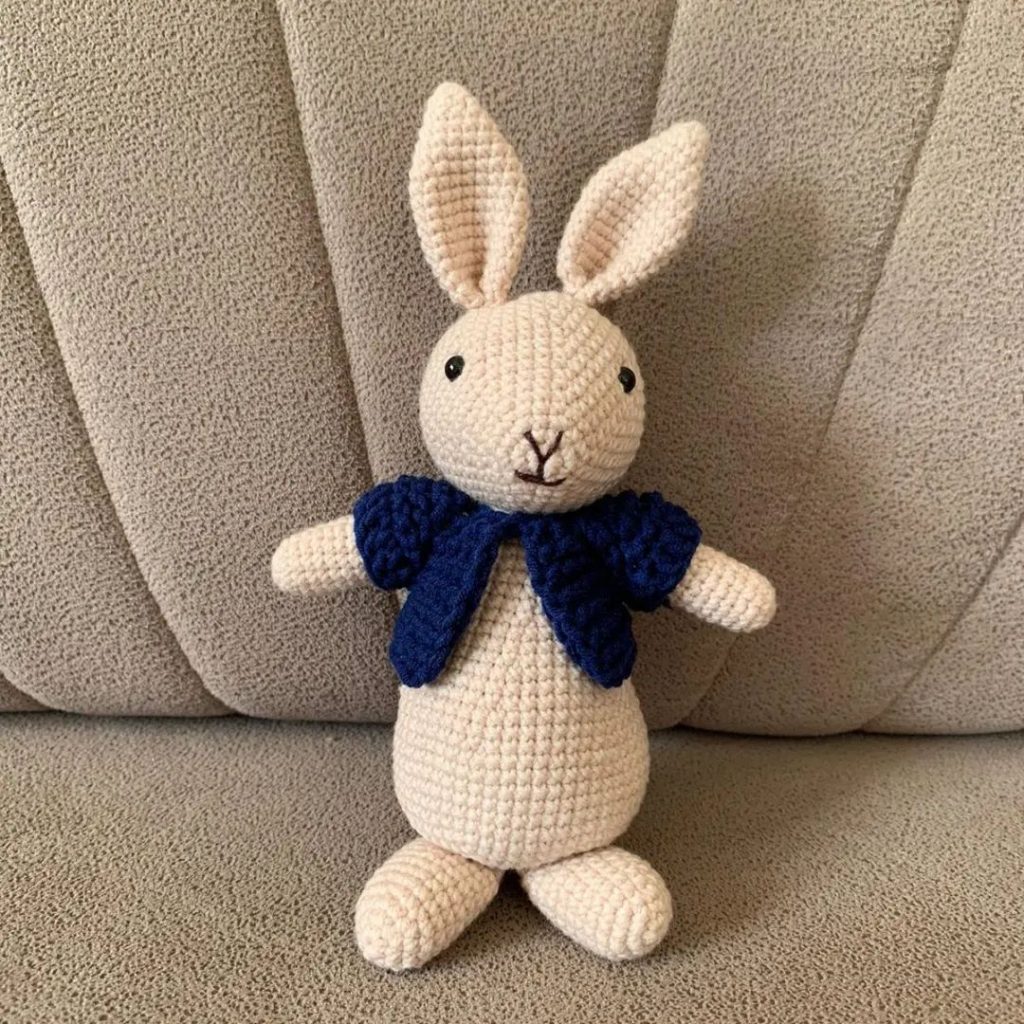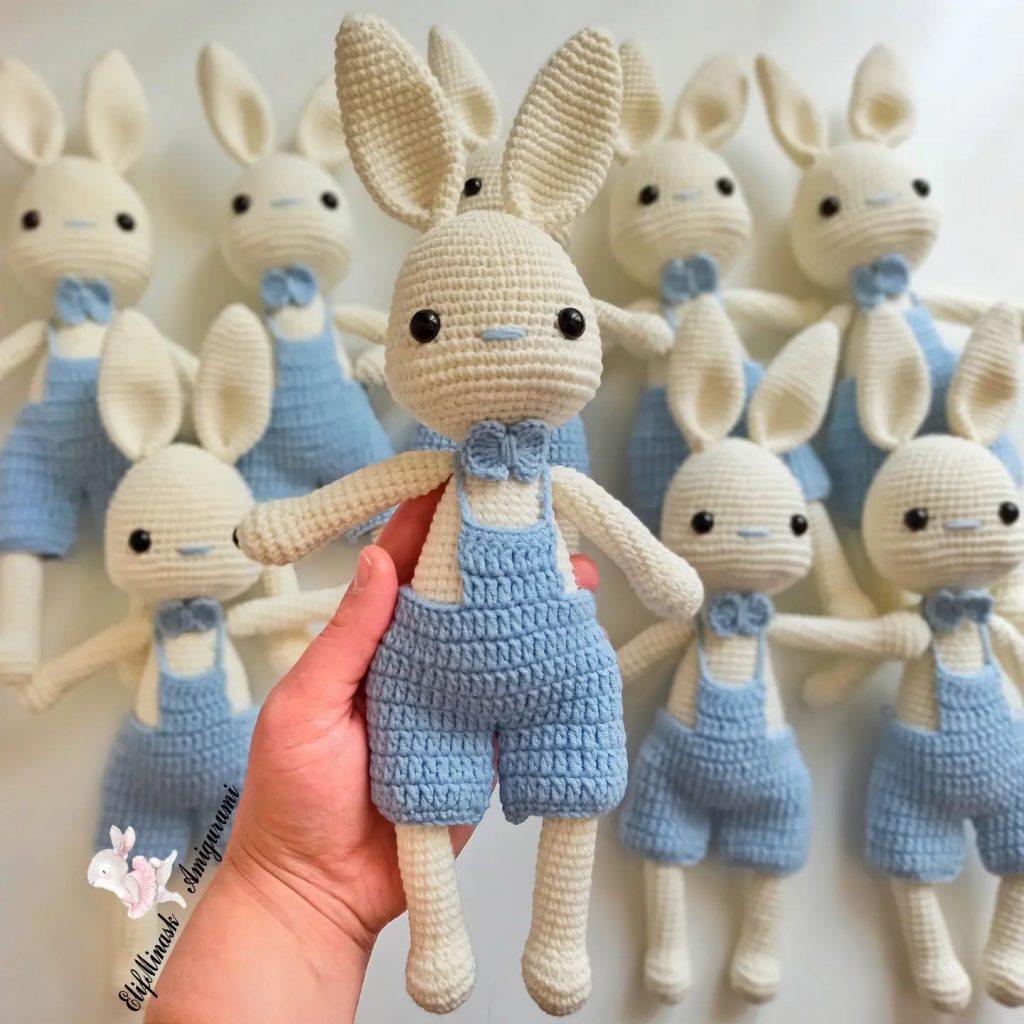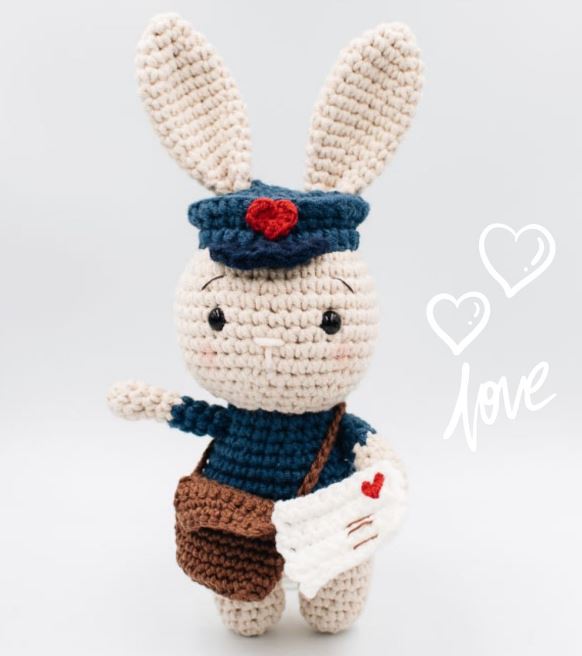
Postman Bunny Amigurumi Free Pattern
Materials
3.5mm / US E-4 crochet hook
2.5mm crochet hook (for the bag and heart applique)
Yarn:
– #3 / DK / light worsted yarn, 8ply, 80% cotton 20% Milk Fiber, in light beige, dark blue, marine blue, white, plus a small piece of light peach or light pink for the nose
(I use a local shop yarn, that I find quite thick for a #3, an equivalent would be Paintbox Cotton Aran but keep the 3.5mm hook to obtain tight stitches and avoid gaps where the fiberfill shows)
– DMC Happy cotton shade 777 for the bag
– DMC Cotton Perle N°8 shade 938 to embroider the eyebrows
– Any 1meter piece of red yarn that fits a 2.5mm hook (or you can use the same DK yarn as the one for the body, and work with only 2 or 3 plies).
Tapestry needle
Fiberfill
Stitch marker or a strand of thinner yarn
A pair of 8mm safety eyes
Ball point pins for assembly
Embroidery needle
Abbrevitions
st: stitch/es
sc: single crochet
dc: double crochet
hdc: half double crochet
sl st: slip stitch
inc: single crochet increase (work 2 sc into the same st)
dec: single crochet decrease (single crochet two stitches together).
[number]: total number of stitches of the round
Rnd: round
(…) x 2: repeat whatever is in between the parenthesis the number of times indicated
in BLO: in the back loop only
in FLO: in the front loop only
THE LEGS AND BODY
With light beige yarn.
Rnd 1: Work 5sc into a magic ring. [5]
Rnd 2: inc in each st around. [10]
Rnd 3 – 5: sc around. [10]
Rnd 6: (2s, inc) x 3, sc in last st. [13]
Fasten off, leave a tail to close the gap between the legs later. This one is leg 1.
Make a second leg, and don’t fasten off after round 6. This one is leg 2.
Rnd 7: now let’s join the two legs together. In leg 2, 7sc, continue in first stitch of leg 1, sc in all 13 stitches of leg 1. Continue in leg 2, 7sc (work the first sc in the stitch that already has a sc, not in the first available stitch). [27]
Rnd 8: sc around. [27]
Rnd 9: (3sc, inc) x 6, 2sc, inc. [34]
Use the tail of leg 1 to sew closed the small gap between the two legs.
Rnd 10: sc around. [34]
Change colour with marine blue
Rnd 11: sl st (tight), chain 1 (make it loose), sc around. [34] (the sl st doesn’t count as a st).
Rnd 12: make your first sc in the chain, then keep sc around. [34]
Tighten up the sl st by pulling on the blue yarn tail. Stuff the legs with fiberfill.
Rnd 13: sc around. [34]
Rnd 14: (3sc, dec) x 6, 2sc, dec. [27]
Rnd 15 – 17: sc in each st around [27]
Start filling the body with fiberfill, not too much so that it doesn’t get in your way.
Rnd 18: (2sc, dec) x 6, 3sc. [21]
Rnd 19 – 20: sc around. [21]
Fasten off and leave a long tail to sew to the head later. Finish stuffing firmly with fiberfill.
THE HEAD
With light beige yarn.
Rnd 1: Work 6sc into a magic ring. [6]
Rnd 2: inc in each st around. [12]
Rnd 3: (sc, inc) x 6. [18]
Rnd 4: (2sc, inc) x 6. [24]
Rnd 5: (3sc, inc) x 6. [30]
Rnd 6: sc in each st around. [30]
Rnd 7: (4sc, inc) x 6. [36]
Rnd 8: sc in each st around. [36]
Rnd 9: (5sc, inc) x 6. [42]
Rnd 10-14: sc in each st around [42]
Insert safety eyes between round 11 and 12, with 7 stitches between the 2 eyes.
Rnd 15: (5sc, dec) x 6. [36]
Rnd 16: (4sc, dec) x 6. [30]
Rnd 17: (3sc, dec) x 6. [24]
Rnd 18: (2sc, dec) x 6. [18]
Stuff firmly with fiberfill.
Rnd 19: (sc, dec) x 6. [12]
Rnd 20: 6dec. [6]
Fasten off and sew closed.
THE EARS (make 2)
With light beige yarn.
Rnd 1: Work 6sc into a magic ring. [6]
Rnd 2: (sc, inc) x 3. [9]
Rnd 3: (2sc, inc) x 3. [12]
Rnd 4: (3sc, inc) x 3. [15]
Rnd 5 – 10: sc in each st around. [15]
Rnd 11: (3sc, dec) x 3. [12]
Rnd 12: sc in each st around. [12]
Rnd 13: (2sc, dec) x 3. [9]
Rnd 14 – 15: sc around. [9]
Don’t stuff. Flatten and single crochet both sides together to close (you should be able to make 4sc).
Fasten off and leave a long tail for sewing.
Pinch the edges and sew together to create the curved shape and secure it before assembly.
THE ARMS (make 2)
Start with light beige yarn.
Rnd 1: Work 5sc into a magic ring. [5]
Rnd 2: sc, inc, 2sc, inc. [7]
Rnd 3: sc, dec, 4sc. [6]
Rnd 4 – 5: sc around. [6]
Change colour to marine blue
Rnd 6: sl st, chain 1 (loose), 5sc. [6] (the sl st doesn’t count as a st, the chain does)
Rnd 7: work your first sc in the chain, then keep sc around. [6] Tighten up the sl st to get a neat colour change.
Fasten off and leave a long tail for sewing. Make a second one. Don’t stuff.
THE MAILMAN HAT
With marine blue yarn.
Rnd 1: Work 6sc into a magic ring. [6]
Rnd 2: inc in each st around. [12]
Rnd 3: inc, sc, chain 4 (make them loose), skip 2 st, inc in next, 2sc, inc, chain 4 (same, loose), skip 2 st, inc, sc. [20]
Rnd 4: 2inc, 6sc, 4inc, 6sc, 2inc [28]
Rnd 5: sc around. [28]
Rnd 6: (3sc, inc) x 7. [35]
Rnd 7: in BLO, 3dec (normal decrease for all this round), (sc, dec) x 3, 5sc, (dec, sc) x 3, 3dec. [23]
Rnd 8: 11sc, inc, 11sc . [24]
Rnd 9: in FLO, hdc around. [24]
Fasten off and leave a long tail for sewing.
THE CAP PEAK
With the dark blue yarn, make a slip knot, and insert your hook in the FLO of the 9th st of round 9.
Rnd 1: (in FLO) sc, 2hdc in next st, (3dc in next st) x 2, 2hdc in next st, sc. [12]
Fasten off and weave in ends.
THE HEART
With the red yarn and 2.5mm hook. Chain 3. In the 3rd chain from the hook, make in the same st: 2dc, 2hdc, 1dc, 2hdc, 2dc, ch2, sl st. Pull the yarn tail tight, fasten off and weave in end at the back.
THE MAILMAN BAG
Use DMC happy cotton and 2.5mm hook.
The beginning of the bag is worked around the chain.
Rnd 1: Chain 10. Work 2sc in 2nd chain from the hook, sc in the next 7 st, work 4sc in the last chain, turn to crochet on the other side of the chain, sc in the next 7 st, inc in last. [22]
Rnd 2: in BLO, sc around. [22]
Rnd 3 – 7 : sc around (normal sc in both loops) [22]
To make the bag flap:
Rnd 8: chain 1, turn, 10sc. [10]
Rnd 9 – 12: chain 1, turn, 10sc. [10]
Fasten off and weave in ends.
To make the bag strap:
Make a slip knot, leaving a tail for sewing. Chain 30, fasten off, and sew to the back of the bag, just below the bag flap.
PS*: This accessory doesn’t need to be attached to the body for assembly, you can just slip it on after assembly, from the feet.
PS**: before fastening off, adjust the number of chains to obtain the length you like.
THE LOVE MAIL
With white yarn and 3,5mm hook. This accessory is worked in rows.
Row 1: Chain 10. Starting in 2nd chain from the hook, sc in next 9 st. [9]
Row 2 – 6: chain 1, turn, 9sc. [9]
Fasten off, leave a long tail for sewing, weave in the other yarn end.
With red embroidery floss, (or with red yarn, splitting the plies and using only one ply with an embroidery needle) embroider the heart.
I used a ply of the brown yarn from the bag to embroider the address lines. (You can also use black or brown embroidery floss).
ASSEMBLY
1) Sew the head to the body.
2) Sew the ears to the head on round 2 and 3 of the top of the head.
3) Slip the mailman hat down the ears, and use ball point pins to pull a bit the last row of the hat and secure its position in a nice round shape.
4) Sew the arms one row below the top of the body.
5) Attach the heart on the hat.
6) Make the nose and eyebrows. You can also add a bit of pink blush on his cheeks.
7) Attach the mail to the hand.
8) Slip the bag on from the feet.
More Amigurumi Bunny İdeas