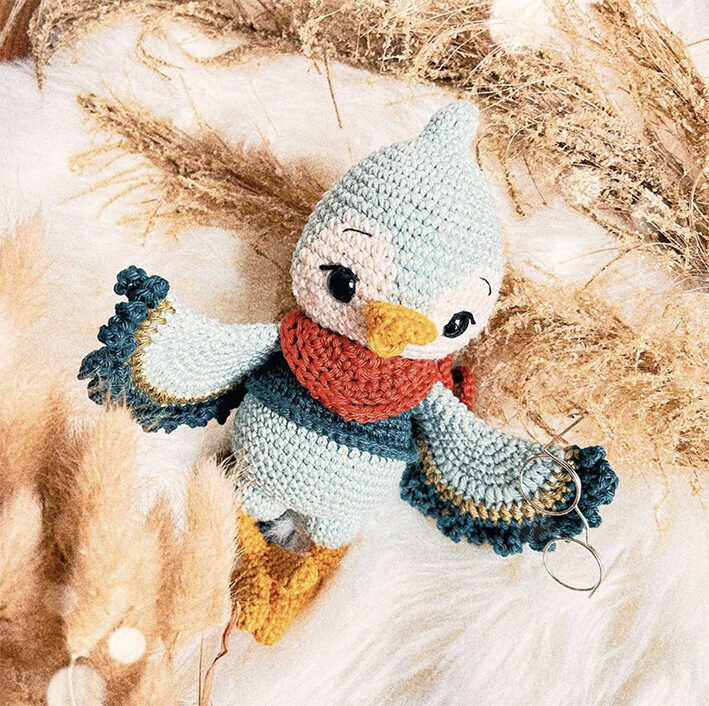
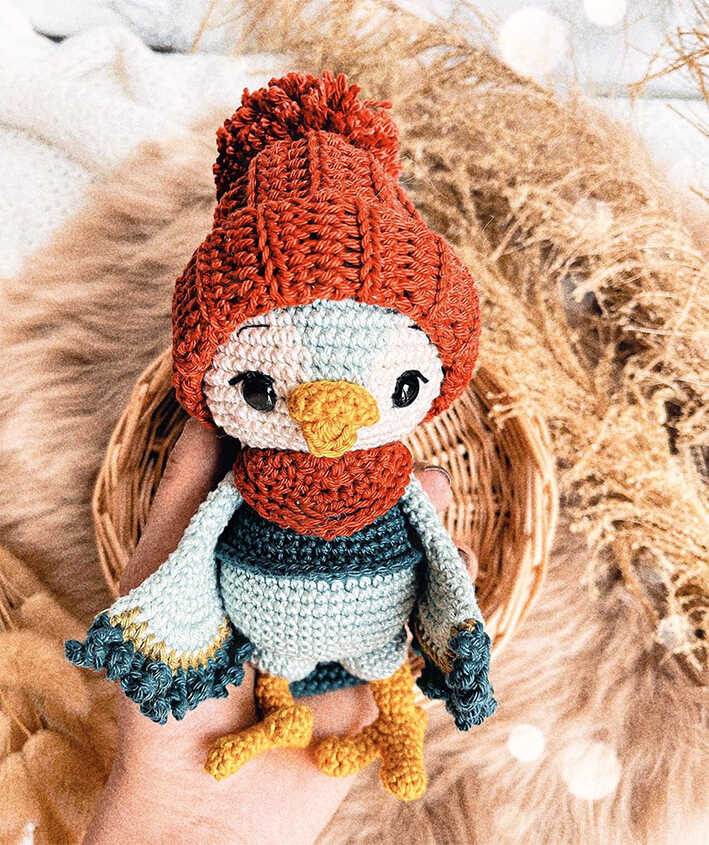
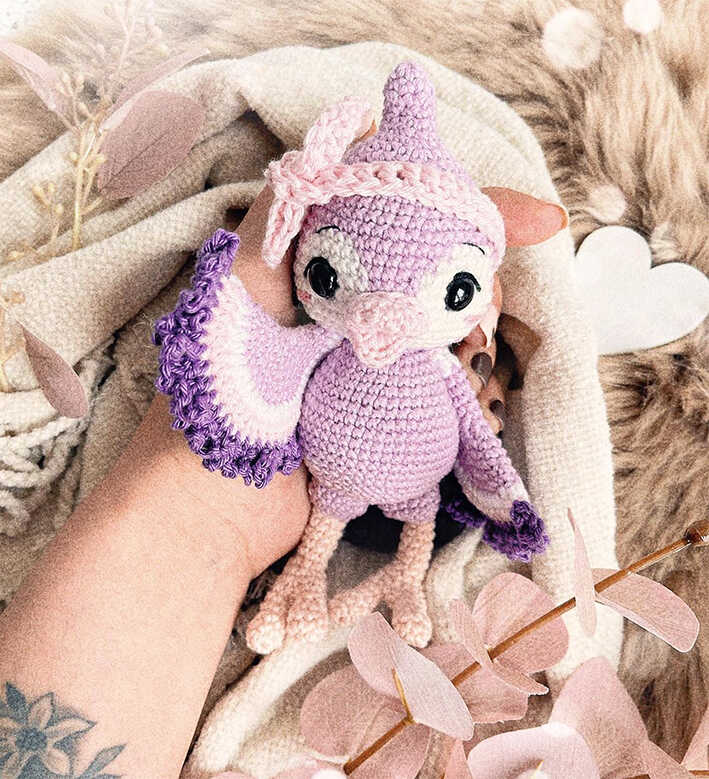
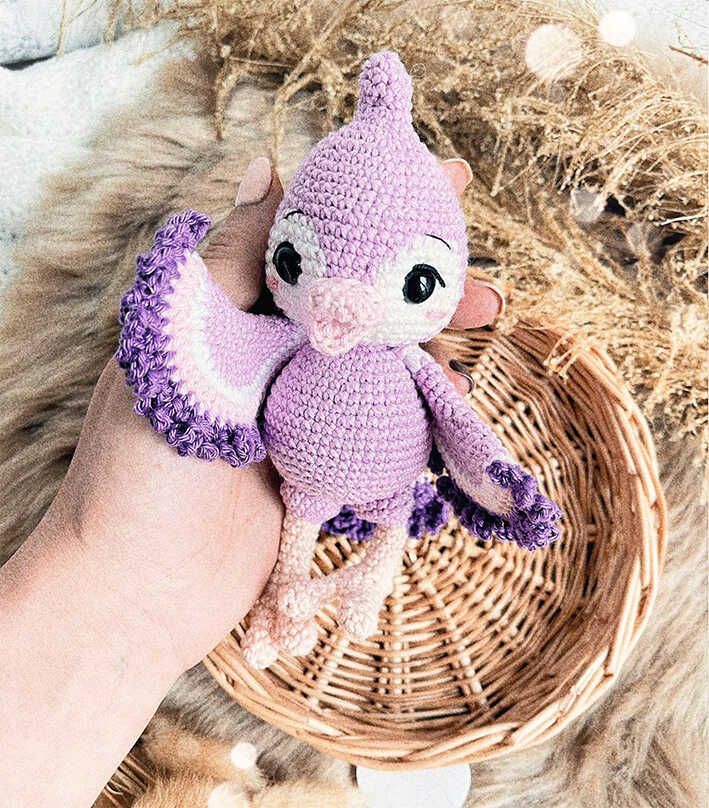
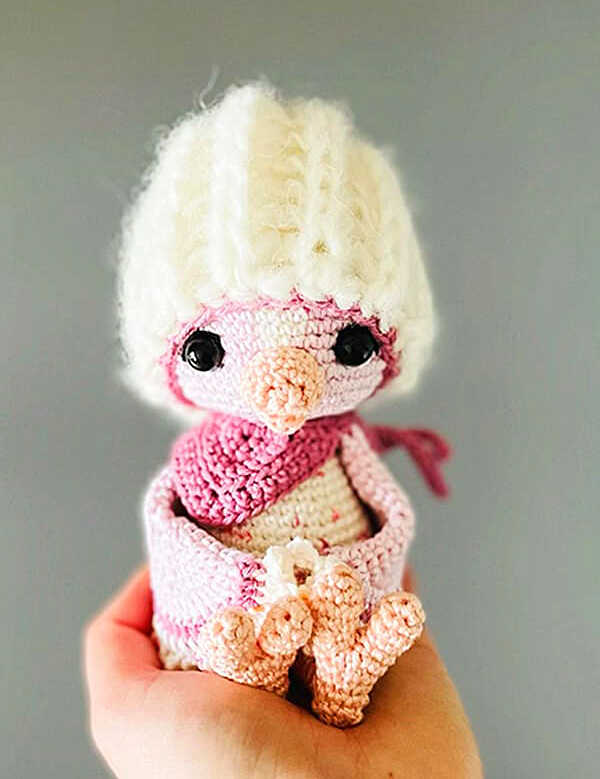
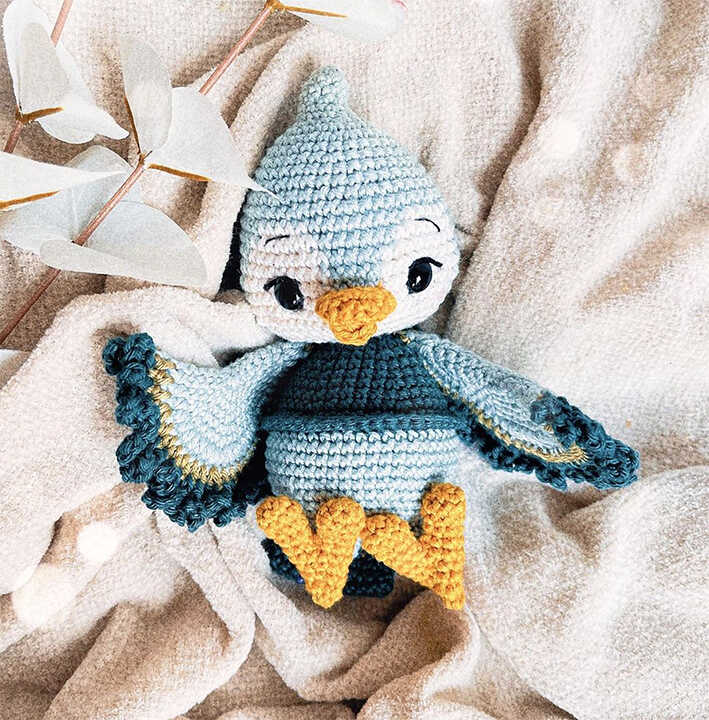
Cute Bird Tori Amigurumi Crochet Free Pattern
Materials
• Cotton yarn (e.g. Scheepjes Catona, Schachenmayr Catania 125m/50g), one ball for the skin colour (for example: blue, mint, light red)
• Two more colours in the same colour range as your main colour (approximativ 10g each)
• Cotton yarn in the colour cream (approx 25g)
• Cotton yarn in the colour of your choice for the accessories (approximativ 30g)
• Cotton yarn in yellow (approx 10g)
• Safety eyes 10 mm
• White and black cotton for the eyes, pink for the cheeks
• Thin embroidery thread for the details (white/black)
• Hook size 2,5 mm
• Scissors
• Tapestry blunt needle, sharp needle (for the deepening of the eyes), stitch marker, pins
• Fiber fill
Abbreviations
MR – magic Ring
Rnd – round
R – row
Sc – single crochet
Slst – slip stitch
Ch – chain
Inc – increase
Dec – decrease
FLO – front loop only
BLO – back loop only
Tch – turning chain
Hdc – half double crochet
Hdc inc – 2 half double crochet in 1 stitch
Dc – double crochet
Tr– treble crochet
Neckerchief
Crochet in rows. Turn your work after every row. Start with the colour of your choice.
Rnd 1. 5sc in mr + 1tch (5)
Rnd 2. inc, 1sc, 3sc in 1 stitch, 1sc, inc + 1tch (9)
Rnd 3. inc, 3sc, 3sc in 1 stitch, 3sc, inc + 1tch (13)
Crochet in BLO
Rnd 4. inc, 5sc, 3sc in 1 stitch, 5sc, inc + 1tch (17)
Crochet in FLO
Rnd 5. inc, 7sc, 3sc in 1 stitch, 7sc, inc + 1tch (21)
Crochet again through both loops
Rnd 6. inc, 9sc, 3sc in 1 stitch, 9sc, inc (25)
Lace to tie ends together
30ch, 29slst back, sc along the the top edge of the neckerchief,
30ch, 29slst back.
Pull the yarn through the last loop and secure the yarn.
Claws
Crochet 4x (yellow)
Rnd 1. 6sc in MR (6)
Rnd 2. (1sc, inc) x3 (9)
Rnd 3. 9sc (9)
Rnd 4. (1sc, dec) x3 (6)
Rnd 5. 6sc (6)
After the first claw fasten off and sew the end. Repeat the above for the second claw, but this time don’t fasten off. The claws don’t get stuffed. Chain 1 and connect both claws with a sc, 5sc around the other claw, 1sc in the ch, 6sc in the 1st claw and 1sc in the ch. (14).
The claws don’t get stuffed.
Rnd 2. (5sc, dec) x2 (12)
Rnd 3. (2sc, dec) x3 (9)
Rnd 4. 8sc, ch (9)
Rnd 5. 2ch, skip 3sc, 7sc (9)
Rnd 6. (dec, 1sc) x3 (6)
Pull the yarn through the FLO of the remaining 6sc, close the hole the sew the end. Repeat above for the second foot.
Legs
(Yellow)
The legs are crocheted directly on the claws “free space”. Attach the thread new to a stitch in the free space (no matter where). (This will be your 1st stitch of the leg). In theory the “free space” only has 6 stitches. So that there is no hole, crochet in both sides left and right a sc.
Rnd 1. 3sc, sc on the side, 3sc in the ch, sc in the side (8)
Rnd 2-6. 8sc (5 rounds) (8)
Colour change to blue (main colour)
Rnd 7. (1sc, inc) x4 (12)
Rnd 8. (1sc, inc ) x6 (18)
Rnd 9-10. 18 sc (2 rounds) (18)
End the round with a slst. Leave a long tail to sew the legs later to the body. Repeat the above for the 2nd leg.
Finishing
Sew everything together
Sew the beak between round 20 and 23. It should lie under the top of the dark part of the head, therefore in the brighter part. The beak does not get stuffed. The feet get sewn to the bottom middle of the body, between round 11 and 22. Stuff the upper part of the leg whilst sewing it on, Tori will stand a bit more stable that way. The claws should point to the front. Sew the wings left and right on the single crochet part between round 1 and 6 slightly angled to the body, like that the wings stay flexible. The top part of the wings should lie in line with the top of the head and legs. Pay attention that the wings lie in the correct direction. The tail gets sewn to round 15 with the one coloured part laying on the middle of the body. It should lie in the middle of legs and wings.
More Amigurumi Bird İdeas