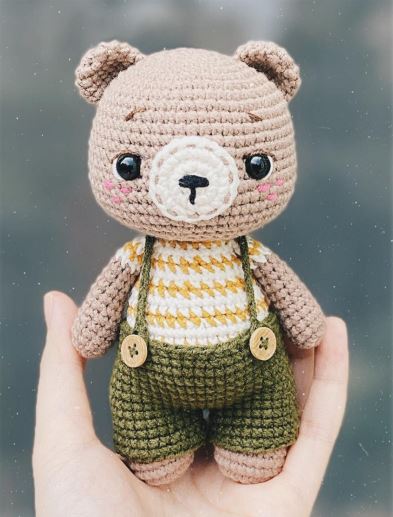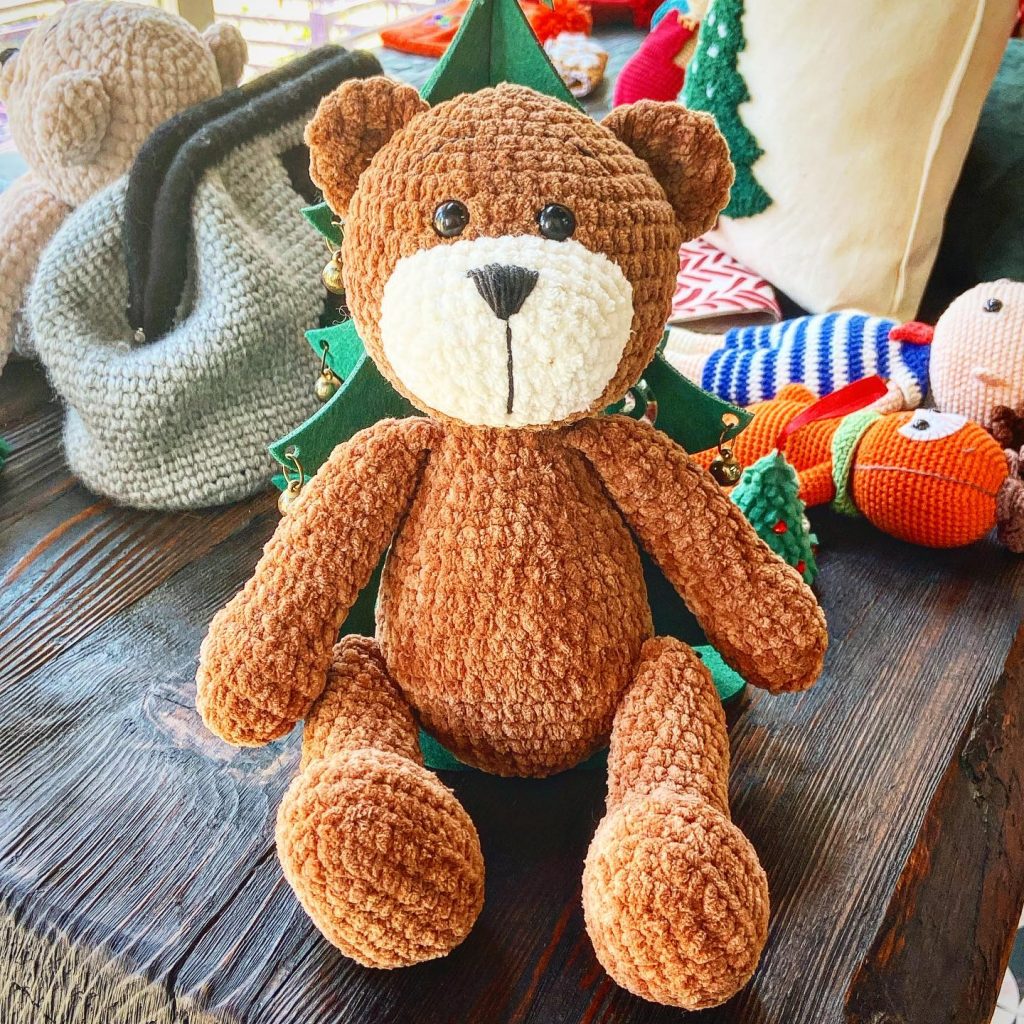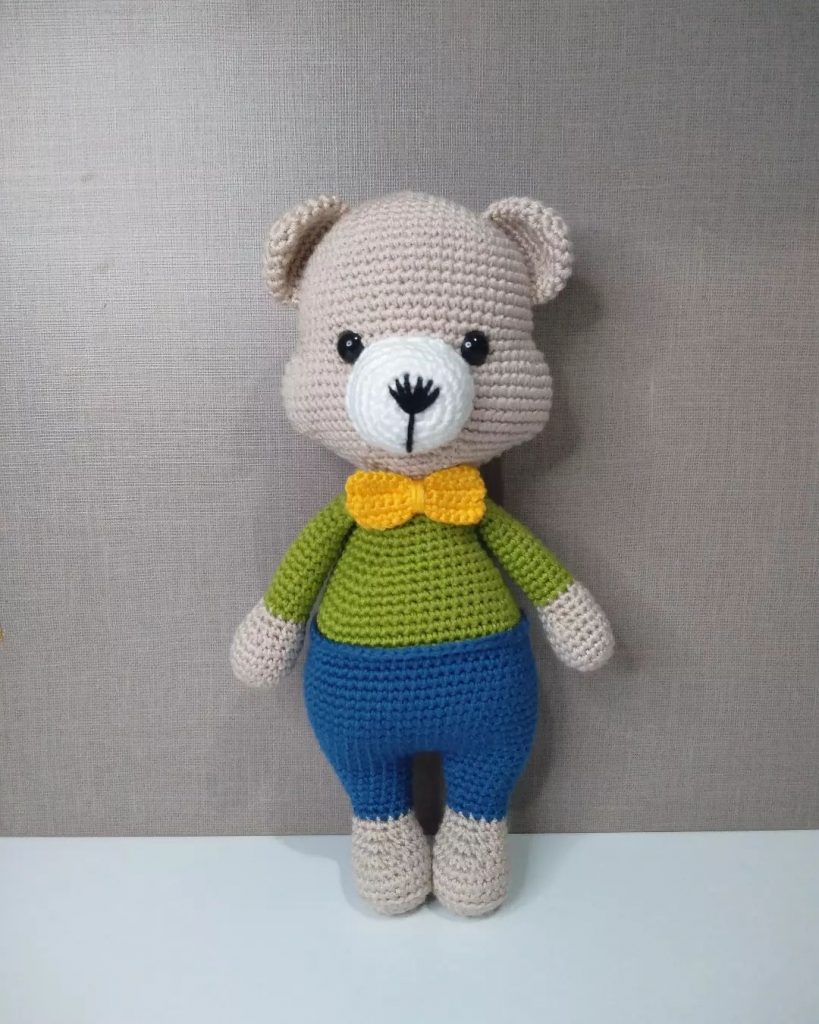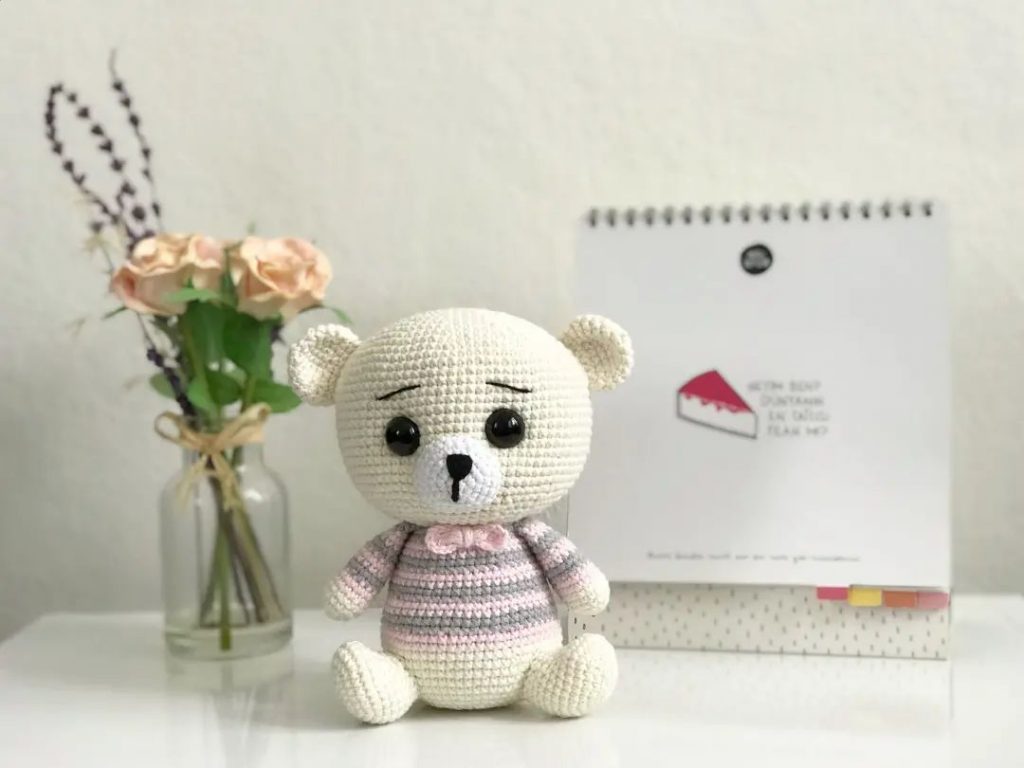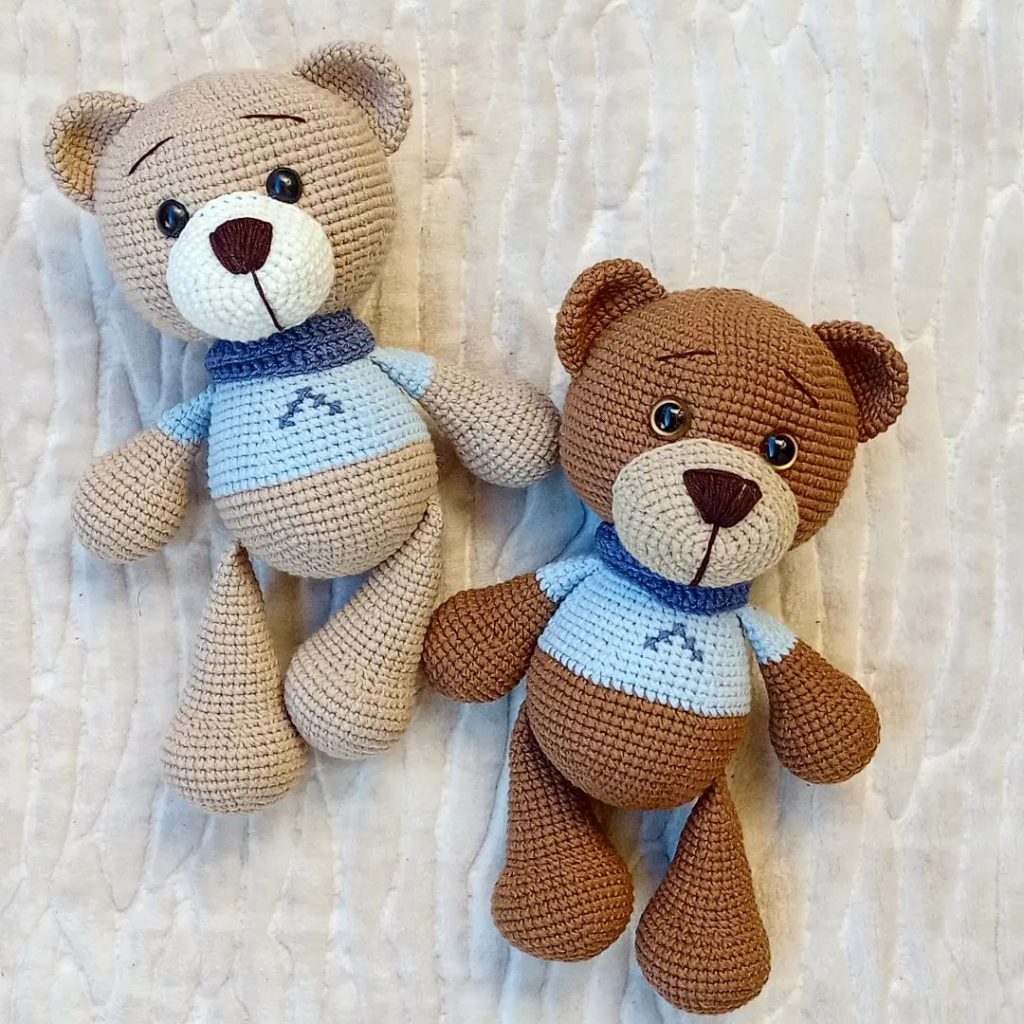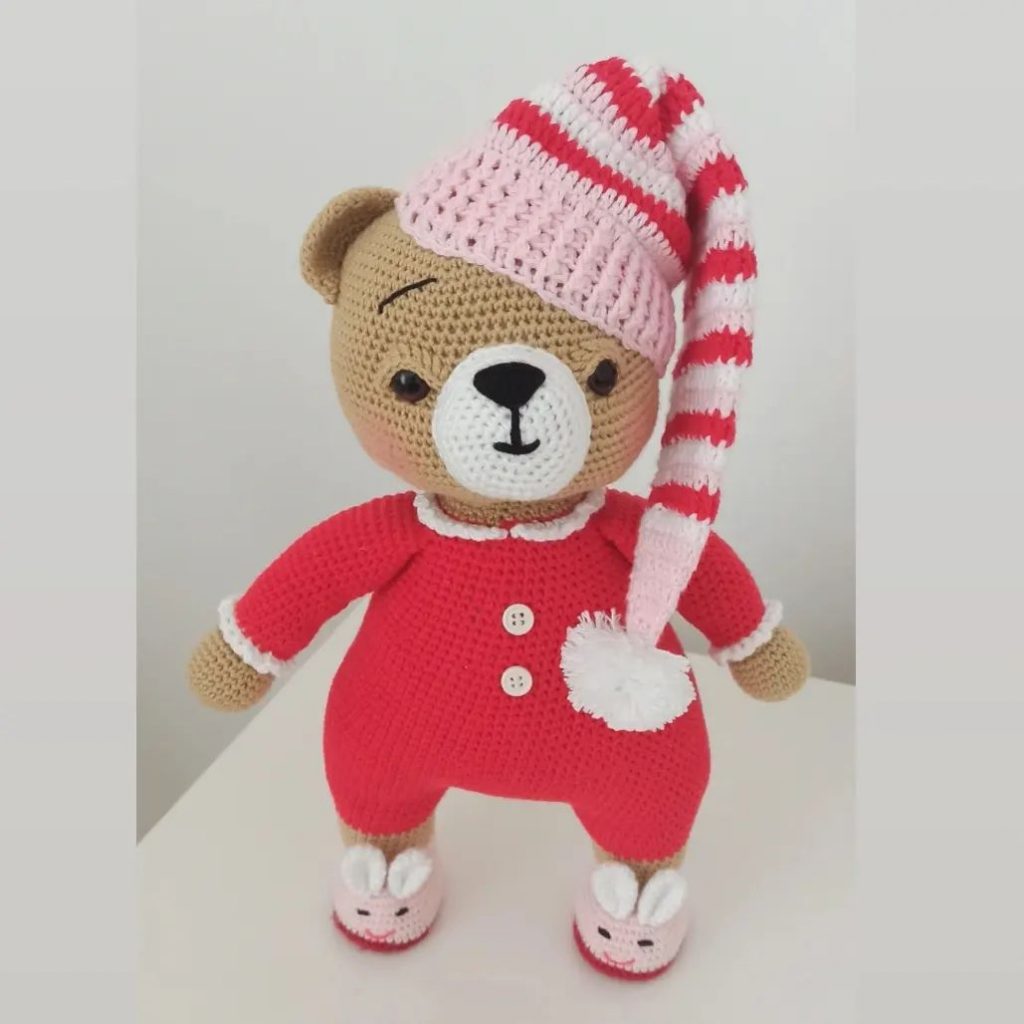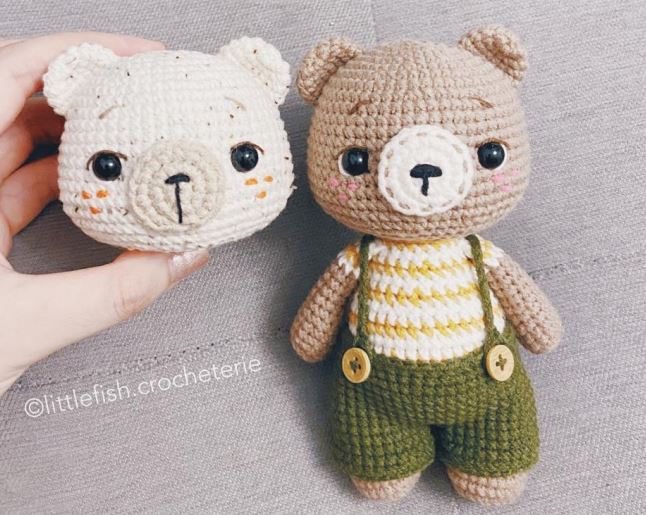
Little Bear Oliver Amigurumi Free Pattern
MATERIALS
• Crochet hook: 2,5 mm
• Yarn: Size 2 (Fine)
• A pair of 8 mm safety eyes
• A pair of 10 mm buttons
• Stuffing
• Pins, tapestry needle, scissors, stitch markers
I used: YarnArt Jeans (50 g/160 m)
55% cotton, 45% acrylic
• Body: Color 71 (Brown).
• Muzzle: Color 03 (Cream).
• Shirt: Color 01 (White) and Color 84 (Mustard).
• Pants: Color 82 (Olive green).
•For decorating the face: A small amount of
Color 01 (White), Color 70 (Dark brown), and
Color 59 (Pink).
ABBREVIATIONS
MR – Magic Ring
ch – Chain
sc – Single crochet
hdc – Half double crochet
dc – Double crochet
inc – Increase
dec – Decrease
sl st – Slip stitch
st(s) – Stitch(es)
BLO – Back loop only
FLO – Front loop only
[…] xN – Repeat instructions in brackets N times
{…} – Work all the stitches in
brackets into the same stitch
(…) – Number of stitches on each round/row
HEAD
Start with brown yarn.
Rnd 1. 8 sc into a MR (8)
Rnd 2. 8 inc (16)
Rnd 3. [sc, inc] x8 (24)
Rnd 4. [3 sc, inc] x6 (30)
Rnd 5. 2 sc, inc, [4 sc, inc] x5, 2 sc (36)
Rnd 6. [5 sc, inc] x6 (42)
Rnd 7. 3 sc, inc, [6 sc, inc] x5, 3 sc (48)
Rnd 8. 48 sc (48)
Rnd 9. [7 sc, inc] x6 (54)
Rnd 10 – 15. 54 sc (54)
Rnd 16. [3 sc, inc, 4 sc, inc] x6 (66)
Rnd 17 – 18. 66 sc (66)
Rnd 19. [9 sc, dec] x6 (60)
Place the safety eyes (size 8 mm) between Round
14 and Round 15 with a distance of 11 sts between two positions. Stuff as you go.
Rnd 20. 4 sc, dec, [8 sc, dec] x5, 4 sc (54)
Rnd 21. [7 sc, dec] x6 (48)
Rnd 22. [4 sc, dec] x8 (40)
Rnd 23. [3 sc, dec] x8 (32)
Rnd 24. [2 sc, dec] x8 (24)
Rnd 25. [2 sc, dec] x6 (18)
Rnd 26. [sc, dec] x6 (12)
Rnd 27. 6 dec (6)
Stuff the head firmly. Cut off and weave the yarn into 6 front loops of the last round, pull tightly to close the hole and hide the yarn inside the head
Make the blush using pink yarn. After that, create eye indents and decorate the eyes
CREATING EYE INDENTS
There are several ways to indent amigurumi eyes. You can do it before or after placing the eyes. In this
tutorial, I create the eye indents after placing the eyes. You may look for more tutorials about making
eye indents on the internet for reference. Step by step instructions are presented below.
Use a yarn tail with the same color as the skin color.
Weave the needle through six points in the order and follow the direction of the arrows indicated in the
above pictures. From point 1 to point 6: Insert needle in 1 (Note: Do not pull the yarn all the way inside the head, leave a tail outside), out 2, in 3, out 4, in 5, out 6.
DECORATING EYES
After creating eye indents, decorate the eyes by using white yarn. Use thin dark brown yarn to sew
eyelashes and eyebrows (separate the yarn if needed).
MUZZLE
Use cream yarn.
Rnd 1. 8 sc into a MR (8)
Rnd 2. 8 inc (16)
Rnd 3. [sc, inc] x8 (24)
Fasten off invisible. Break the
yarn, weave in ends. Two versions are included of the muzzle so that you can have more choices to
make your bear. Embroider the nose using thin black yarn.
• Version 1: Sew the muzzle to the face using a yarn tail with the same color as the body, sew the
top of the muzzle between R12 & R13, bottom of the muzzle between R17 & R18.
• Version 2: Sew the muzzle to the face using a yarn tail with the same color as the muzzle, sew
the top of the muzzle between R13 & R14, bottom of the muzzle between R18 & R19.
EARS
Make 2. Use brown yarn.
Rnd 1. 8 sc into a MR (8)
Rnd 2. 8 inc (16)
Rnd 3 – 5. 16 sc (16)
Break the yarn, leave a long tail to sew the ears to the head. Use pins to mark positions on the
head as shown below and sew the ears along those marked positions.
ARMS
Make 2. Start with brown yarn.
Rnd 1. 6 sc into a MR (6)
Rnd 2. 6 inc (12)
Rnd 3 – 5. 12 sc (12)
Rnd 6. Dec, 10 sc (11)
Rnd 7. Dec, 9 sc (10)
Rnd 8. Dec, 8 sc (9)
Rnd 9 – 11. 9 sc (9)
Change to white yarn. Break the brown yarn and weave in ends. Stuff as you go.
Rnd 12. 9 sc (9)
Rnd 13. Change to yellow: 9 sc (9)
Rnd 14. Change to white: 9 sc (9)
Stuff firmly the arms from Round 1 to Round 8,
stuff loosely for the rest. Break the yellow yarn.
Flatten the open end of the arm, aligning stitches
side by side, use the white yarn to close the open
end by crocheting 4 sc. Break the yarn and leave a long tail for sewing.
LEGS
Make 2. Use brown yarn.
Rnd 1. 8 sc into a MR (8)
Rnd 2. 8 inc (16)
Rnd 3. [sc, inc] x8 (24)
Rnd 4 – 5. 24 sc (24)
Rnd 6. 6 sc, 6 dec, 6 sc (18)
Rnd 7. 4 sc, dec, 6 sc, dec, 4 sc (16)
Rnd 8. 16 sc (16)
Rnd 9. [2 sc, dec] x4 (12)
Rnd 10 – 11. 12 sc (12)
Rnd 12. 5 sc, dec, 5 sc (11)
Rnd 13 – 14. 11 sc
Right leg: 1 more sc (11)
Stuff the legs firmly.
Flatten the open end of the leg, aligning stitches
side by side, close the open end by crocheting 5 sc. Break the yarn and leave a long tail for sewing.
BODY
Start with brown yarn.
Rnd 1. 8 sc into a MR (8)
Rnd 2. 8 inc (16)
Rnd 3. [sc, inc] x8 (24)
Rnd 4. [3 sc, inc] x6 (30)
Rnd 5. 2 sc, inc, [4 sc, inc] x5, 2 sc (36)
Rnd 6. [5 sc, inc] x6 (42)
Rnd 7. 3 sc, inc, [6 sc, inc] x5, 3 sc (48)
Rnd 8 – 9. 48 sc (48)
Change to yellow yarn. Break the brown yarn and
weave in ends.
Rnd 10. 48 sc
Rnd 11. Change to white: [6 sc, dec] x6 (42)
Rnd 12. 42 sc (42)
Rnd 13. Change to yellow: 2 sc, dec, [5 sc, dec] x5, 3 sc (36)
Rnd 14. Change to white: 36 sc (36)
Rnd 15. [4 sc, dec] x6 (30)
Rnd 16. Change to yellow: 30 sc (30)
Rnd 17. Change to white: [3 sc, dec] x6 (24)
Rnd 18. 24 sc (24)
Rnd 19. Change to yellow: 24 sc (24)
Rnd 20. Change to white: [4 sc, dec] x4 (20)
Rnd 21. 20 sc (20)
Rnd 22. Change to yellow: 20 sc (20)
Break the white yarn, weave in ends. Leave a long tail of yellow yarn for sewing the head. Stuff the body firmly.
Sew the arms between Round 21 and 22, the legs between Round 8 and 9 of the body.
Sew the head to the body
PANTS
Use olive green yarn.
To make the pants, join each round with a sl st to
the 1st st then ch 1, the 1st st of the next round will
be at the same st as the joining sl st.
First, make 2 identical pieces.
Ch 24, join with a sl st to the first chain to make a circle
Rnd 1 – 4. Ch 1, 24 sc, join with a sl st (24)
The first piece: Break yarn and fasten off.
The second piece: Don’t break yarn.
Rnd 5. Continue with the yarn on the
second piece, join 2 pieces:
Ch 1, 24 sc to the 1st piece (start
at the 1st st of the 1st piece – Fig.
9b), 24 sc to the 2nd piece, sl st
to the first st of the round (48)
Rnd 6 – 12. Ch 1, 48 sc, join with a sl st (48)
Rnd 13. Ch 1, [6 sc, dec] x6, sl st (42)
Rnd 14. Ch 1, [5 sc, dec] x6, sl st (36)
Fasten off, break yarn, and weave in ends.
Make the straps:
Mark 2 sts at the back of the pants, separated by 10 sts.
Make a knot using olive green yarn, pull the knot through the marked st, ch 30, sl st into the 7th chain from the hook. Fasten off, weave in ends.
Do the same for the 2nd marked st.
Mark 2 positions at the front of the pants, separated by 10 sts. Sew a button to each position using thin olive green thread.
Put on the pants, button it, and voilà!
HOW TO MAKE INVISIBLE FASTEN OFF
- Pull the yarn tail completely through the last stitch. Thread the yarn into a needle.
- Skip one stitch. Insert the needle into the 2nd stitch from the last stitch. Pull yarn through.
- Insert the needle in the back loop of the same stitch where the yarn tail comes from. Pull yarn through.
- You have created a false stitch that mimics the skipped stitch. This false stitch is called a closing stitch. You may want to weave yarn through several loops on the wrong side of your piece to secure the yarn tail.
HOW TO JOIN ROUND
- Skip 2 stitches (the slip stitch and the chain 1).
- Insert hook into the 1 st stitch of the round (marked with red yarn).
- Make a slip stitch.
- Chain 1.
- Single crochet into the same stitch where we made the slip stitch in Step 3 (the stitch marked with red yarn). This scstitch will be the 1st stitch of the next round.
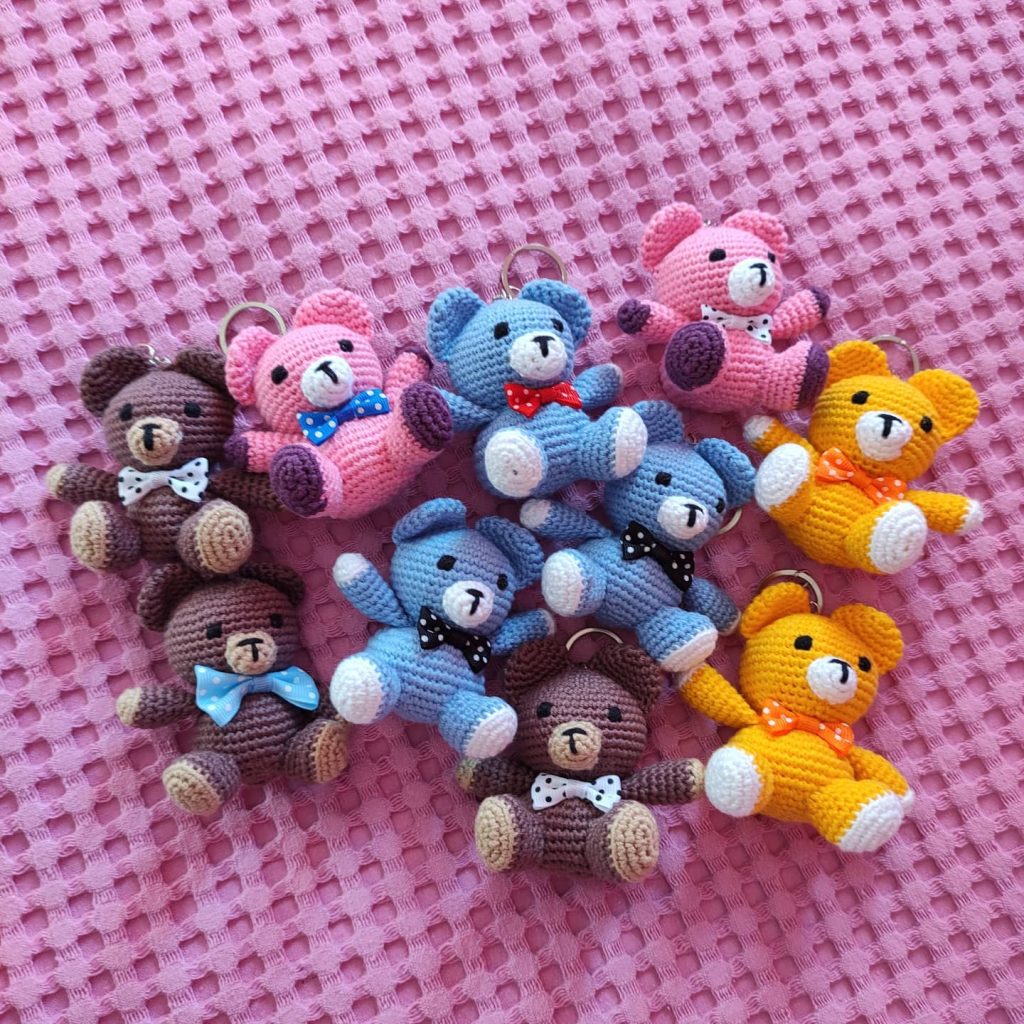
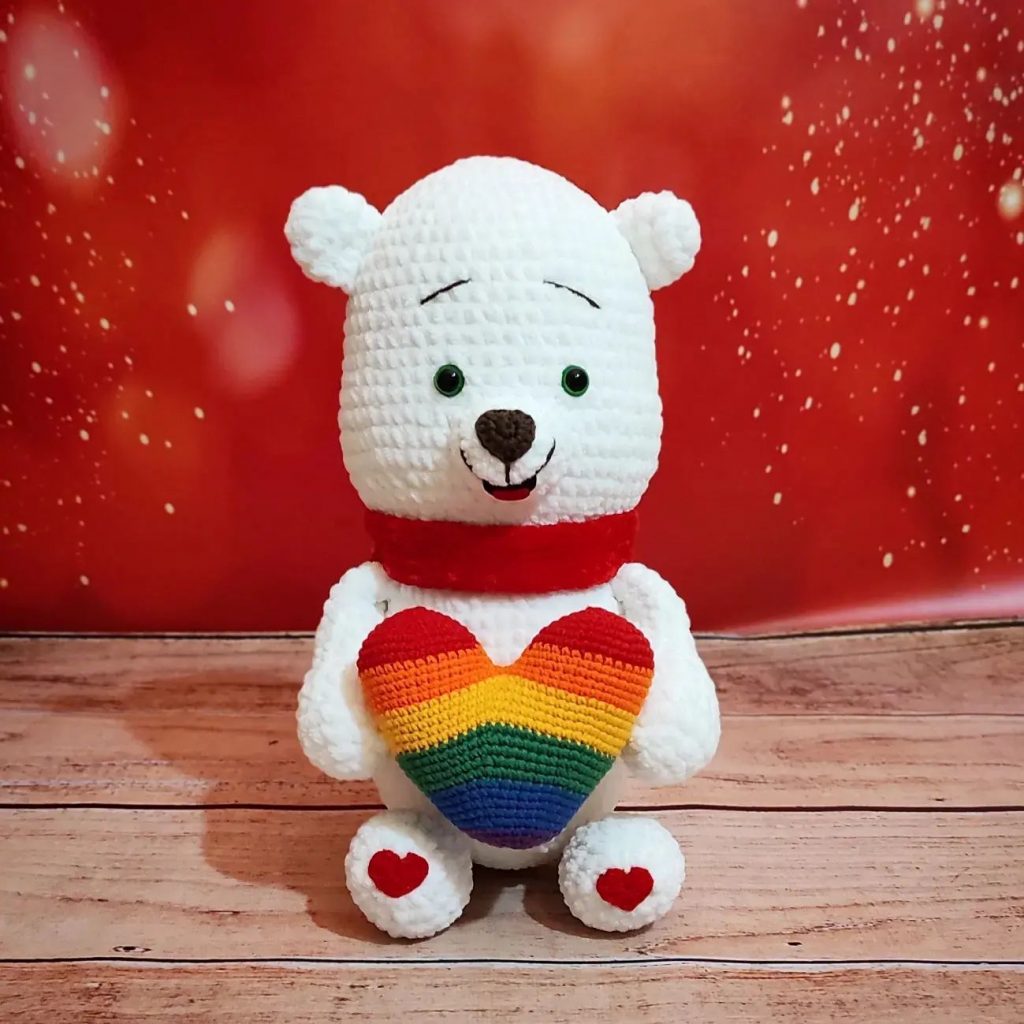
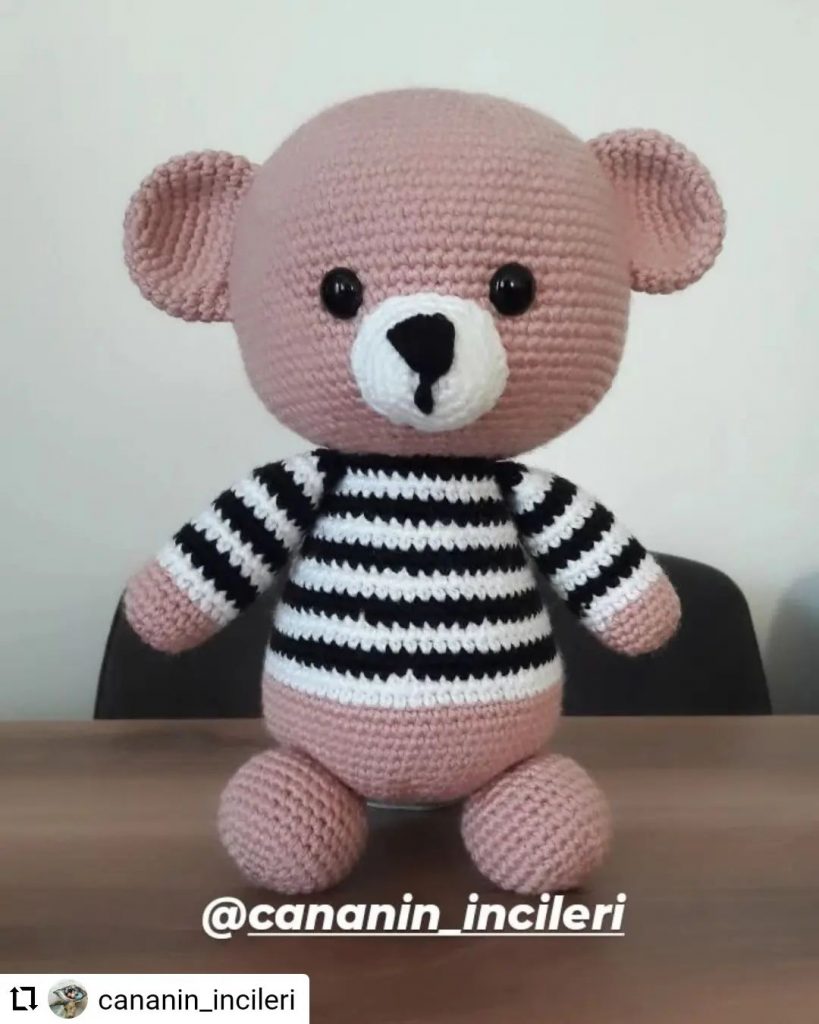
More Amigurumi Bear İdeas