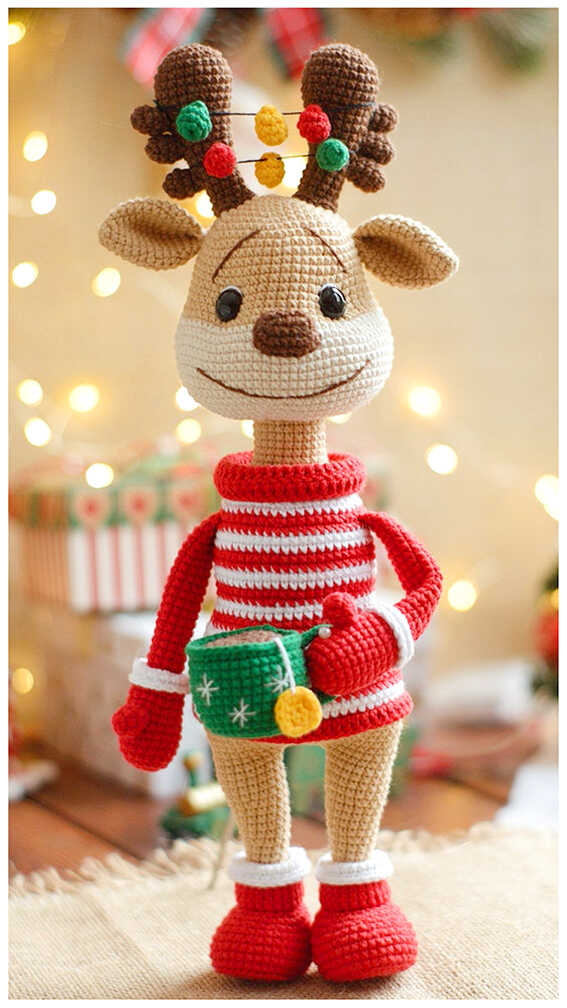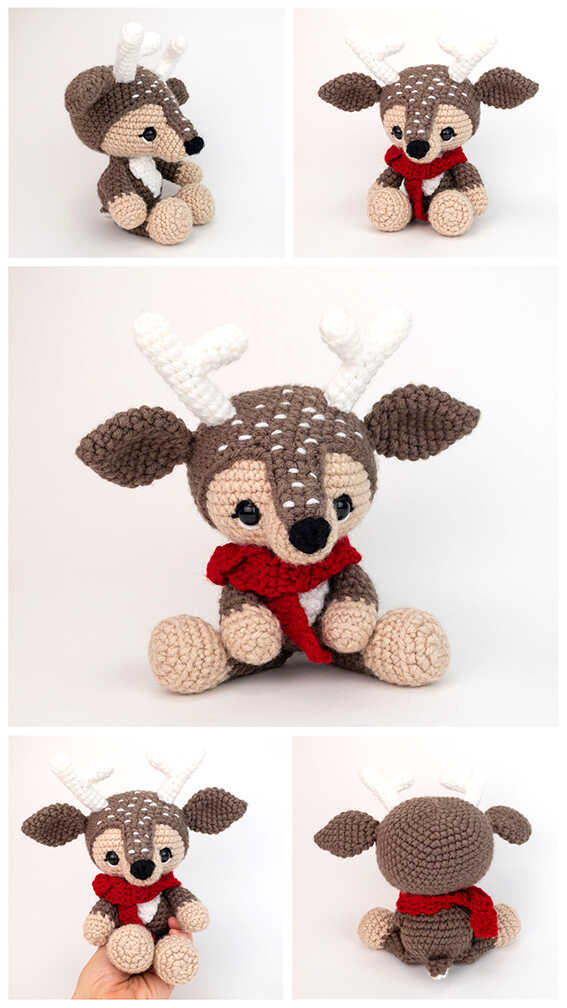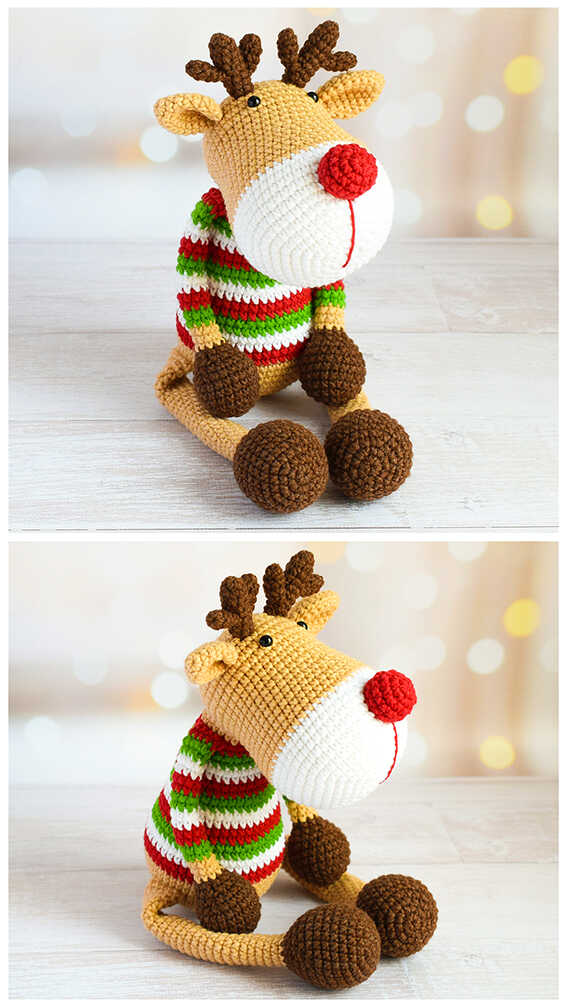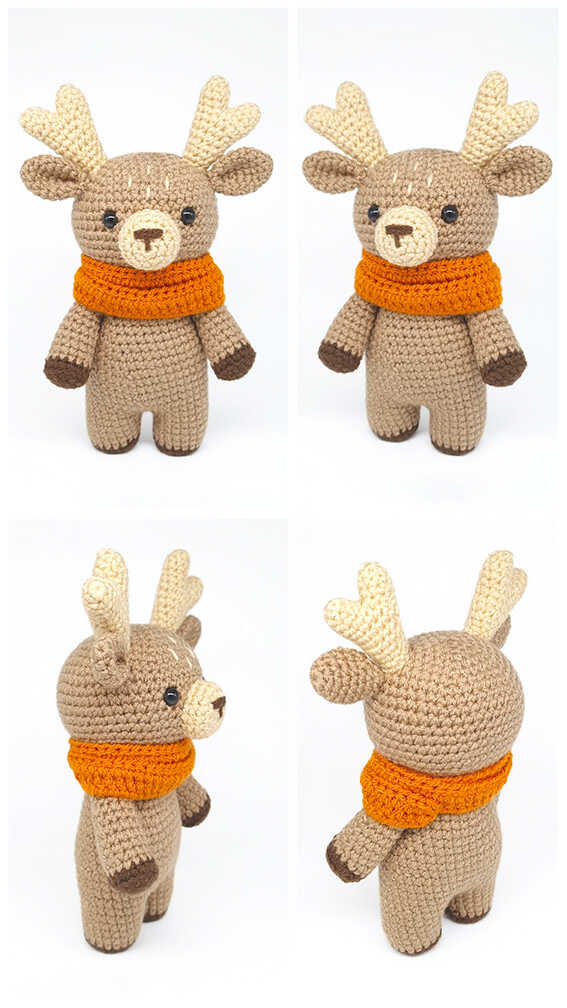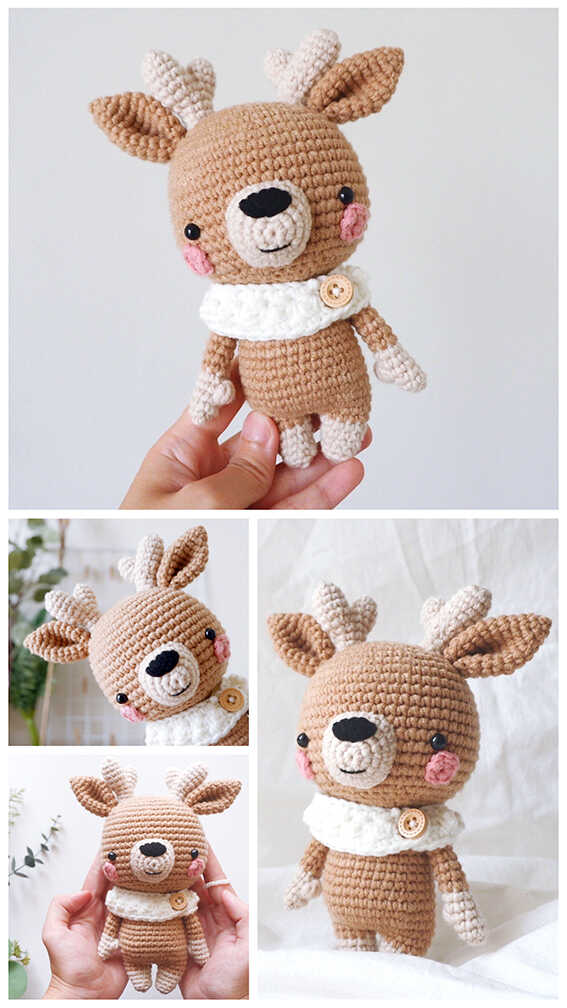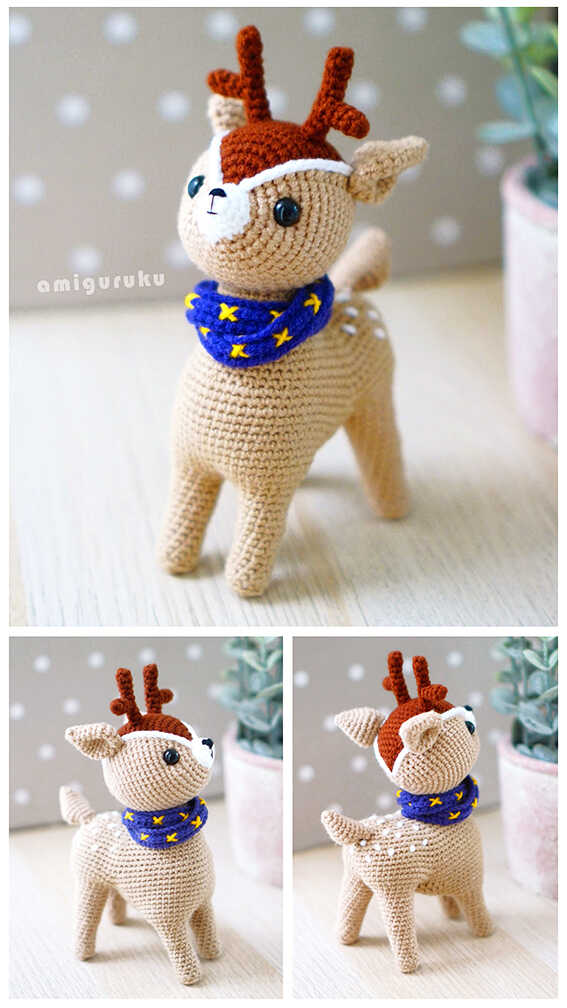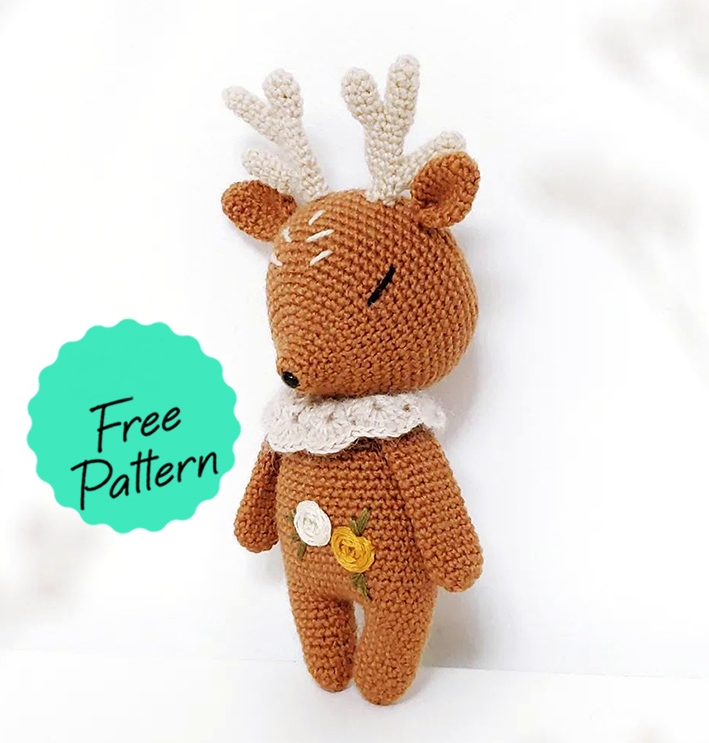
Deer Amigurumi Crochet Free Pattern
Material
• Hook 2,5mm
• Yarn needle
• Pins
• Scissors
• Stitch marker
• For eyes: black embroidery thread
• For nose: black embroidert thread or a safety eye (oval) 6×5 mm
• Optional: shiny gold thread
• Fiberfill
Yarn
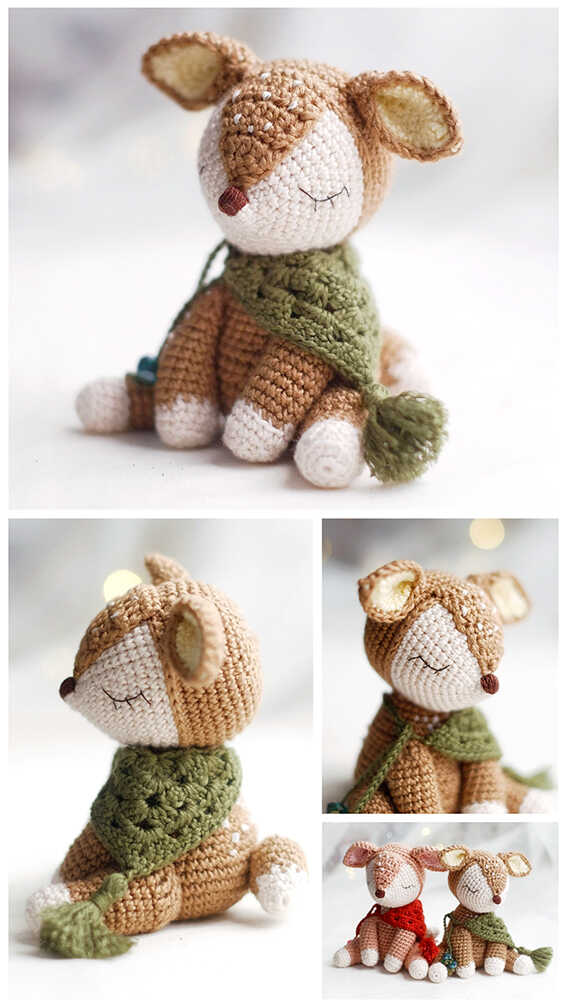
• Norli Lana Little Woorli (Hazel) for body, head, arms and ears
• Norli Lana Little Woorli (Cafe Latte) for antlers and details
• Katia Concept Mohair Cotton (Gris Pierre 77) for collar
Note: The result depending on the thickness of the yarn size of your hook. You can adapt the size of your hook according to the way you work: if you crochet tight, use the recommended crochet hook or larger. But if you have usually crochet rather loosely, use a smaller size hook. Using the threads recommended in this pattern allows you to obtain a result similar to the basic model.
Abbreviations
MR– Magic ring
Sc– single crochet
Ch– chain stitch
Slst– slip stitch
Hdc– Half double crochet
Dc– Double crochet
Inc– increase
Dec– Decrease
BLO– Back loop only
Ears (x2)
Brown
Rnd 1. 6 sc in MR (6)
Rnd 2. 1sc, 1 inc x 3 (9)
Rnd 3. 1sc into each (9)
Rnd 4. 2sc, 1 inc x 3 (12)
Rnd 5. 3sc, 1 inc x 3 (15)
Rnd 6-8. 1sc into each (15)
Rnd 9. 7 dec, 1sc into last st (18)
Fasten off and leave a long tail
Horns (x2)
Beige
Part 1
Rnd 1. 5sc in MR (5)
Rnd 2. 1 inc, 4sc (6)
Rnd 3-4. 1sc into each (6) Cut the yarn
Part 2
Rnd 1. 5sc in MR (5)
Rnd 2. 1sc into each (5)
Rnd 3. 1 inc, 4sc (6)
Rnd 4-5. 1sc into each (6) Cut the yarn
Part 3
Rnd 1. 5sc in MR (5)
Rnd 2. 1sc into each (5)
Rnd 3. 1 inc, 4sc (6)
Rnd 4-6. 1sc into each (6) Dont’t cut the yarn
Take part 1 and part 3 and connect them with 1sc (this is the first stitch of round 7)
Rnd 7. 1sc into each (12)
Rnd 8. 1sc, 1 dec x 4 (8)
Rnd 9-11. 1sc into each (8)
Take part 2 and part 3 and connect them with 1sc (this is the first stitch of round 12)
Antention: Make sure that part 1 and 2 face each other.
Rnd 12. 1sc into each (14)
Rnd 13. 1sc, 1 dec x 4, 2sc (10)
Rnd 14. 3sc, 1 dec x 2 (8)
Rnd 15. 1sc into each (8)
Fasten off and leave a long tail.
Collar
Stone grey
Rnd 1. Ch 34, join with a slip stitch to from a ring ch 1 (does not count as a stitch) 1sc in next ch and in each ch around, 1 sc in same st as ch 1, join with a slip stitch (34)
Rnd 2. Ch 2 (count as 1 dc) 1 dc in same st as ch 2, ch 2, 2 dc in same st as ch 2 (Skip next 3 sts, work (2 dc, ch 2, 2 dc) in next st) repeat around, skip last sc, join with a slip stitch.
Rnd 3. Slip stitch into first ch 2 space, ch 2 (count as 1 dc) 5 dc in same space, work 6 dc in each ch 2 space around, join with a slip stitch
Fasten off and weave in ends.
Arms (x2)
Brown
Rnd 1. 6sc in MR (6)
Rnd 2. 6 inc (12)
Rnd 3-19. 1sc into each (12)
Fasten off and leave a long tail
Legs (x2)
Brown
Rnd 1. 6sc in MR (6)
Rnd 2. 6 inc (12)
Rnd 3. 12sc (12)
Rnd 4. (3sc, 1 inc) x 3 (15)
Rnd 5. 1 dec, 6sc, 1 inc, 6sc (15)
Rnd 6. 15sc (15)
Rnd 7. 1 dec, 6sc, 1 inc, 6sc (15)
Rnd 8. 1 inc, 7sc, 1 inc, 6sc (17)
Rnd 9. 1 dec, 7sc, 1 inc, 7sc (17)
Rnd 10. 17sc (17)
Break off the yarn and finish off your work. Stuff.
Repeat the steps pf the first leg, but this time don’t cut the yarn.
Body
Brown
Rnd 11. Make 5 ch and connect the 2nd leg, in such a way that the feet are directed inside: 17sc (first leg), 5sc (on the chain), 17sc (second leg), 5sc (on the chain) (44)
Rnd 12-21. 44sc (44), (11 rounds)
We’ll start decreases (on each side of body)
Rnd 22. 10sc, 1 dec, 20sc, 1 dec, 10sc (42)
Rnd 23. 42sc (42)
Rnd 24. 10sc, 1 dec, 10sc, 1 dec, 9sc (40)
Rnd 25. 40sc (40)
Rnd 26. 10sc, 1 dec, 17sc, 1 dec, 9sc (38)
Rnd 27. 38sc (38)
Rnd 28. 10sc, 1 dec, 16sc, 1 dec, 8sc (36)
Rnd 29. 36sc (36)
Rnd 30. 2sc, 1 dec, (4sc, 1 dec) x 5, 2sc (30)
Rnd 31. 30sc (30)
Rnd 32. (3sc, 1 dec) x 6 (24)
Rnd 33. 24sc (24)
Rnd 34. 1sc, 1 dec, (2sc, 1 dec) x 5, 1sc (18), 1 slst
Break off the yarn and finish off your work. Make sure you leave a very long tail for assembly. we are going to use this thread to sew the collar and also the head.
Head
Brown
Rnd 1. 6sc in MR (6)
Rnd 2. 6 inc (12)
Rnd 3. 1sc into each (12)
Rnd 4. 1sc, 1 inc x 6 (18)
Rnd 5. 1sc into each (18)
Rnd 6. 2sc, 1 inc x 6 (24)
Rnd 7. 3sc, 1 inc x 6 (30)
Rnd 8. 4sc, 1 inc x 6 (36)
Rnd 9. 1sc into each (36)
Place safety nose into the middle of the magic ring
Rnd 10. 5sc, 1 inc x 6 (42)
Rnd 11. 1sc into each (42)
Rnd 12. 6sc, 1 inc x 6 (48)
Rnd 13. 7sc, 1 inc x 6 (54)
Rnd 14. 1sc into each (54)
Rnd 15. 8sc, 1 inc x 6 (60)
Rnd 16-22. 1sc into each (60)
Rnd 23. 8sc, 1 dec x 6 (54)
Rnd 24. 7sc, 1 dec x 6 (48)
Rnd 25. 6sc, 1 dec x 6 (42)
Rnd 26. 5sc, 1 dec x 6 (36)
Rnd 27. 4sc, 1 dec x 6 (30)
Rnd 28. 3sc, 1 dec x 6 (24)
Rnd 29. 2sc, 1 dec x 6 (18)
Start to stuff the head
Rnd 30. 1sc, 1 dec x 6 (12)
Stuff the head firmly
Rnd 31. 6 dec (6)
Fasten off and close up the small hole. Weave the yarn into the head. Give the desired shape by kneading lightly all over the place as well as by modiyying the angle of its muzzle (press rather strongly above its small nose, to give it a sliphtly upturned shape).
Assembly
Feel free to use a few pins to help with positioning
• Sew the arms between round 32 and 33 of the body
• Sew the small collar at the neck, make sure to secure the assembly by passing saveral times if necessary in a few stitches.
• Sew the ears between rounds 21 and 22 of the head.
• Sew the antlers between rounds 21 and 22 of the head, between the ears.
Face embroidery
• Embroider thin little lines above muzzle. Take your beige yarn
• Embroider two small black lines on each side of the face
• Now all we have to do is sew the little head of our pretty deer. To do this, position it with a few pins and sew together some stitches of the body (and the collar assembled) with the stitches of the underside of the head.
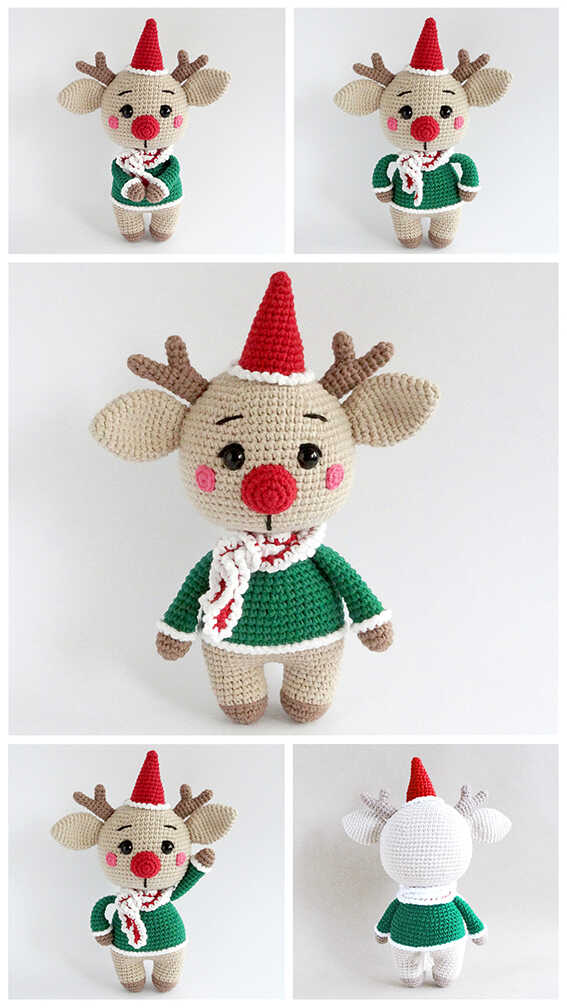
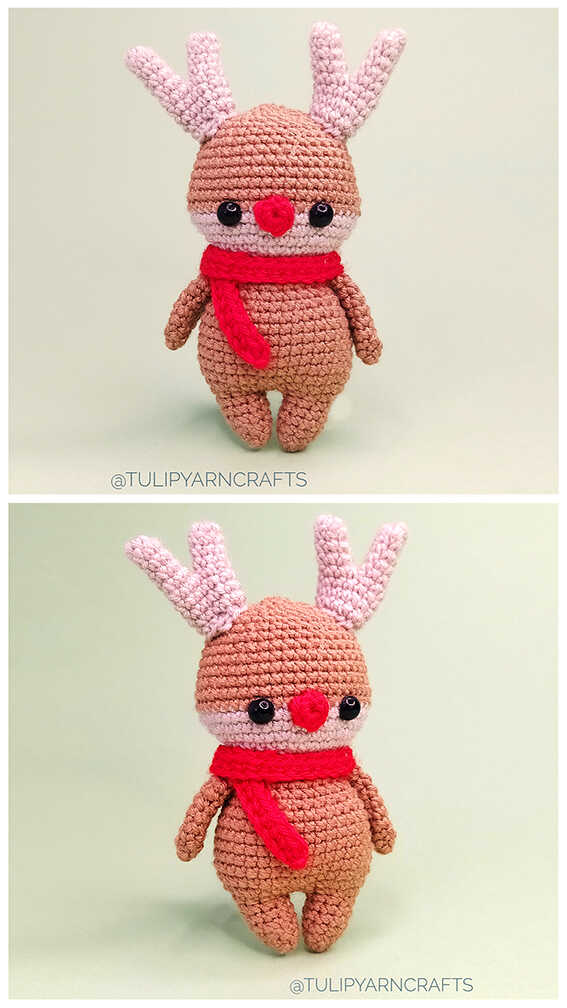
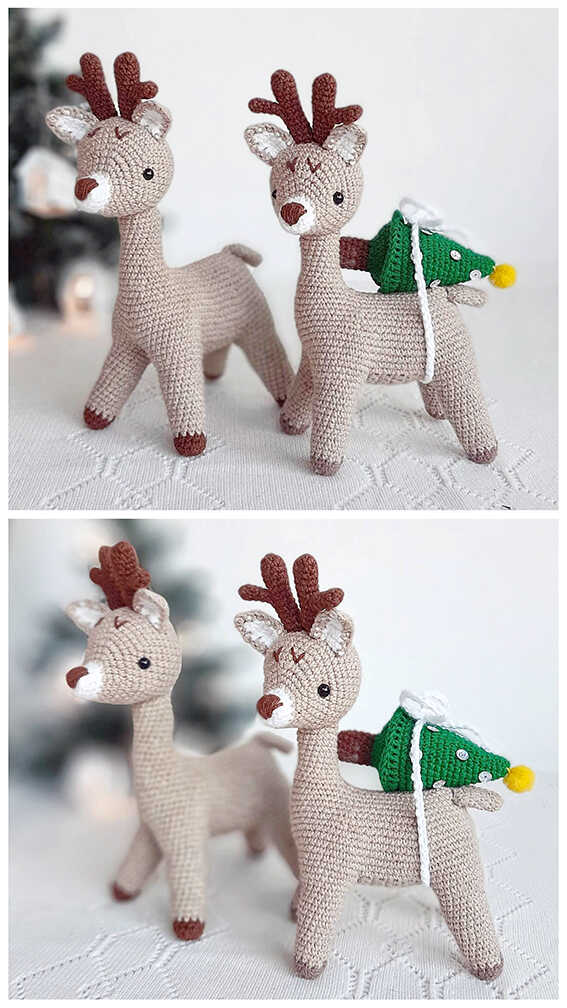
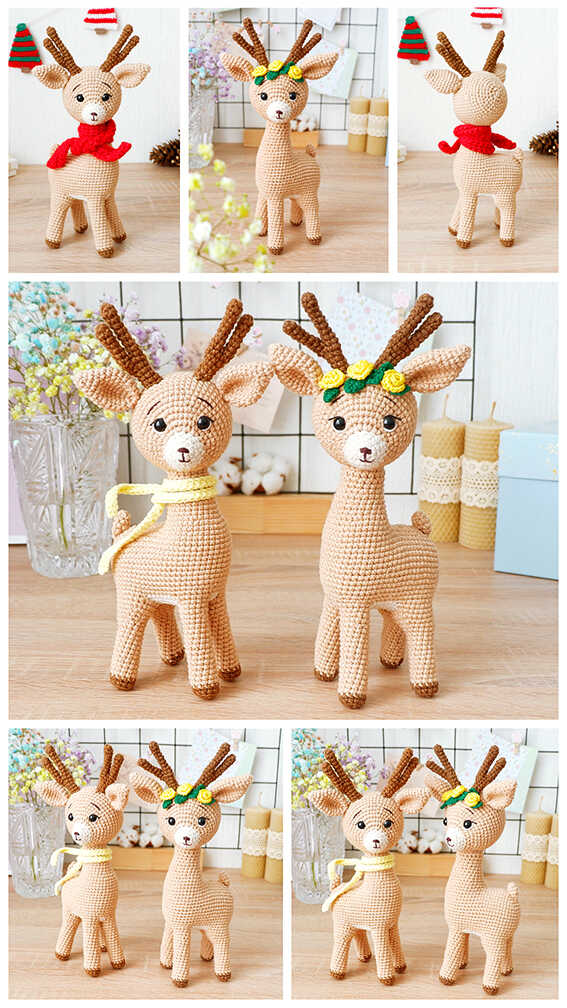
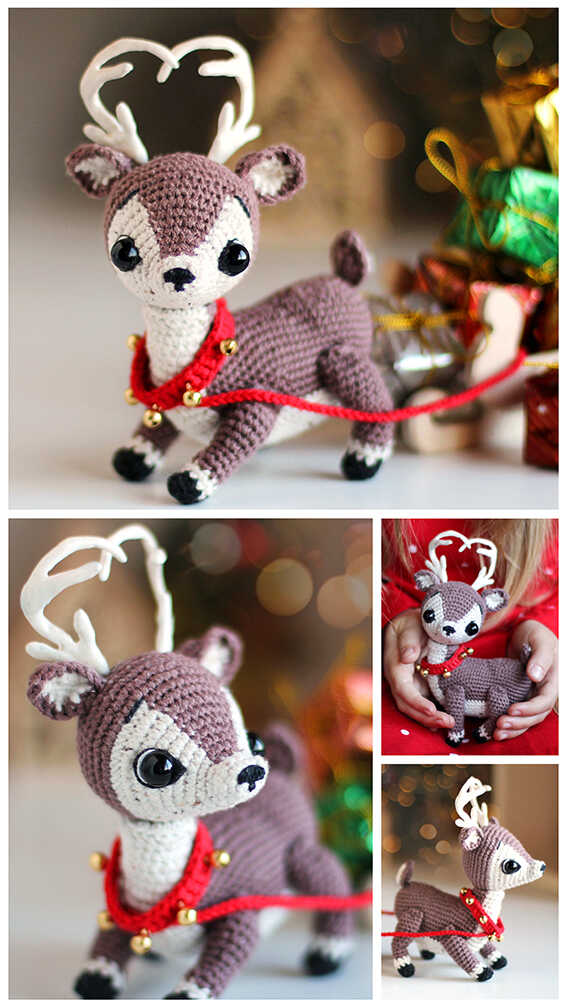
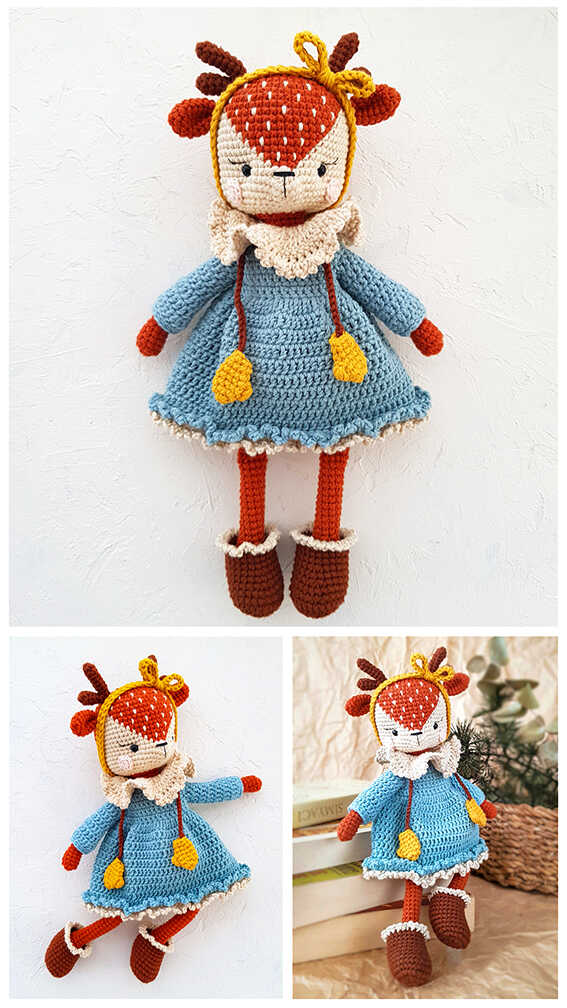
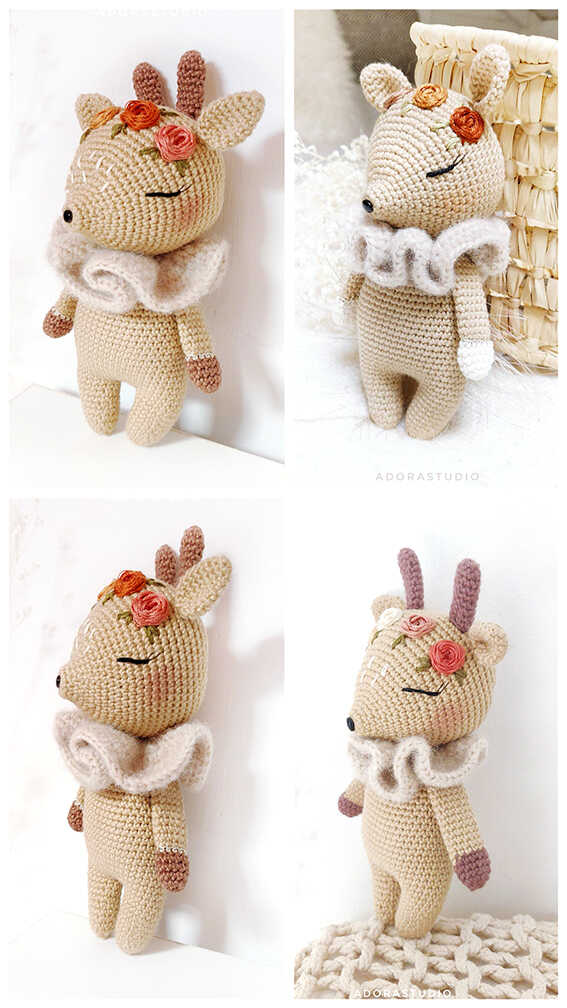
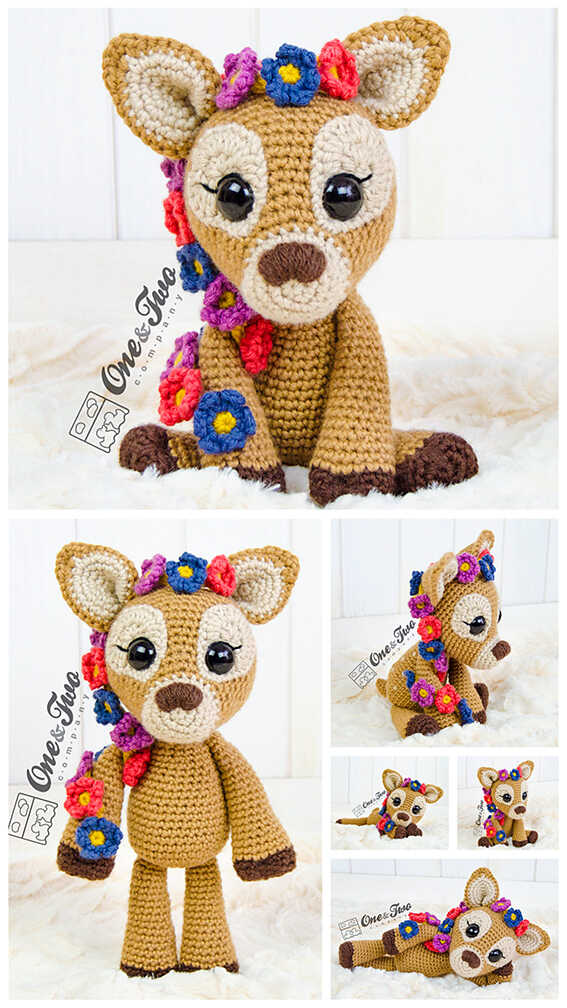
More Amigurumi Deer İdeas