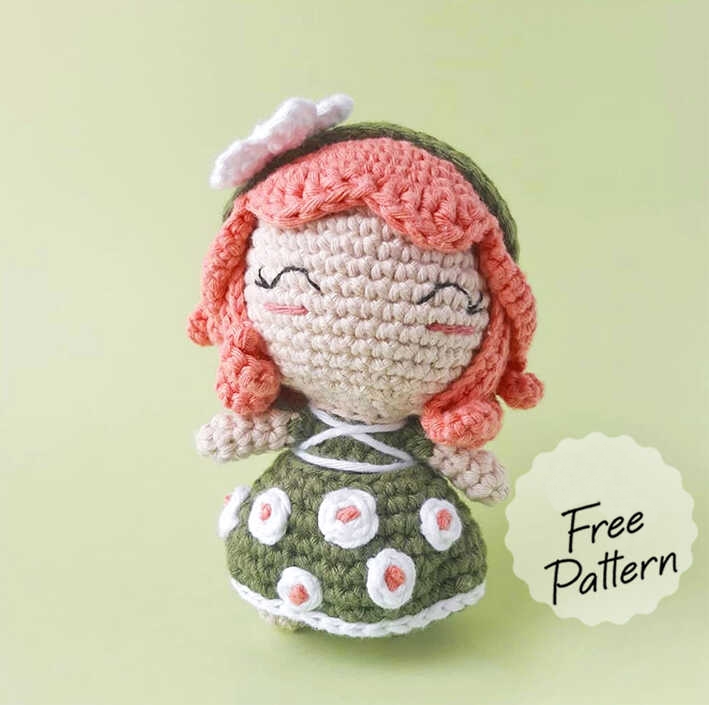
Daisy The Flower Elf Amigurumi Free Crochet Pattern
Color changes
When the pattern indicates a color change, it’s important to remember that the yarn change starts one stitch earlier: in the stitch before the color change, insert hook, yarn over and pull loop through stitch using the old color; then yarn over in the new color and pull loop through both loops on hook. The yarn of the color you aren’t using is carried from behind. Color changes are indicated by the new color inside parentheses (new color).
Abbreviations
st– stitch
sc– single crochet
dc– double crochet
tr– treble crochet
slst– slip stitch
inc– increase
dec– decrease
BLO– back loop only
FLO– front loop only
3-tr-bobble– 3-treble-bobble stitch
Instructions: 3- treble- bobble stitc
The bobble stitch is made by working several double or treble crochets in the same stitch, and finishing them together.
To make a-3-tr-bobble stitch, yarn over twice and insert the hook in the stitch. Yarn over and pull up a loop. Now you have four loops in your hook. Yarn over and pull throught two loops on the hook, twice. In the same stitch, repeat these steps two more times. Now you have four loops on your hook. Yarn over and pull through all loops on hook.
Materials And Tools
Yarn
Aran weight yarn
•Beige- DROPS you #8
•Apricot- DROPS you #8
•Old pink, for embroidery- DROPS you #8
•White- DROPS Paris
•Forest green- DROPS Paris
One ball of each color should be enough.
Other Materials And Tools
•3mm hook
•Stuffing
•8mm safety eyes
•Embroidery/ tapestry needle
•Black and white embroidery thread
•Stitch markers
•Sewing pins
Tip: Hook size
For amigurumis, the crochet fabric should be quite tight without any holes between the stitch that the stuffing cloud be seen through. If you notice that your stitches aren’t tight enough, try changing to a smaller hook. However, if your stitches are too tight and hard to work, using a slightly bigger hook might help.
Head
Rnd 1: start 6sc in magic ring (6)
Rnd 2: inc in all 6st (12)
Rnd 3: (sc in next st, inc in next st)*6 (18)
Rnd 4: sc in next st, inc in next st, (sc in next 2 st,inc in next st)*5, sc in next st (24)
Rnd 5: (sc in next 3 st, inc in next st)* 6 (30)
Rnd 6: sc in next 2 st, inc in next st, (sc in next 4st, inc in next st)*5, sc in next 2 st (36)
Rnd 7-9: sc in all 36 st (36)
Rnd 10: (sc in next 11 st, inc in next st)*3 (39)
Rnd 11-13: sc in all 39 st (39)
Rnd 14: (sc in next 11 st, dec)*3 (36)
Rnd 15: sc in all 36 st (36)
Rnd 16: sc in next 2 st, dec, (sc in next 4 st, dec)*5, sc in next 2 st (30)
Rnd 17: (sc in next 3 st, dec)*6 (24)
Rnd 18: sc in next st, dec, (sc in next 2 st, dec)*5, sc in next st (18)
Embroider the face details as shown in Image 1 (next page). The eyes should be over round 11, and the cheeks between rounds 12 and 13. Stuff the head.
Rnd 19: (sc in next st, dec)*6 (12)
Don’t fasten off, and continue with the body.
Body
Change to forest green yarn.
Rnd 20: BLO sc in all 12 st (12)
Rnd 21: (sc in next 2 st, inc in next st)*4 (16)
Rnd 22: sc in all 16 st (16)
Rnd 23: (sc in next 3 st, inc in next st)*4 (20)
Rnd 24: sc in all 20 st (20)
Change to beige yarn.
Rnd 25: (sc in next 9 st, inc in next st)*2 (22)
Rnd 26: sc in all 22 st (22)
Rnd 27: sc in all 10 st (10)
Sc in the first stitch after the space in the back to
join in the round.
Rnd 28-31: repeat the pattern for the first leg.
Sew the space between the legs shut.
Legs
Identify 1 stitch for the space between the legs in the front, and 1 stitch in the back (so each leg has 10 stitches). I recommend using stitch markers for this. You might have to crochet or undo some sc so that the legs align with the head.
Join the last stitch before the space between legs in the back to the first stitch after the space in the front with a sc (this sc will be the first stitch of the first leg). Now continue crocheting in the round for the first leg:
Rnd 27-30: sc in all 10 st (10)
Stuff the body and the first leg.
Rnd 31: dec*5 (5)
Fasten off and leave a long tail. With the embroidery needle, weave the yarn tail through the front loop of each stitch and pull to close. Weave in the yarn tail.
For the second leg, rejoin the yarn to the first stitch after the space between legs in the back of round 26 (this will be the first stitch of the second leg).
Arms
Start in beige, and make 2.
Rnd 1: start 4 sc in a magic ring (4)
Rnd 2: (sc in next st, inc in next st)*2 (6)
Rnd 3-5: sc in all 6 st (6)
Change to forest green yarn.
Rnd 6: sc in all 6 st (6)
Fasten off, leaving a long tail for sewing. The arms don’t need to be stuffed.
Sew the arms to the body, over rounds 20 and 21.
Headband
Band
The headband is worked in rows. In forest green yarn:
Row 1: ch 26, sc in second chain from hook, sc in next 24 st (25)
Flower
Start in apricot yarn.
Rnd 1: start 5 sc in a magic ring, (white) slst in next st (5)
Rnd 2: (ch 3, 3-tr-bobble in the st where the foundation chain starts, ch 4, slst in next st)*5 (45)
Sew the flower to the band, according to Image 2.
We crochet a beautiful headband together with a daisy pattern.
Hair
In apricot yarn.
Rnd 1-8: repeat the pattern for the head.
In the next round we will make the fringe, as well as 20 hair strands. There’s a gap between the hair strands on either side of the head, for the headband.
The hair strands are done by chaining 20, doing sc back over the chain until you reach the end, and doing a slst onto the next st of round 8 (the st after the one the chain started from).
This process is repeated for each hair strand, and the end result should look like Image 3. We process the hair of the Amigurumi daisy elf doll with crochet step by step.
Rnd 9: (skip 1 st, 2 dc in next st, 2 tr in next st, 2 dc in next st, skip 1 st, slst in next st) x 2, (ch 20, sc in the second ch from hook, sc in next 18 st, slst in next st) x 2, slst in next 2 st, (ch 20, sc in the second ch from hook, sc in next 18 st, slst in next st) x 16, slst in next 2 st, (ch 20, sc in the second ch from hook, sc in next 18 st, slst in next st)x2
Fasten off, and weave in the yarn tails.
To sew the headband and the hair to the head, start by placing the hair on top of the head and secure the top with a pin.
Then perform the following steps:
• The headband goes through the spaces between hair strands, like in Image 4. Sew the headband to the head by making a stitch on either side
• Pin down all the hair strands except the two in the front (one in each side), like in Image 5. Note that one hair strand covers the end of the headband. Sew them to the head in the place where the pins are.
• Pin the two remaining hair strands as indicated in Image 6. Again, secure them by making a stitch where the pins are.
Skirt
In forest green yarn.
Ch 20. Making sure the chain isn’t twisted, join the first ch stitch to the last with a slst. Continue
working in rounds:
Rnd 1: sc in all 20 st (20)
Rnd 2: (sc in next 3 st, inc in next st)*5 (25)
Rnd 3: sc in next 2 st, inc in next st, (sc in next 4st, inc in next st)*4, sc in next 2 st (30)
Rnd 4: (sc in next 5 st, inc in next st)*5 (35)
Rnd 5: sc in next 3 st, inc in next st, (sc in next 6st, inc in next st)*4, sc in next 3 st (40)
Rnd 6: sc in all 40 st (40)
Rnd 7: (skip 1 st, sc in next 4 st)*8 (32)
Change to white yarn.
Rnd 8: slst in all 32 st (32)
Fasten off, and weave in the yarn tails.
To embroider the flowers in the skirt, perform the following steps
• Make a “star” with five legs, in white yarn, like in Image 7 (next page). Don’t cut the yarn.
• Pull the apricot yarn to the front through the center of the star. Make a french knot, by wrapping the yarn around the needle twice and pulling the needle though to the back of the fabric, close to the center of the star, as shown in Image 8.
• Pull the white yarn to the front of the fabric once again, skip one “star leg” and pass it under the second one (always over the fabric)
• Continue skipping one “star leg” and passing the white yarn under the next one, as shown in Image 10, until you are happy with the size of the flower.
• Pull the white yarn to the back of the fabric, fasten off and weave in the ends. The final result should look similar to Image 11. Embroider as many flowers as you want.
Tie a piece of white yarn around the torso, to create the lines of the bodice.
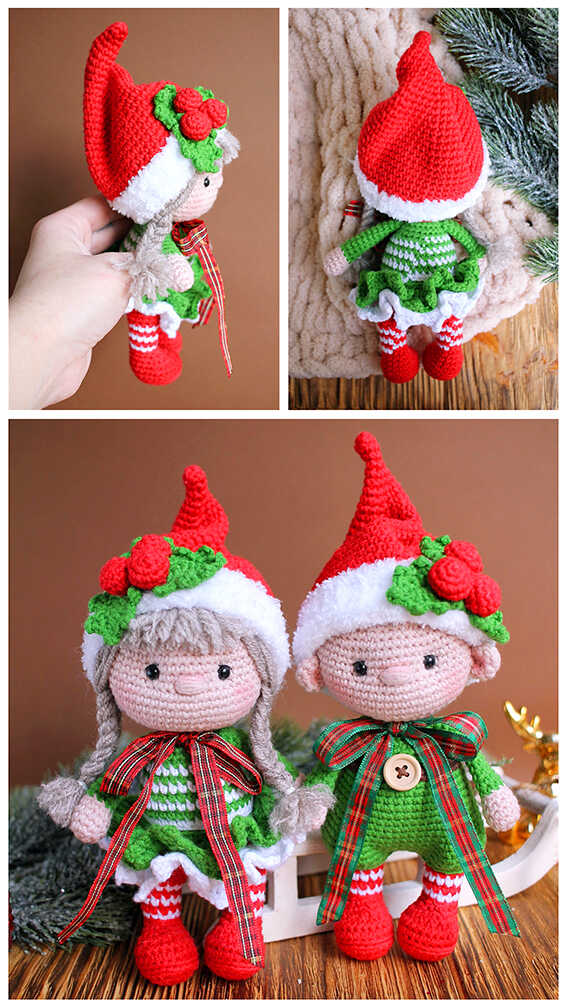
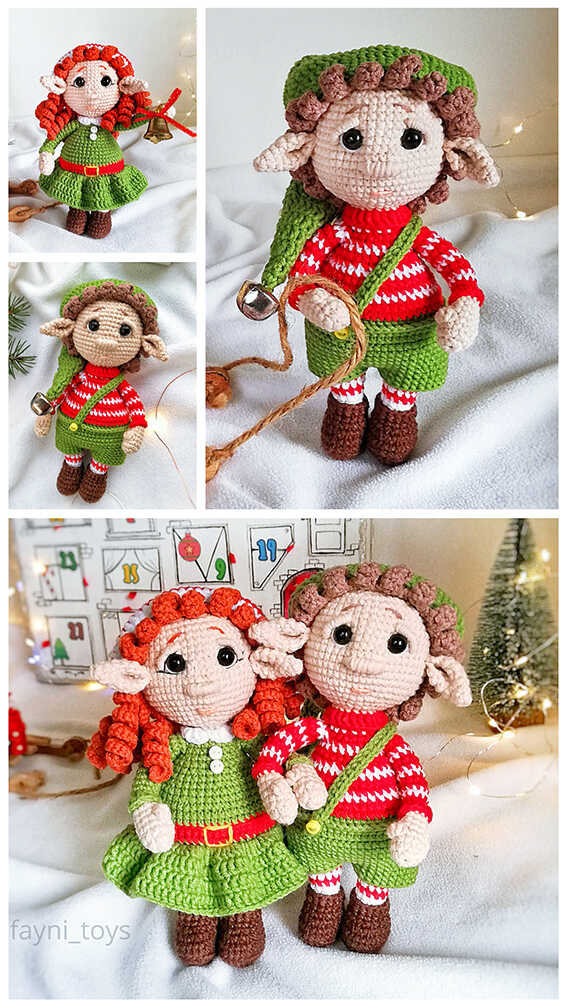
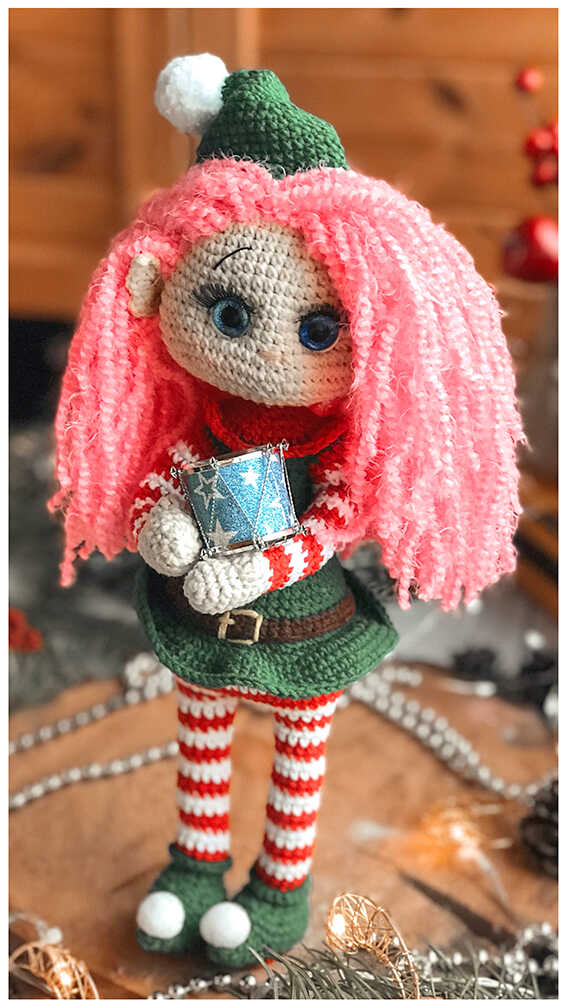
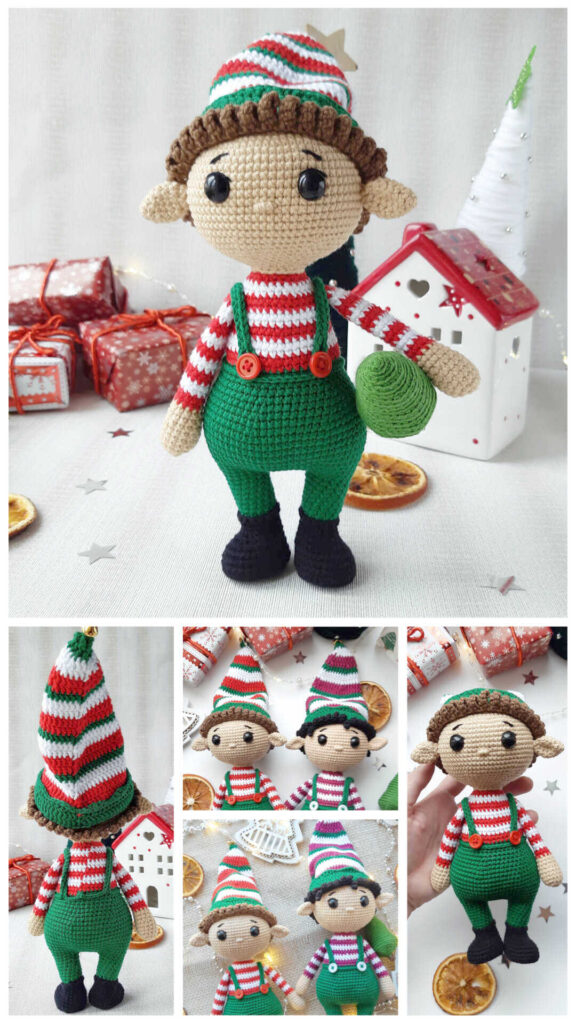
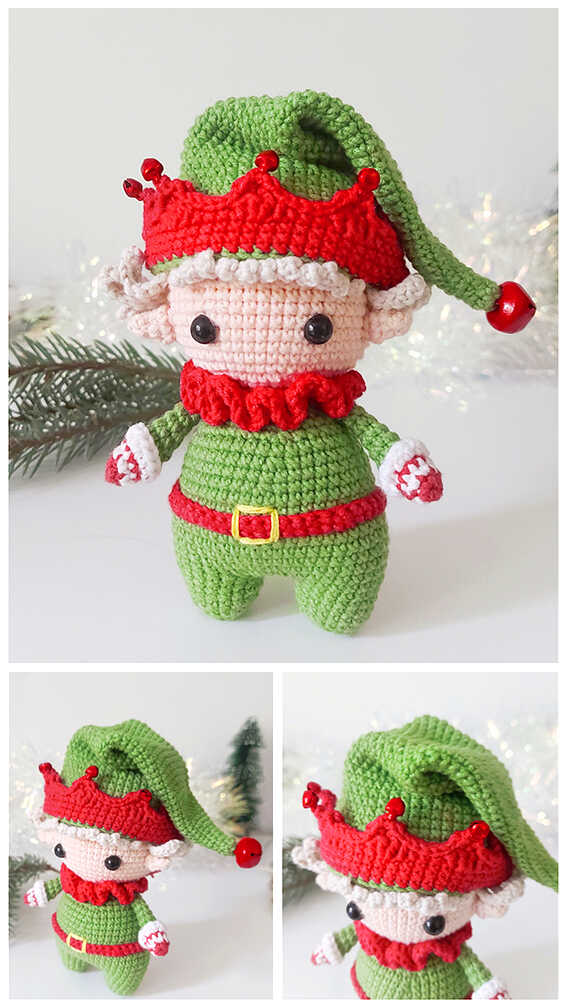
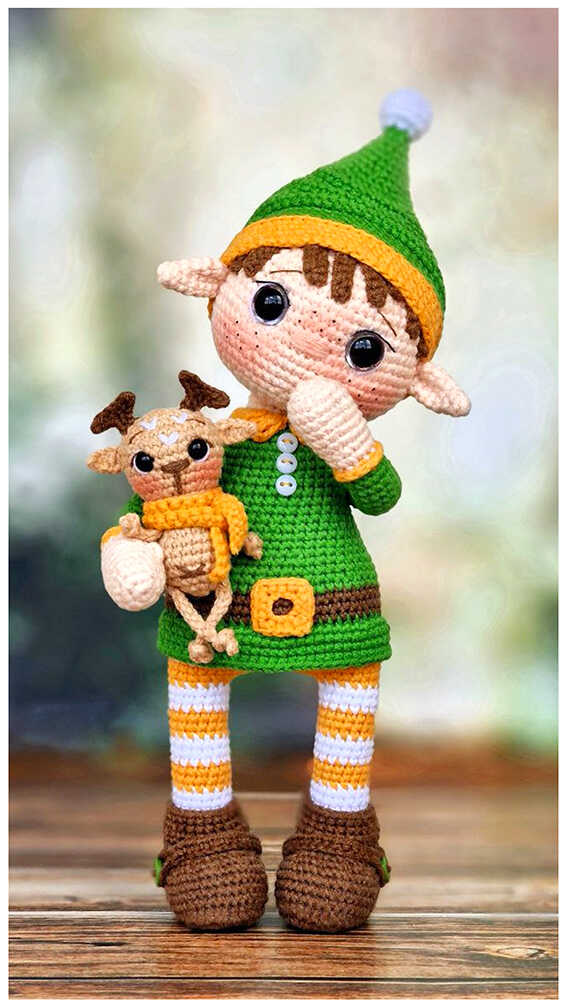
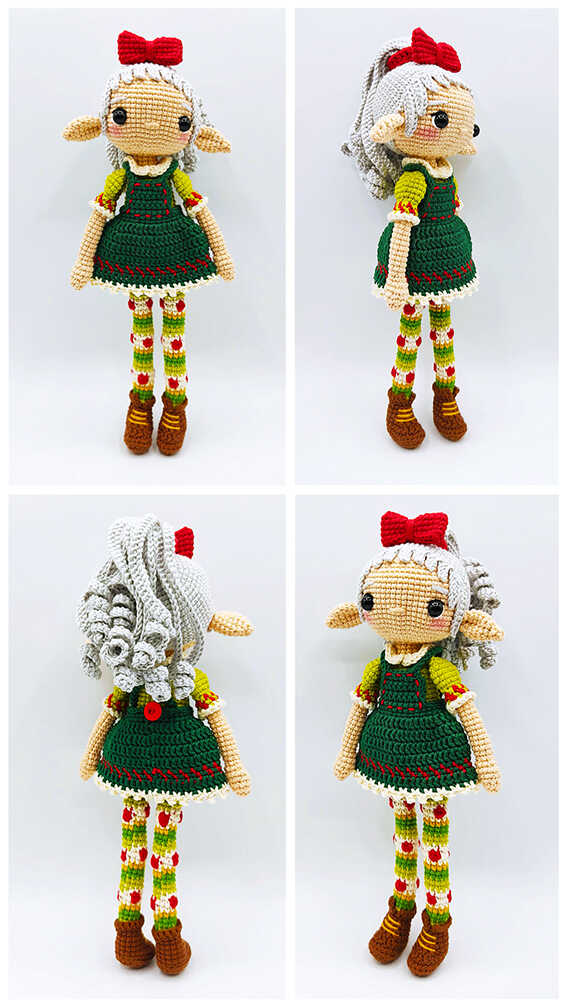
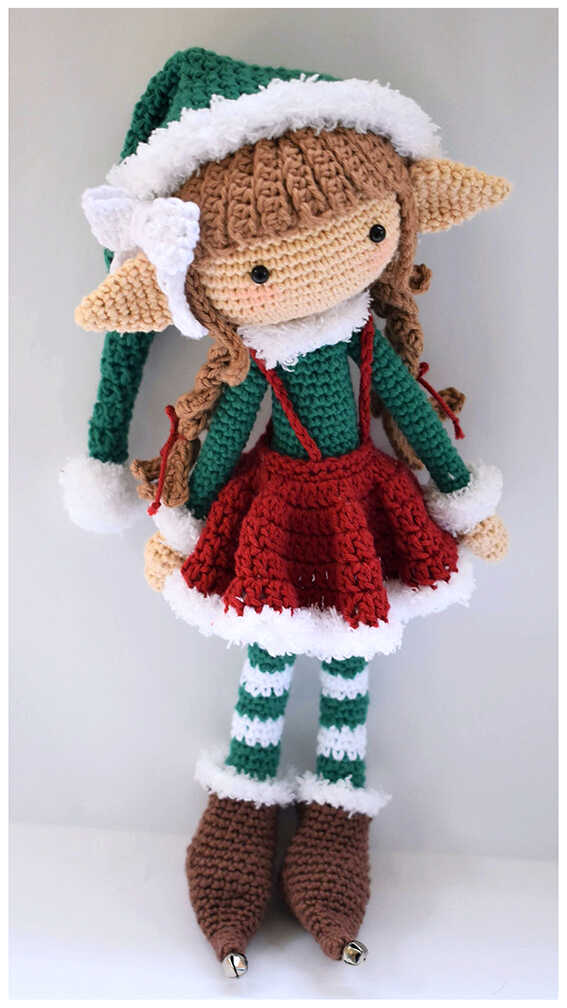
More Amigurumi Elf İdeas