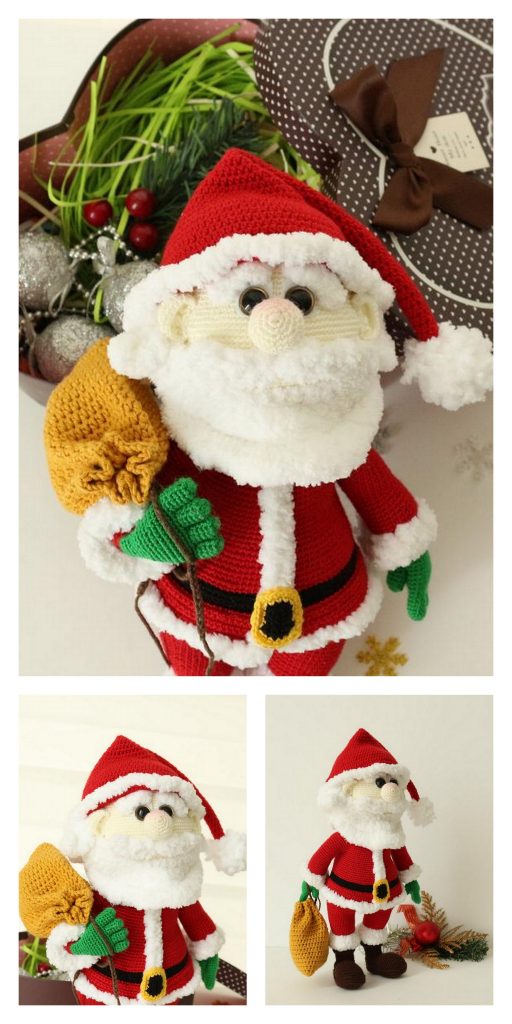
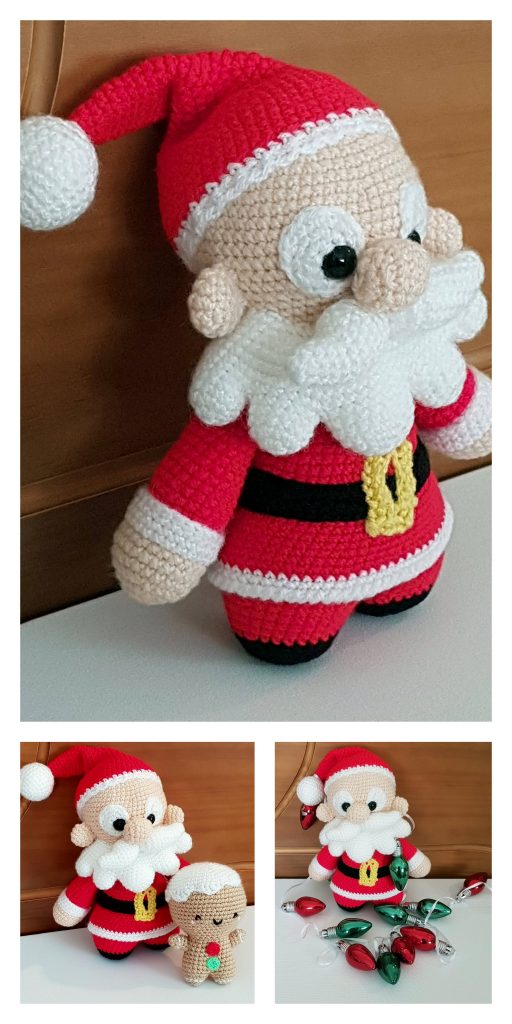
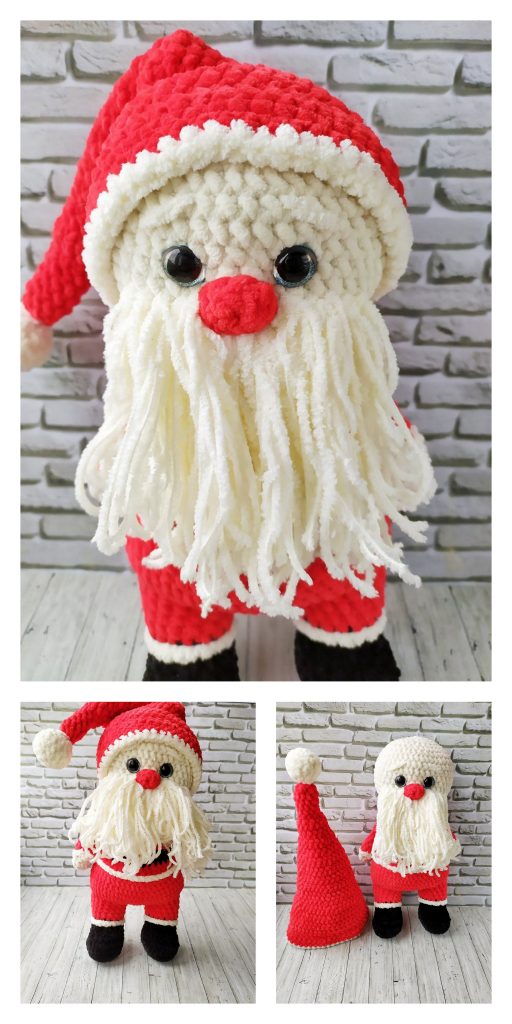
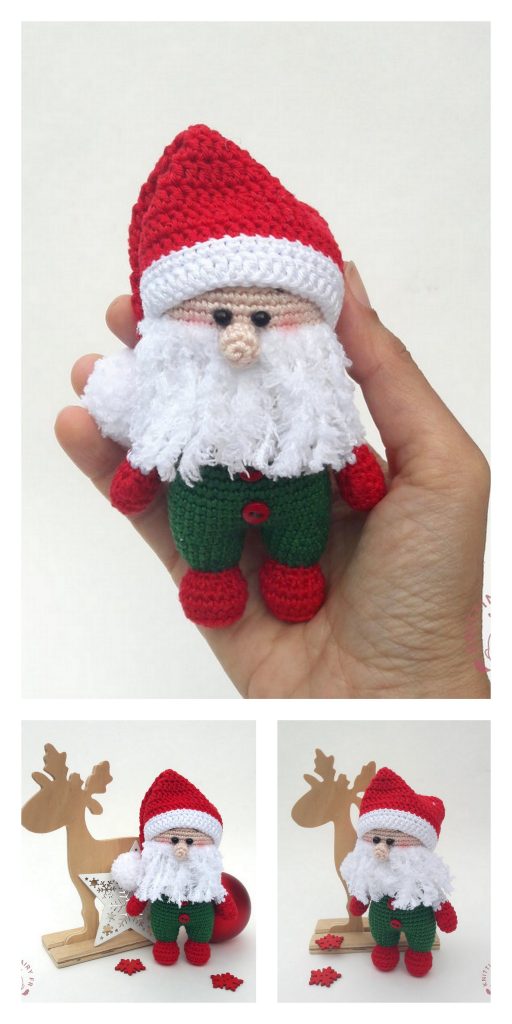
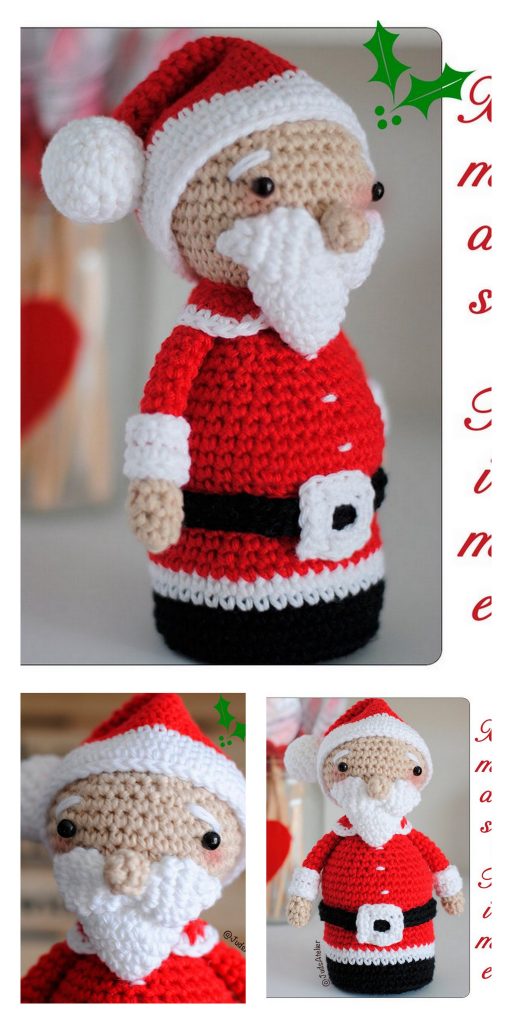
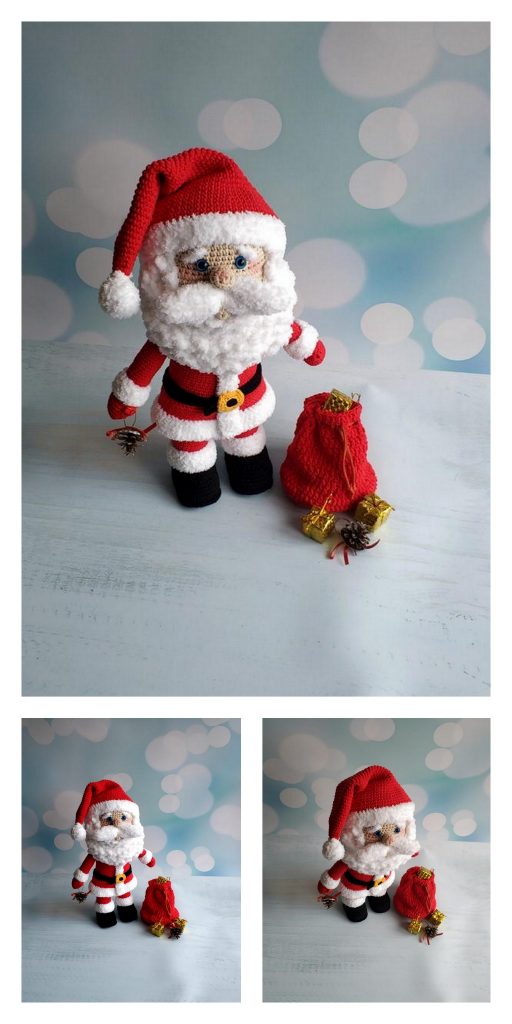
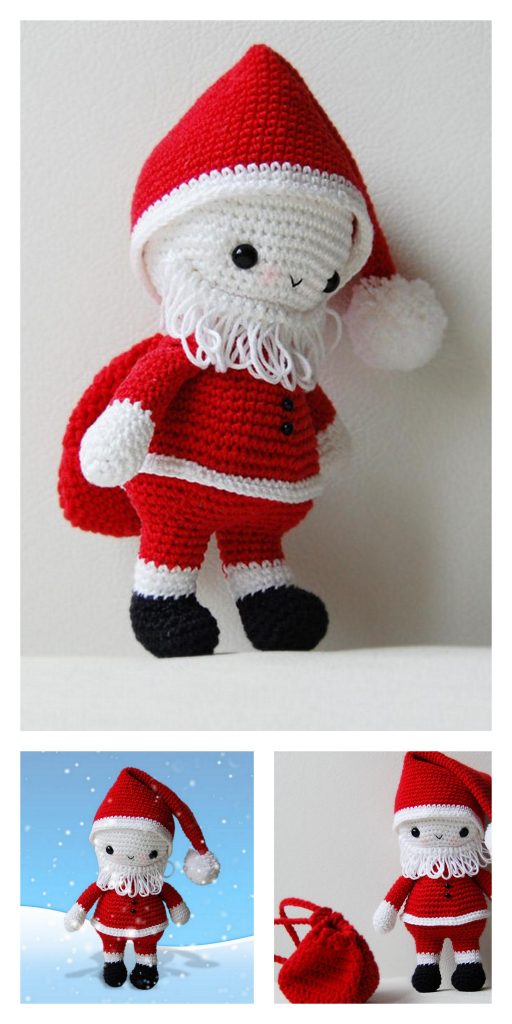
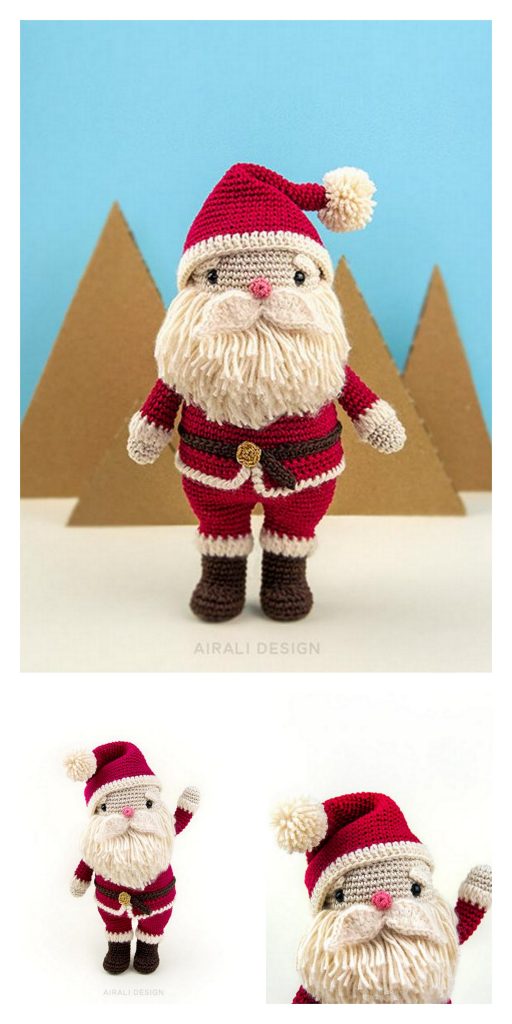
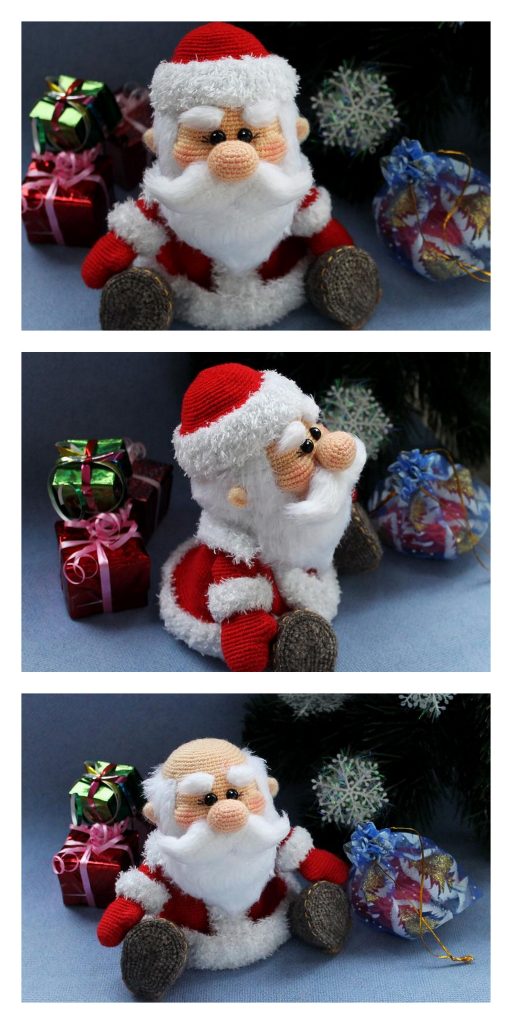
Santa Claus Amigurumi Free Pattern
Legs: (Make 2)
In Black
Round 1: 6 Sc in Magic Ring (6)
Round 2: *Inc* all around (12)
Round 3: *Inc, Sc* all around (18)
Round 4-6: *Sc* all around (18)
Round 7: Sc in the next 4 st, *Dec* 4 times, Sc in the last 6 st (14)
Round 8: Sc in the next 4 st, *Dec* 2 times, Sc in the last 6 st (12)
Round 9: *Sc* all around (12)
Switch to White
Round 10-11: *Sc* all around (12)
Switch to Red
Round 12: *Inc, Sc* all around (18)
Round 13-15: *Sc* all around (18)
Finish off the first leg only. Keep the stitch marker in the first leg.
Now continue working on the second leg.
Round 16: Sc in the next 7 st. Ch 1 (Pic 1). Count 3 st before st marker on first leg and Sc in that 3rd st (Pic 2, 3 & 4). You can remove the first leg’s stitch marker now. Continuing of First leg, Sc in the next 17 st. Now we meet the Ch 1 (Pic 5). Sc in the Ch 1 (Pic 6). Now we meet the Second leg. Sc in the next 11 st. Now we meet the st marker (Pic 7). (Stitch count is 38. Be sure to count the Ch 1 on both sides)
Round 17: Sc in the next 7 St. Now we meet the Ch 1. Sc in the Ch 1. Now we meet the first leg, Sc in the next 18 st. Sc in the next st, now we meet the second leg. Sc in the next 11 st (38)
Stuff legs here
Round 18: Sc in the next 21 st. Repeat *Inc in the next st, Sc in the next st* 6 times. Sc in the last 5 st (44)
Round 19: Sc in the next 21 st. Repeat *Inc in the next st, Sc in the next 2 st* 6 times, Sc in the last 5 st (50)
Round 20-21: *Sc* all around (50)
Switch to White
Round 22-23: *Sc* all around (50)
Switch to Red
Round 24: *Sc* all around (50)
Round 25: Repeat *Dec, Sc in the next 6 st* 6 times, *Dec* in last 2 st (43)
Round 26-27: *Sc* all around (43)
Switch to Black
Round 28-29: *Sc* all around (43)
Switch to Red
Round 30: *Dec, Sc in the next 5 st* 6 times, Sc in last st (37)
Round 31-35: *Sc* all around (37)
Round 36: *Dec, Sc in the next 4 st* 6 times, Sc in last st (31)
Round 37-39: *Sc* all around (31)
Round 40: *Dec, Sc in the next 3 st* 6 times, Sc in last st (25)
Add more stuffing here
Round 41: *Dec, Sc in the next 2 st* 6 times, Sc in last st (19)
Round 42: *Dec, Sc* 6 times, Sc in the last st (13)
Round 43: *Dec* 6 times, Sc in last st (7)
Finish off and add any additional stuffing. Sew closed.
Head:
In Skin Color
Round 1: 6 Sc in Magic Ring (6)
Round 2: *Inc* all around (12)
Round 3: *Inc, Sc* all around (18)
Round 4: *Inc, Sc 2* all around (24)
Round 5: *Inc, Sc 3* all around (30)
Round 6: *Inc, Sc 4* all around (36)
Round 7: *Inc, Sc 5* all around (42)
Round 8: *Inc, Sc 6* all around (48)
Round 9-13: *Sc* all around (48)
Round 14: Sc in the next 20 st, Sc in next st and add a different colored st marker to the Sc just made. This marks where to place the eye. Sc in next 5 st. Sc in next st and add a different colored st marker to the Sc just made. Sc in next 21 st (48)
Round 15-20: *Sc* all around (48)
Add eyes here
Round 21: *Dec, Sc 6* all around (42)
Round 22: *Dec, Sc 5* all around (36)
Round 23: *Dec, Sc 4* all around (30)
Round 24: *Dec, Sc 3* all around (24)
Stuff here
Round 25: *Dec, Sc 2* all around (18)
Round 26: *Dec, Sc* all around (12)
Round 27: *Dec* all around (6)
Finish off and add any additional stuffing. Sew closed.
Mustache:
In White
Row 1: Ch 50. SlSt in 2nd Ch from hook, SlSt in next st, Sc in next st, Hdc in next st, Dc in next st, Trc in next st, Dtrc in next, Trc in next st, Dc in next st, SlSt in next st. Dc in next st, Trc in next st, Dtrc in next st, Trc in next st, Dc in next st, Hdc in next st, Sc in next st, SlSt in next 2 st
Finish off. Pin on as shown.
Nose:
In Skin Color
Round 1: 6 Sc in Magic Ring (6)
Round 2: *Inc* all around (12)
Round 3: In BLO (Back Loop Only) *Sc* all around (12)
Finish off and pin to the head as shown.
Beard:
In White
Row 1: Ch 26. Sc in 2nd Ch from hook, Sc in next 24 st (25)
Row 2: Turn, Sc in next 25 st (25)
Row 3: Turn, Sc in next 8 st, Dc in next 3 st, Trc in next 3 st, Dc in next 3 st, Sc in last 8 st (25)
Finish off and pin on head as shown.
Ears:
In Skin Color
Row 1: Ch 3. Dc in 2nd ch from hook. Dc 2 more times in same st. Dc 3 times in next st and finish off. Pin on as shown.
Sew every piece on now.
Eyes:
In White
Assemble eyes and eyebrows as shown.
Mouth:
In Red
Assemble mouth as shown. Sew mouth below mustache. Sew on head to body.
Hat:
In Red
Round 1: 6 Dc in Magic Ring (6)
Round 2: *2 Dc in each st* all around (12)
Round 3: *Dc* all around (12)
Round 4: *2 Dc in next st, Dc in next st* all around (18)
Round 5: *Dc* all around (18)
Round 6: *2 Dc in next st, Dc in next 2 st* all around (24)
Round 7: *Dc* all around (24)
Round 8: *2 Dc in next st, Dc in next 3 st* all around (30)
Round 9: *2 Dc in next st, Dc in next 4 st* all around (36)
Round 10: *2 Dc in next st, Dc in next 5 st* all around (42)
Round 11-12: *Dc* all around (42)
Switch to White
Round 13: *Dc* all around (42)
Round 14: *Sc* all around (42)
Finish off and pin to the head.
Pom Pom:
In White
First, cut a 12″ piece of white yarn and set aside for later. Now, take white yarn and wrap it around for 3 fingers 80 times (Pic 1, 2, & 3). Now take the yarn off your fingers (Pic 4). Wrap the 12″ piece of yarn around the yarn a few times (Pic 5-6). Do this tightly to secure. Now, cut the loops of yarn as shown (Pic 7-10). Be sure to cut all the longer pieces of yarn off to get a puffy ball. Finally, sew the pom pom to the top of the hat.
Arms:
In Green
Round 1: 6 Sc in Magic Ring (6)
Round 2: *Inc* all around (12)
Round 3: *Inc, Sc* all around (18)
Round 4-5: *Sc* all around (18)
Round 6: Sc in the next 11 st. 3 Dc in the next st. Remove hook from current st (Pic 1) and insert it into the first Dc (Pic 2). Now reinsert hook into current working st (Pic 3). Yarn over (Pic 4) and pull through both loops (Pic 5). This makes 1 popcorn stitch for the thumb (Pic 6). Sc in the next 6 st (18)
Round 7-8: *Sc* all around (18)
Round 9: *Dec, Sc* all around (12)
Switch to White
Round 10-11: *Sc* all around (12)
Switch to Red
Round 12-22: *Sc* all around (12)
Finish off and stuff. Pin on as shown and sew on.
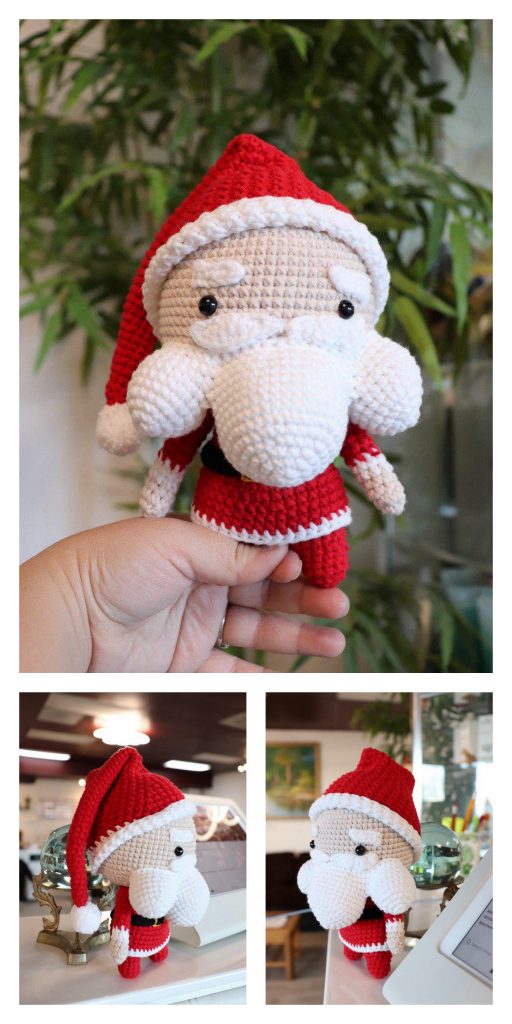
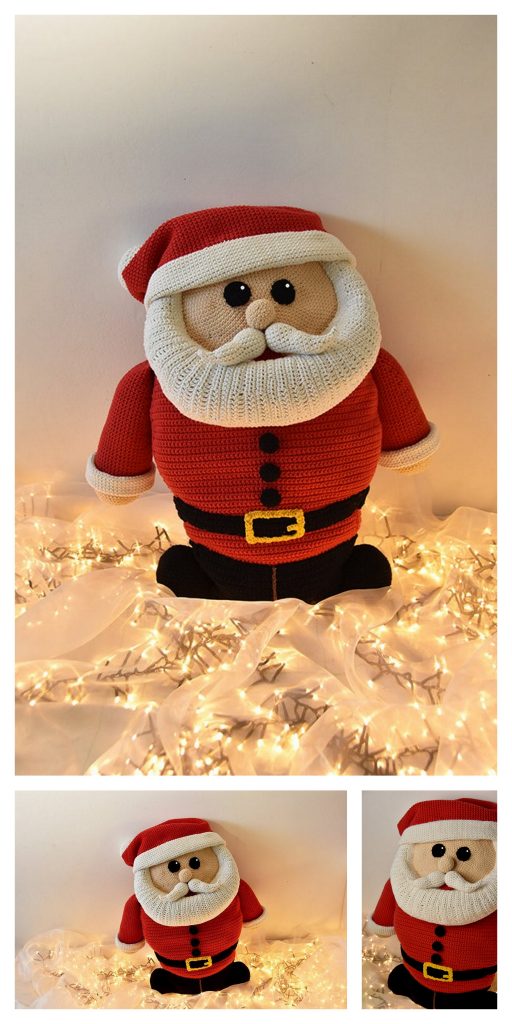
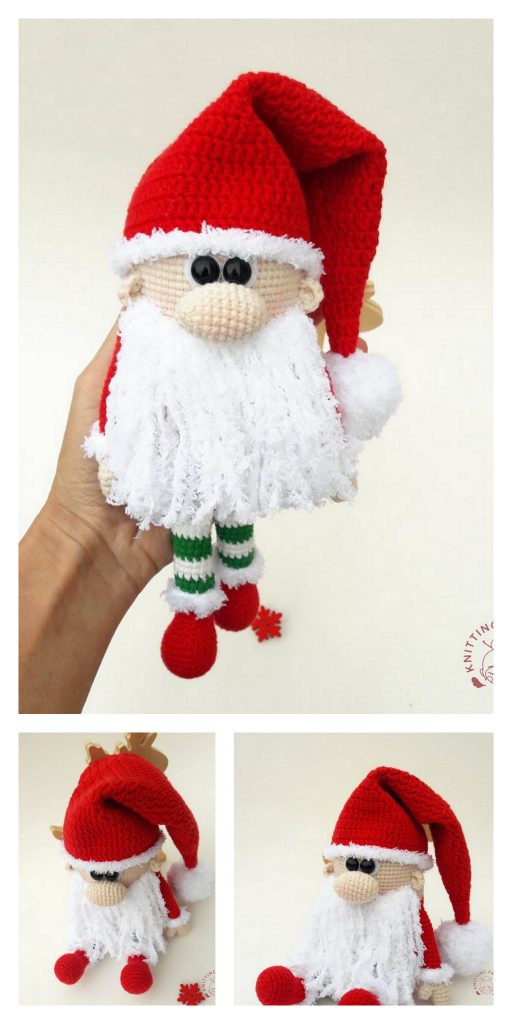
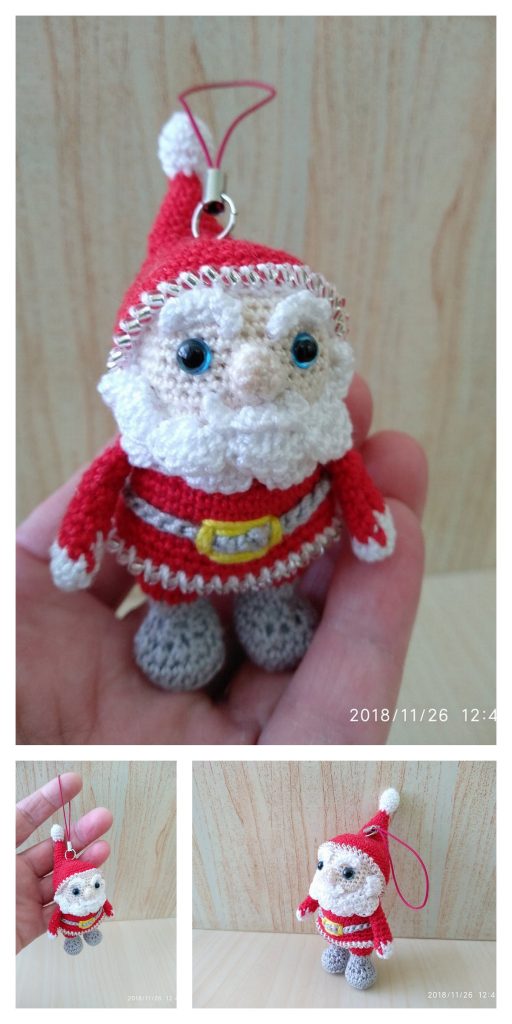
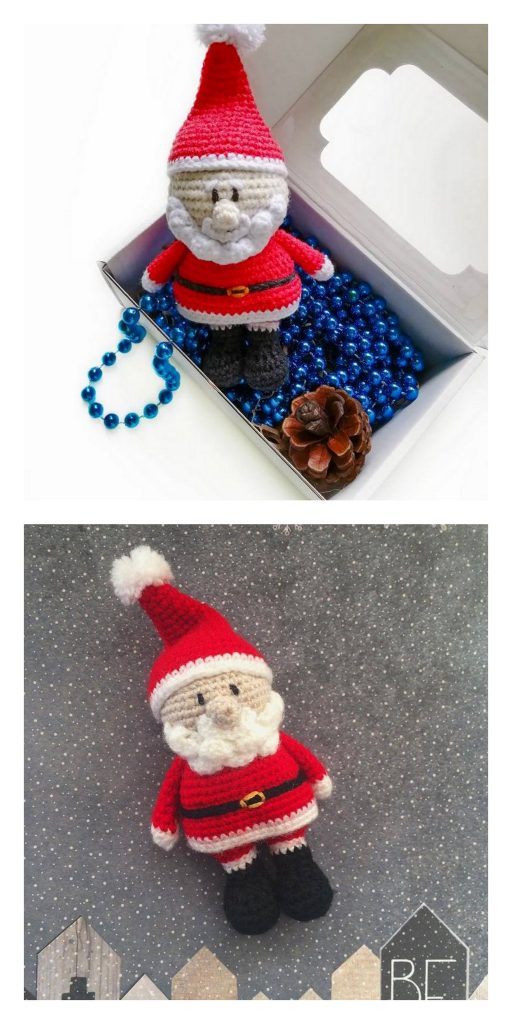
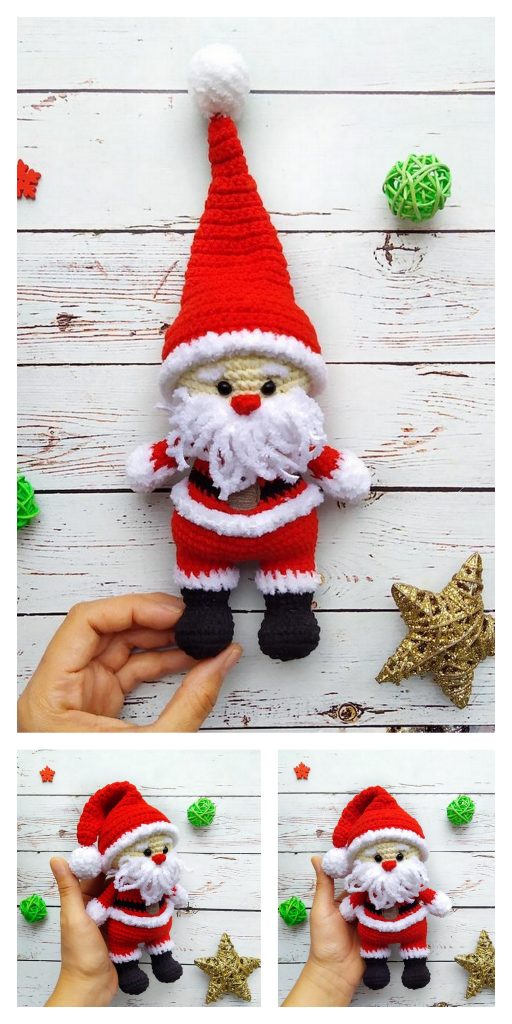
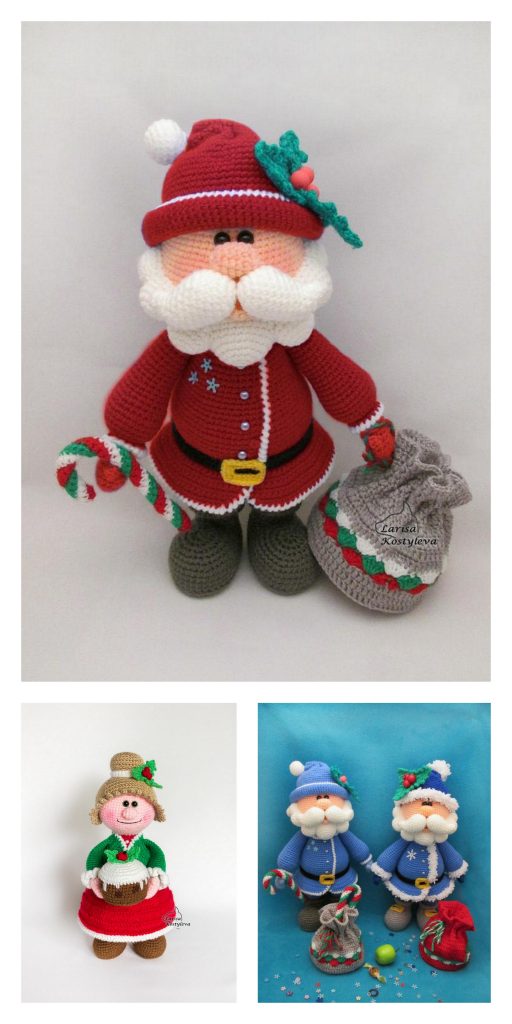
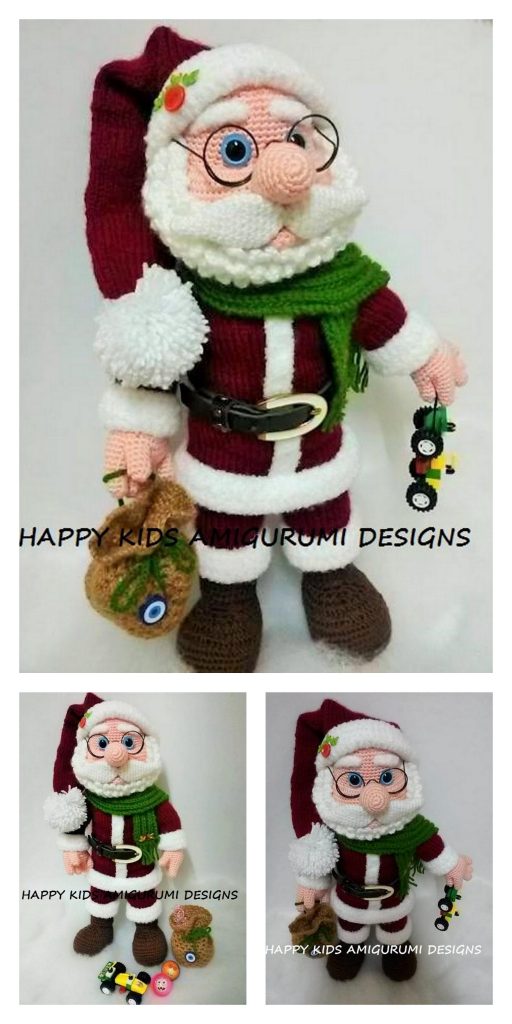
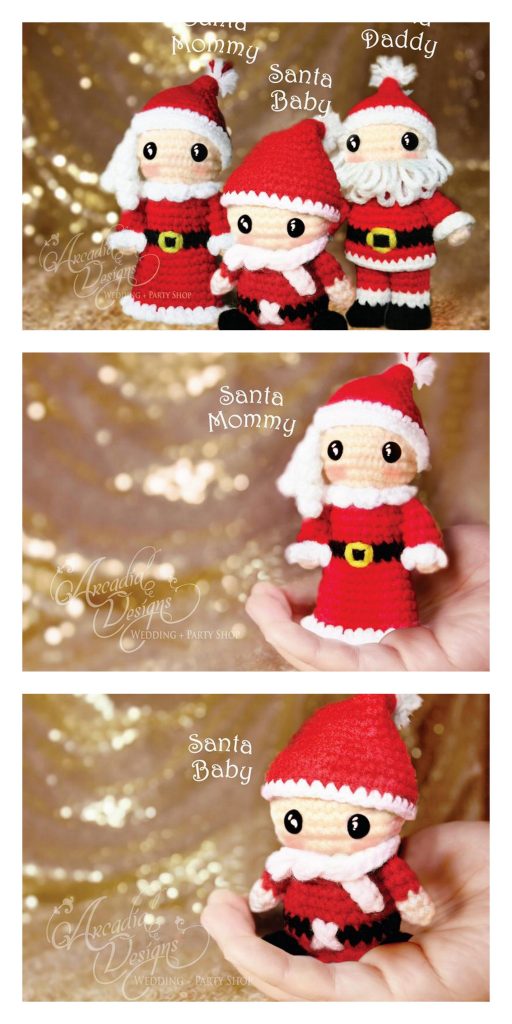
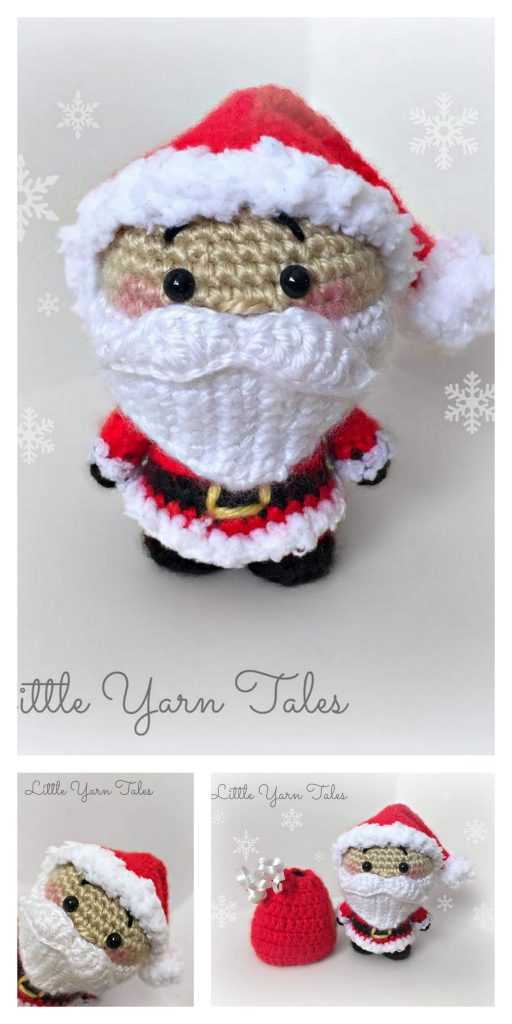
More Amigurumi Santa Claus Ideas: