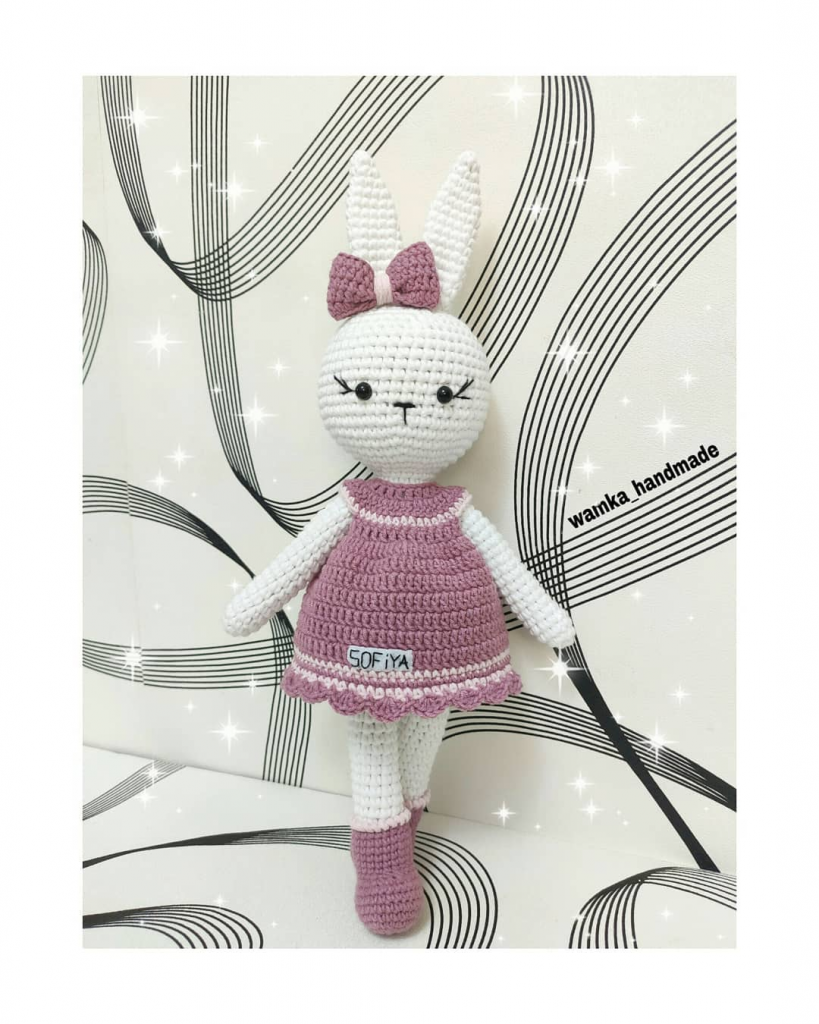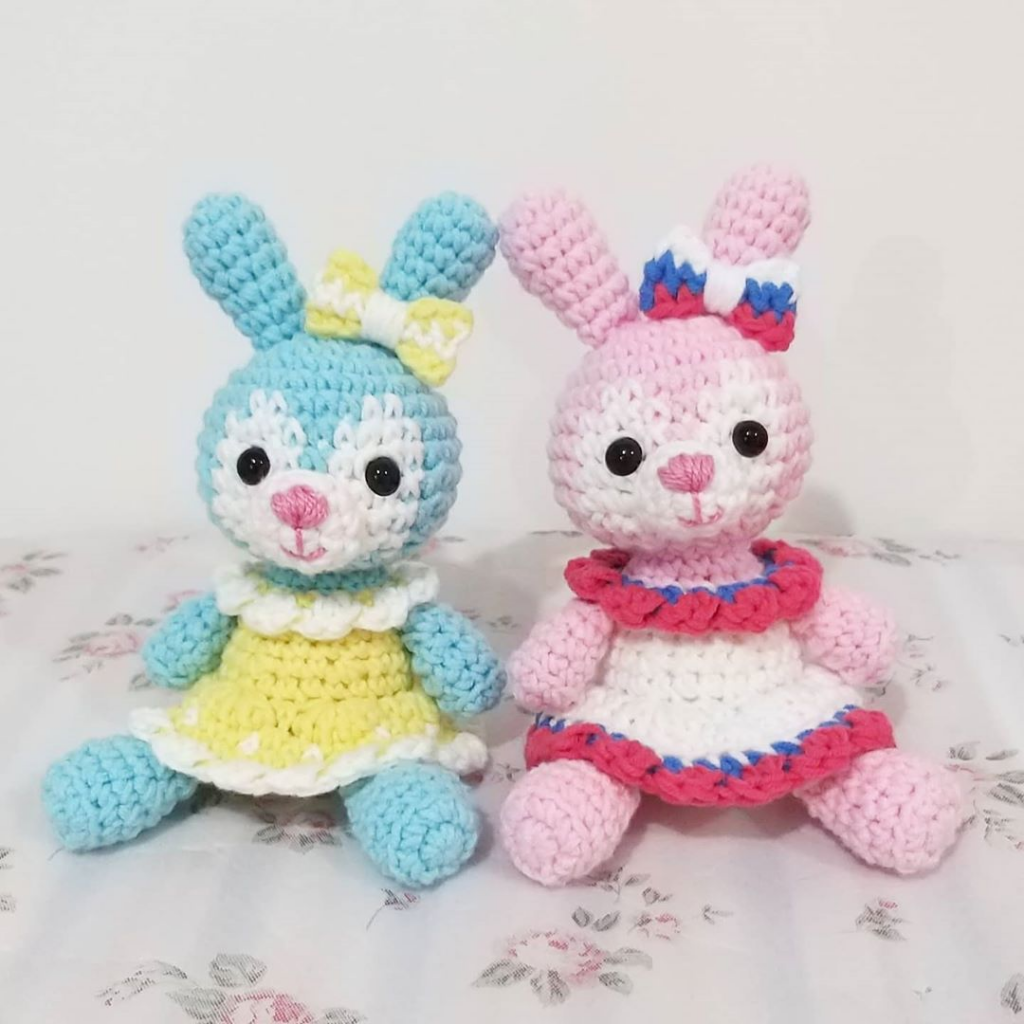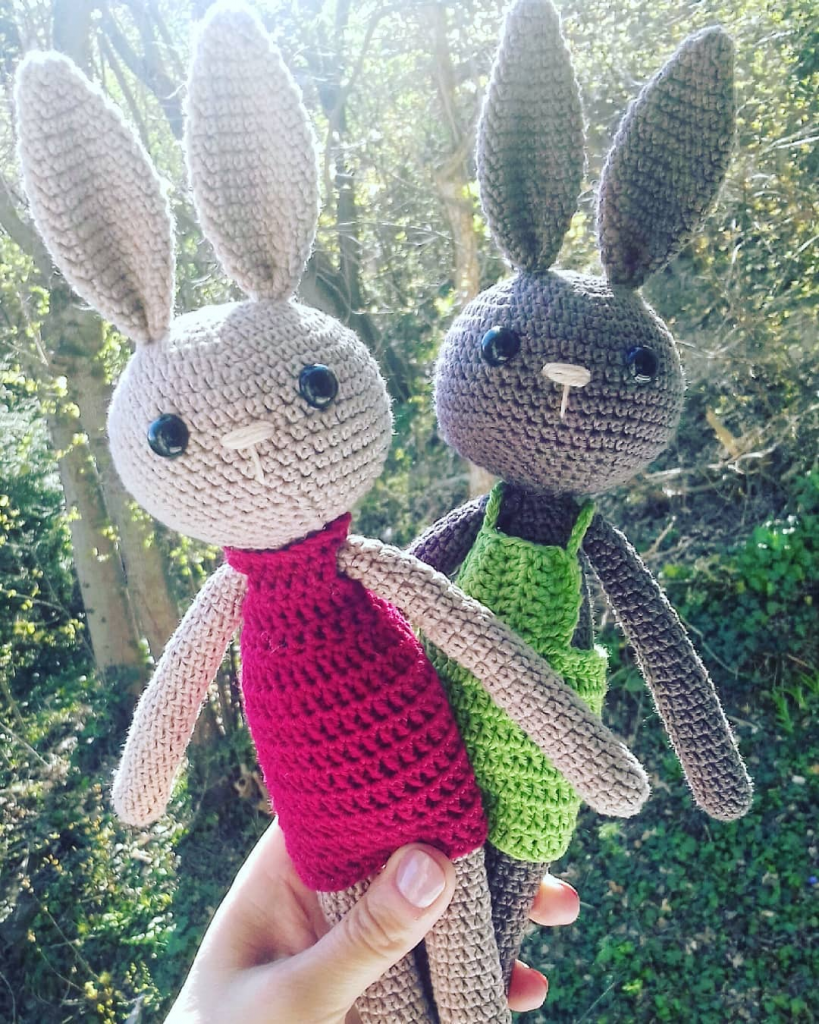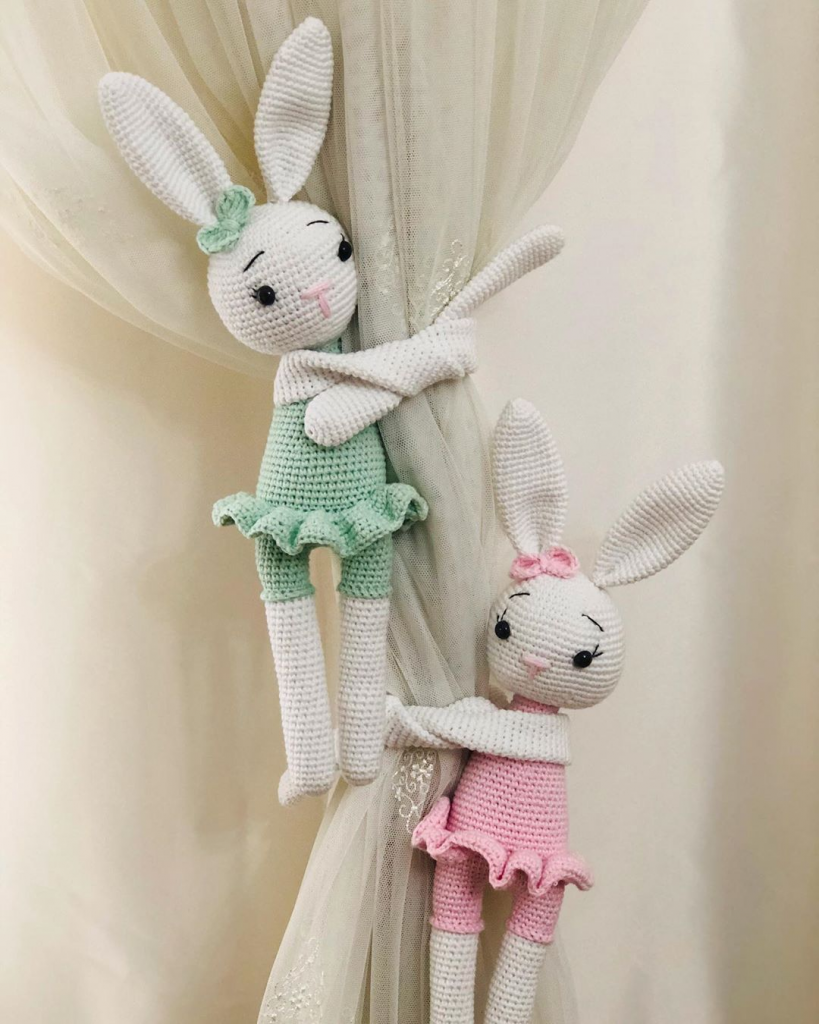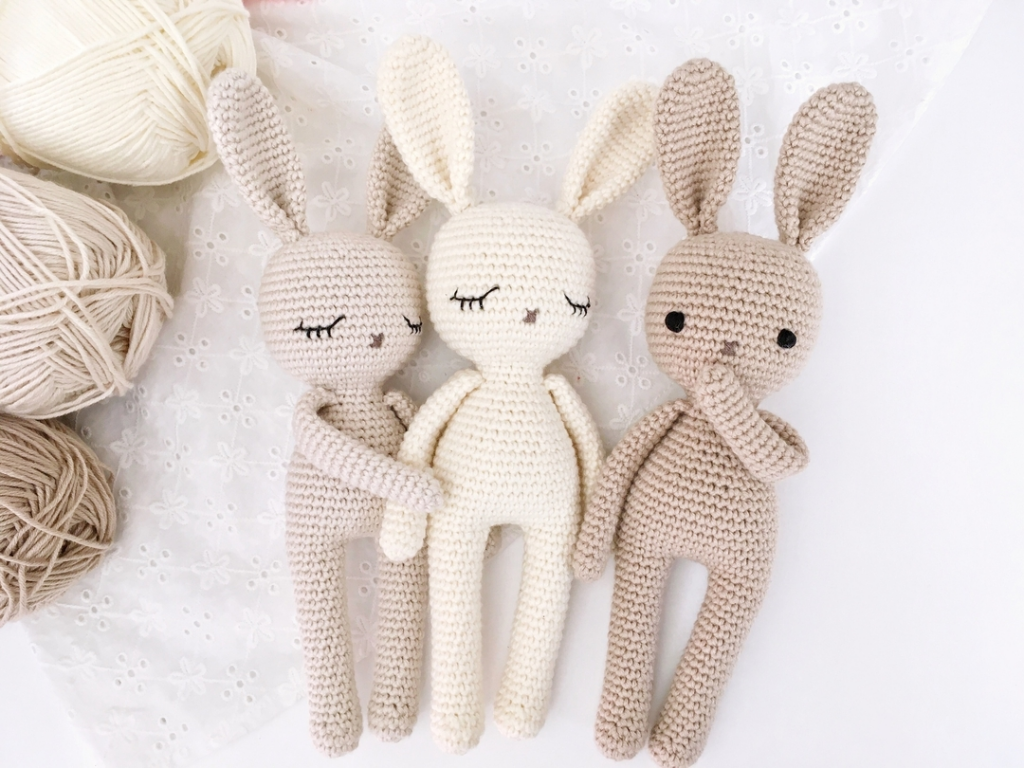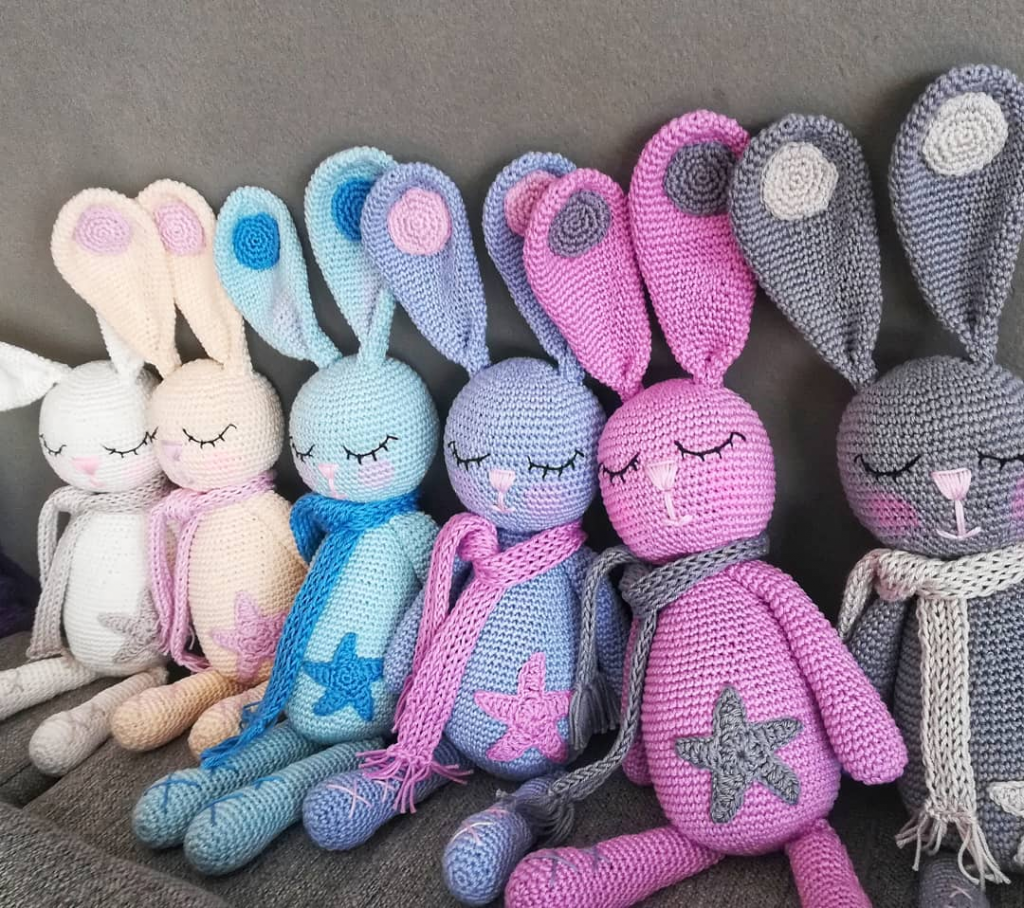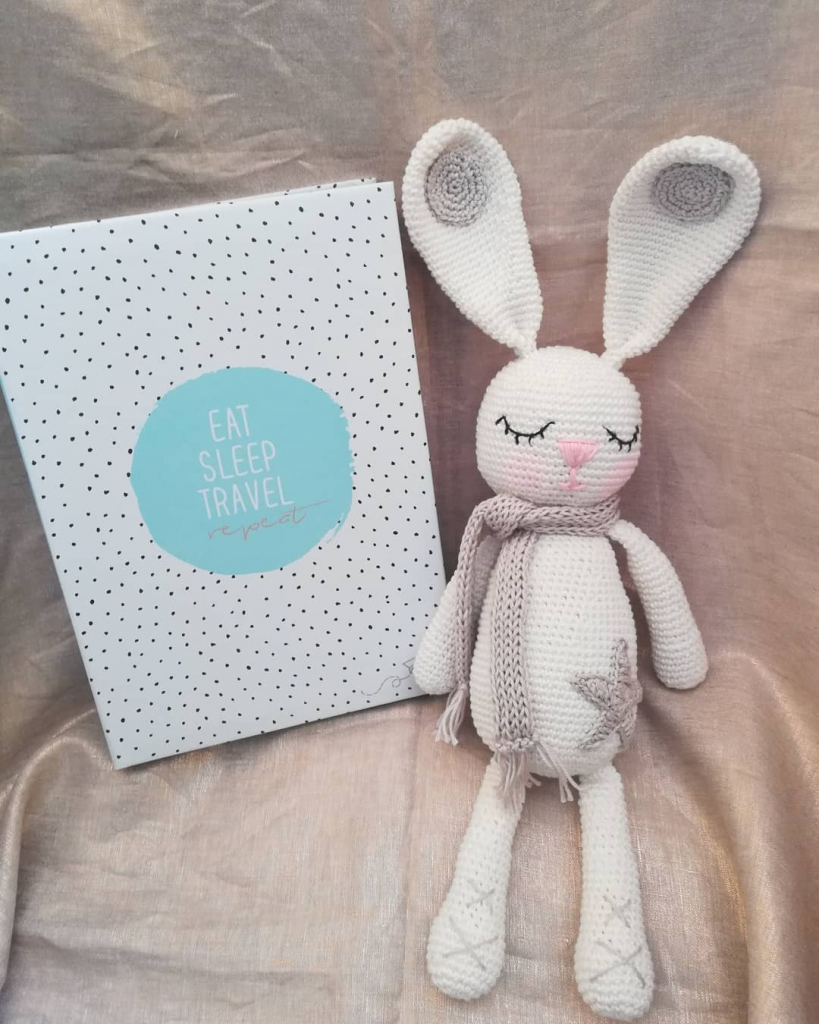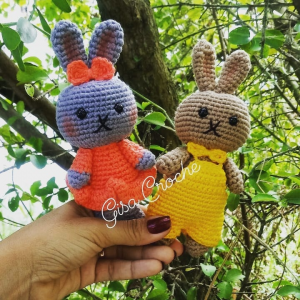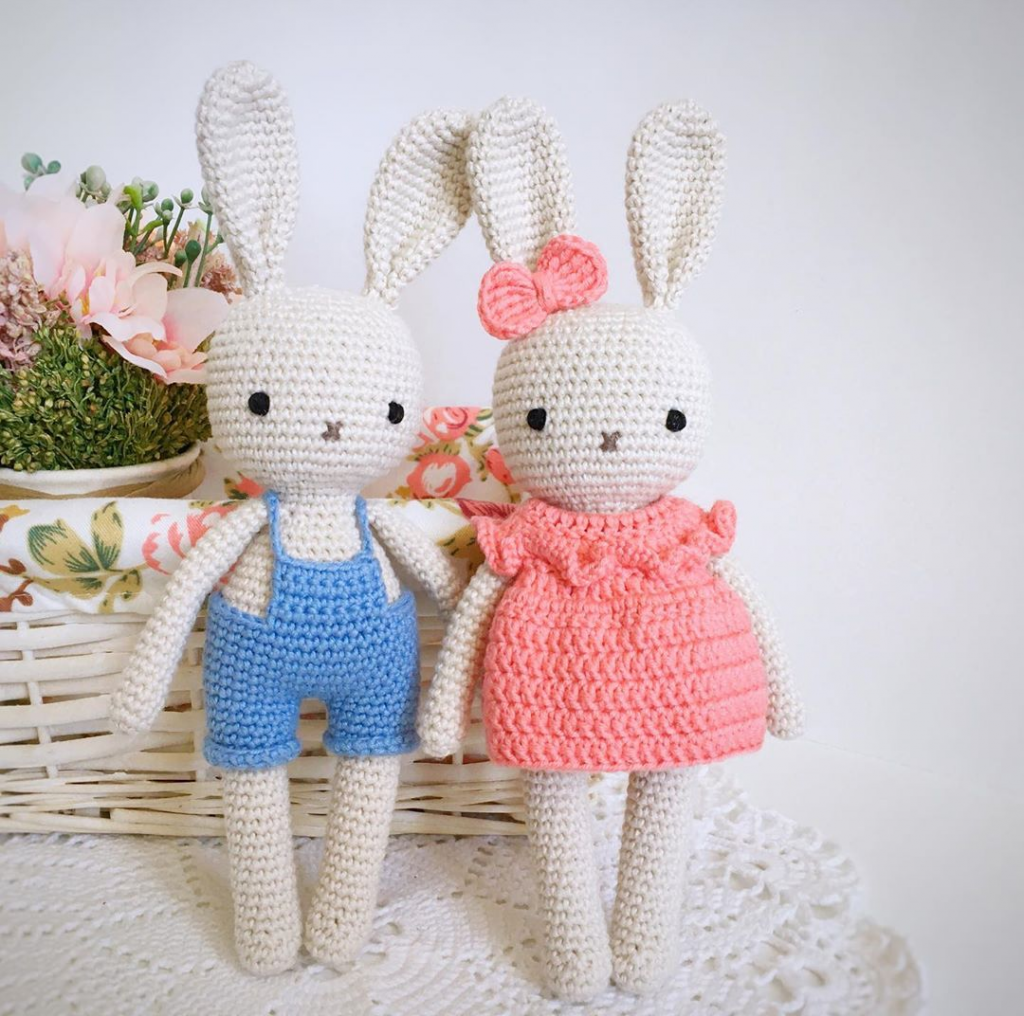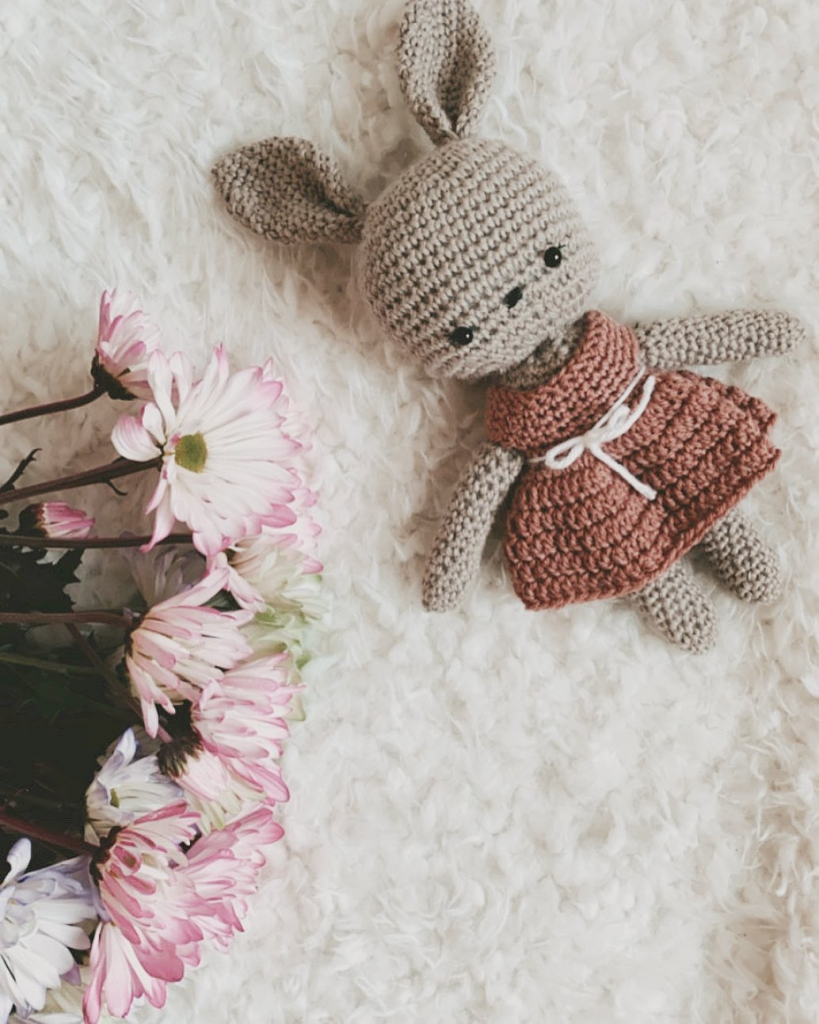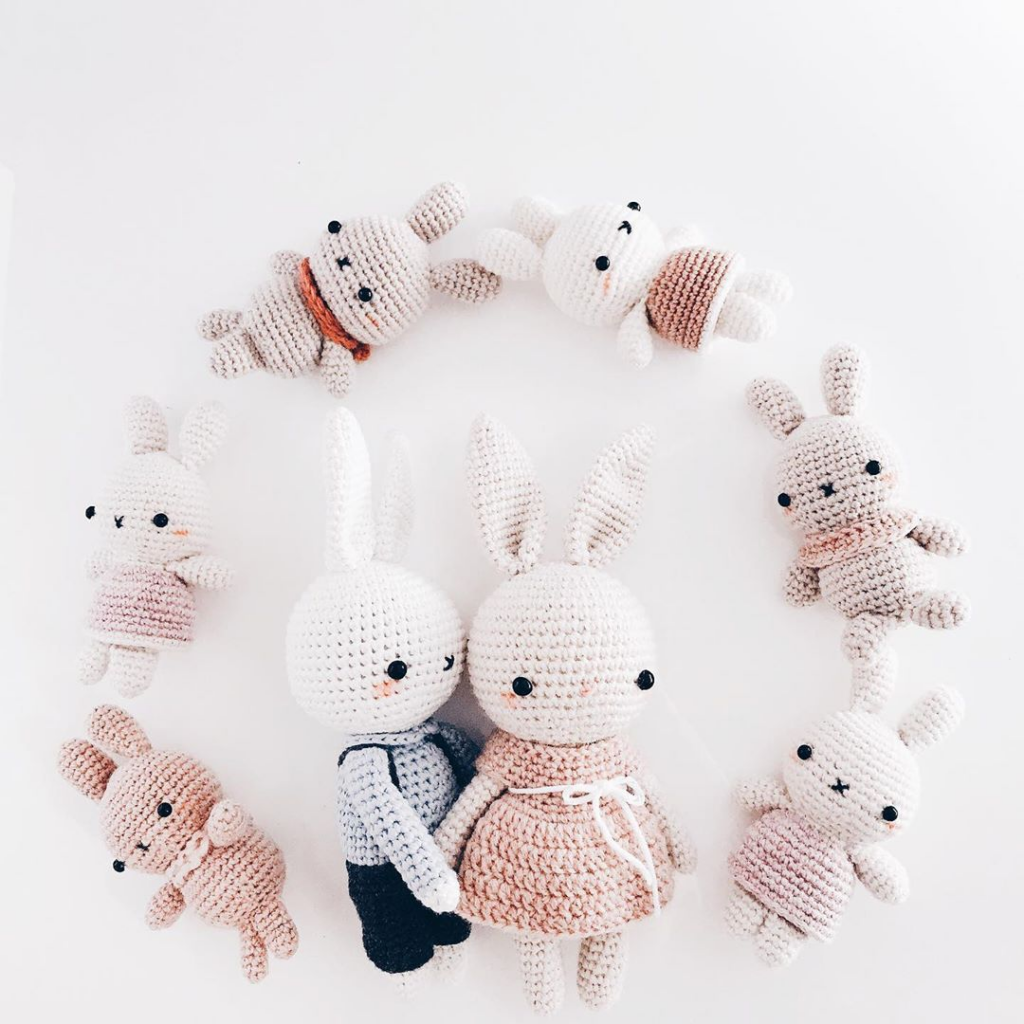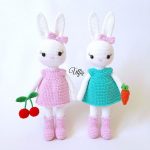
Girlfriend Bunnies Amigurumi Free Crochet Pattern
Cute amigurumi girlfriend bunnies from Natalia Prokudina . Crochet pattern of toys and dresses.For a bunny you will need:
- white yarn (preferably YarnArt Jeans, Alize Cotton Gold)
- holofiber
- 8 mm eyes
- yarn for a dress and shoes (you can take acrylic for a dress, harder to hold a shape for shoes)
- cotton thread for embroidering thin cilia
- hook 2 , 5
- a needle for sewing yarn
- scissors
- a marker, so as not to lose count (optional)
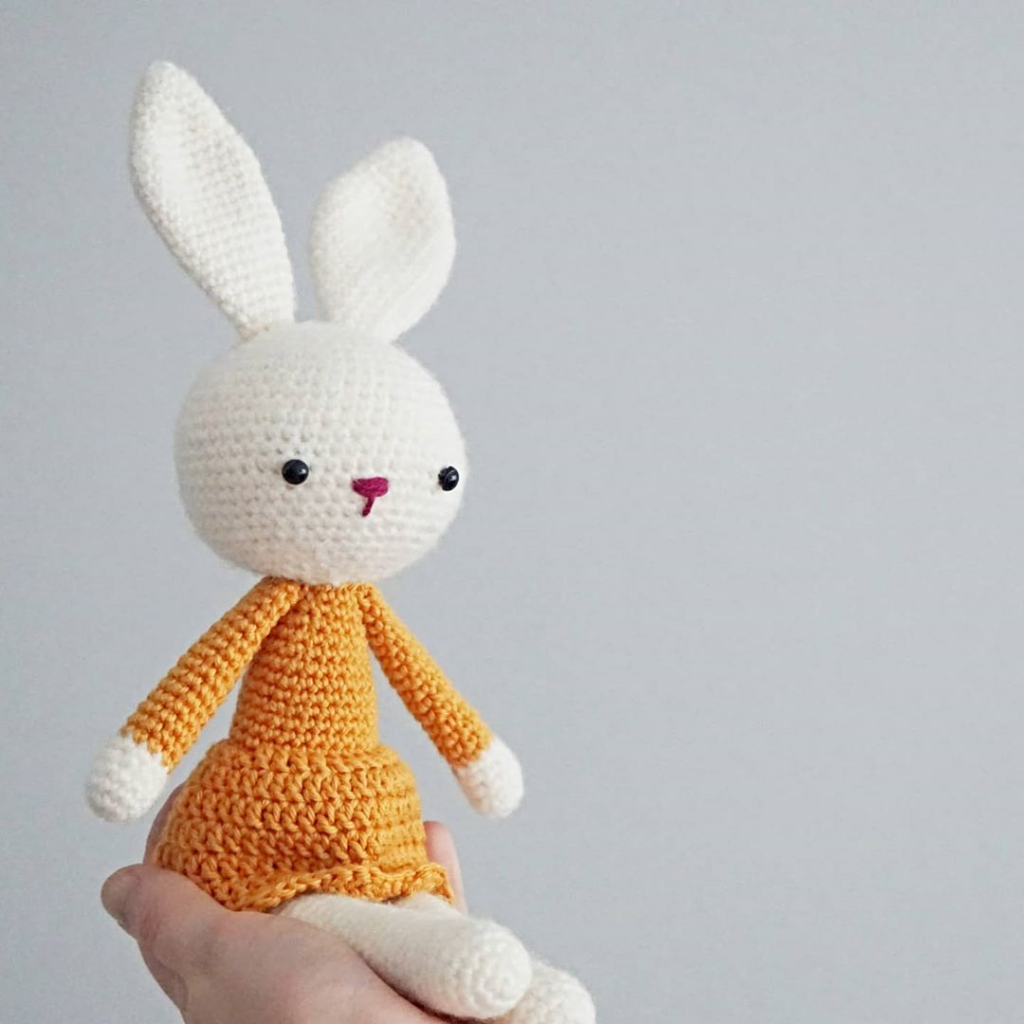
The hare comes out with a growth of about 30-32 cm from the yarn that is indicated above.
Legend:
ring – amigurumi ring
RLS – SC (single crochet)
pr – increase
Ub – decrease
vp – air loops
sn – double crochet
ss – connecting column
Description of crocheting amigurumi bunnies:
Head
1 row: 6 sc in the ring
2 row: 6 ave. (12)
3rd row: (1 sc, pr) * 6 (18)
4th row: 1 sc, pr, (2 sc, pr) * 5, 1 sc (24)
5 row: (3 RLS, pr) * 6 (30)
6 row: 2 RLS, pr, (4 RLS, pr) * 5, 2 RLS (36)
7 row: (5 RLS, pr) * 6 (42)
8 row: 3 RLS, pr, (6 RLS, pr) * 5, 3 RLS (48)
9 – 21 rows: 48 RLS
22 row: (6 RLS, ub) * 6 (42)
23 row: ( 5 sc, ub) * 6 (36)
24 row: (4 sc, ub) * 6 (30)
25 row: (3 sc, ub) * 6 (24)
26 row: (4 sc, ub) * 4 ( 20)
We leave the tip for sewing on the head 35-40 cm.
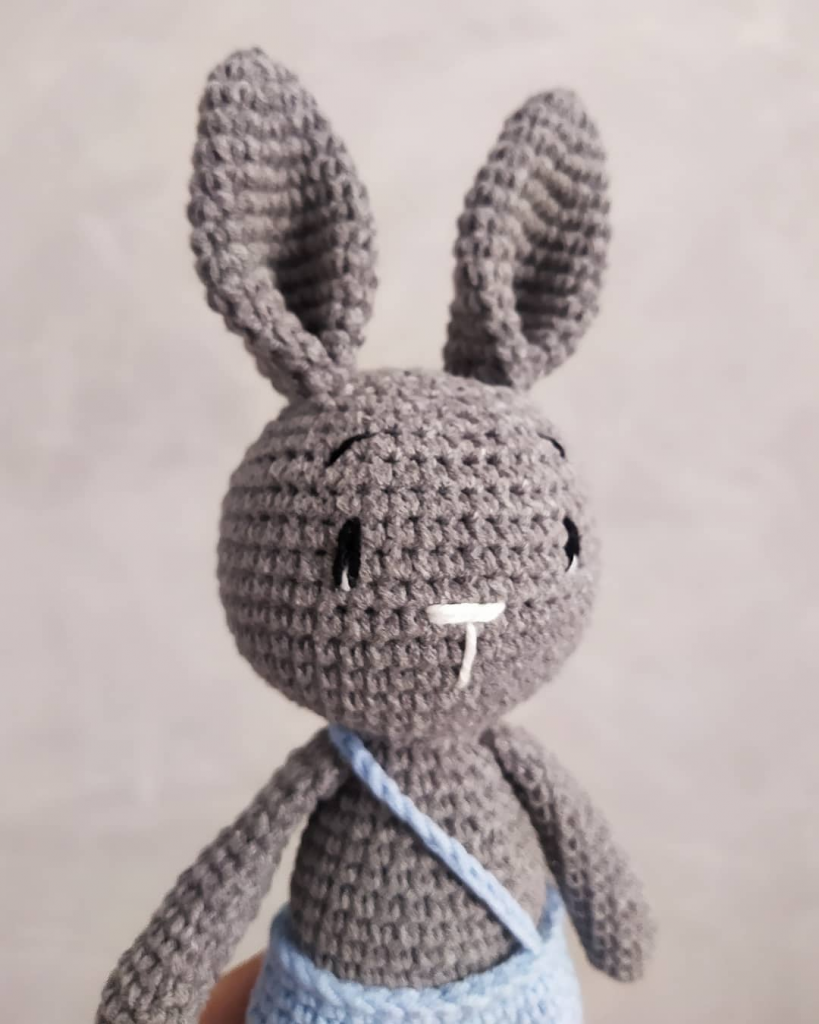
(!) If you stick eyes (rather than paste), I advise you to do this at the very end, so as not to injure them again.
The distance between the eyes is 7 sc.
I advise you to first insert the safe needles, and then embroider 3 cilia for each eye. And then, slightly going on the eyelashes, glue the eyes. I will use half beads, glue on Moment Gel.
Embroider the nose with a soft pink thread on the next row under the eyes.
Empirically, we have come to the conclusion that if you knit from YarArt Jeans or Alize Cotton Gold yarn, then directly you can knit up to 18-19 rows. The main thing is that a round ball is formed, as in the photo. It also depends on the density of your knitting.
Ears (2 parts)
1st row: 6 RLS in the ring
2nd row: (1 RLS, pr) * 3 (9)
3rd row: (2 RLS, pr) * 3 (12)
4th row: 12 RLS
5 row: (2 RLS, pr) * 4 (16)
6-18 rows: 16 RLS
19 row: (2 RLS, ub) * 4 (12)
20th row: 12 RLS
Leave a thread long enough to sew the ears in half and sew to to the head. I sew on 3-4 rows.
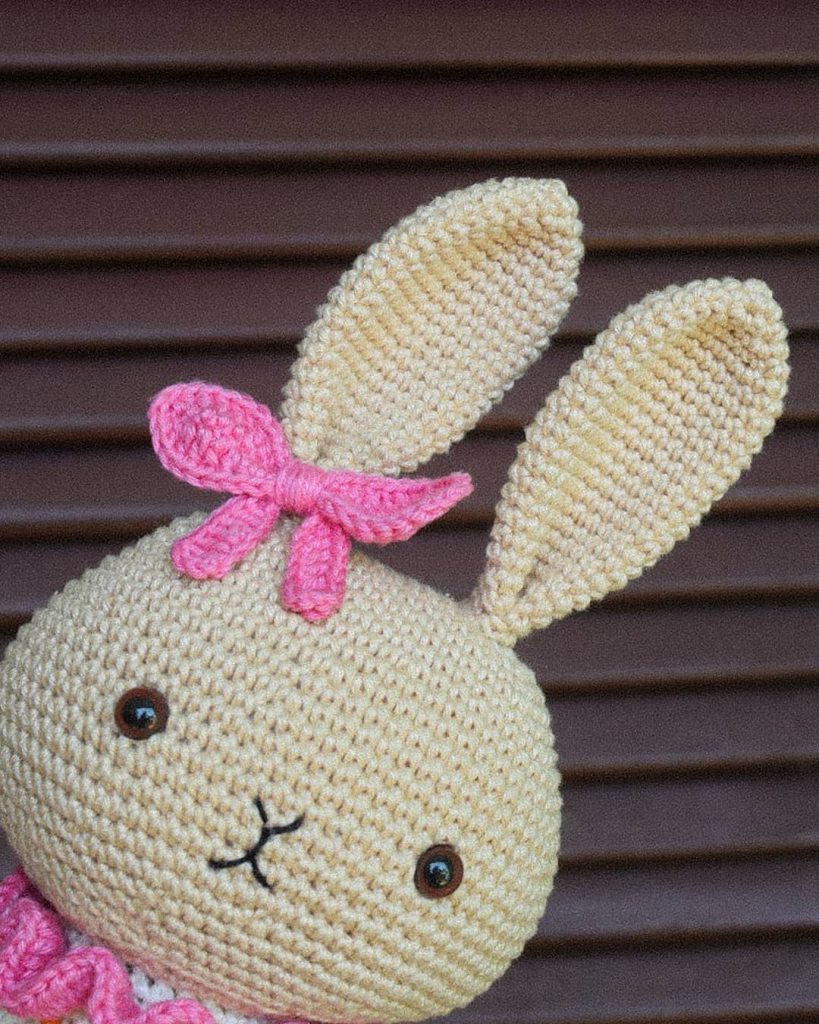
Bow on the ear
Bow: 18 VP + 1 VP for lifting
1 row: RLS (18)
2 row: RLS (18)
Sew, sew with yarn in the center, sew to the eye.
Hands (2 parts)
1st row: 5 RLS in a ring
2nd row: 5 ave. (10)
3 – 25 rows: 10 RLS (10)
We fill it loosely so that the pens keep their shape.
Boots + legs (2 parts)
We start knitting with the color of boots.
1 row: We collect a chain of 6 vp Starting from the second loop from the hook: 4 sc, 3 sc in the
last loop. On the other side of the chain: 3 sc, 3 sc in the last
loop (13)
2 row: 4 sc, pr in the next. 3 loops, 3 prs, pr in the trail. 3 loops (19)
3 row: 6 prs, 3 pr, 7 prs, 3 pr (25)
4 – 7 rows: 25 prs
8 row: 4 prs, 6 ub, 9 prs (19)
9 row: 4 prs, 3 UB, 9 SBN (16)
10-15 rows: RLS in a circle (16)
Tied. Next, we knit 3 RLS so that the end of the row is behind the legs in the center.
16 row: we knit for the FRONT wall of the RLS (16)
17th row: we oblige with a RACH STEP like this: 2 VP, next. the loops we begin to do the strapping with a crustacean step, at the end we pull the hook out of the loop, start it in the 2nd c.p. (which we did at the beginning), hook the loop of the last column, and put it through the 2nd air loop, fasten, cut the thread , we hide it inside the boot with a needle. (16)
We stuff the part. We continue to knit with body color:
Turn off the top of the boot for the convenience of further knitting.
18 row: we knit BACK the back loops and do 2 kills in any place (14)
19 – 38 rows: 14 RLS (14)
Torso
3 air loops between the legs, connect, then knit in a circle:
1 row: 34 sc,
2 sc : 6 sc, pr, 8 sc, pr, 8 sc, pr, 9 sc (37)
3 – 8 rows: 37 sc ( 37)
9 row: 4 RLS, UB, 5 RLS, UB, 4 RLS, UB, 5 RLS, UB, 4 RLS, UB, 5 RLS (32)
10 – 13 rows: 32 RLS
14 row: (4 RLS, UB .)*five; 2 RLS (27)
15 row: 27 RLS
16 row: 1 ub .; (3 PRS, ass.) * 5 (21)
17 row: 1 ass., 19 PRS (20)
18 – 21 rows: 20
PRS We stuff. Sew the head to the body.
Sew handles to approximately the 18th row of the body. Dress
1 row: 39 VP, make a SS (connecting column) in the 10th loop from the hook, dial 3 VP and knit 29 PRS.
2. 3 VP, (1 CCH, D) * 15 (45)
3. 1 VP, sbn to the end of the row (45)
4. VP, change color, 6 sbn, 10 vp, skip 8 sbn and knit sbn on the 9th, 17 sbn, 10 vp, skip 8 sbn, 6 sbn
5. 3 VP, 6 PRS, 13 PRS in VP pre-row, 17 PRs, 13 PRS in VP, 6 PRs
6. 3 VP, increase every 5 CCHs (64) Connect to the ring using ss
7-13. 64 СCH
14. Harness with a step of a dog.
Since everyone knits from different yarns and everyone has a different knitting density, we try on a dress for our bunny. You may need to dial a chain of VP longer, or shorter. And also in the 5th row I knitted a chain of VP 13 CCH, you can do less if the dress already sits well.
Also, focus on the length of your bunny.
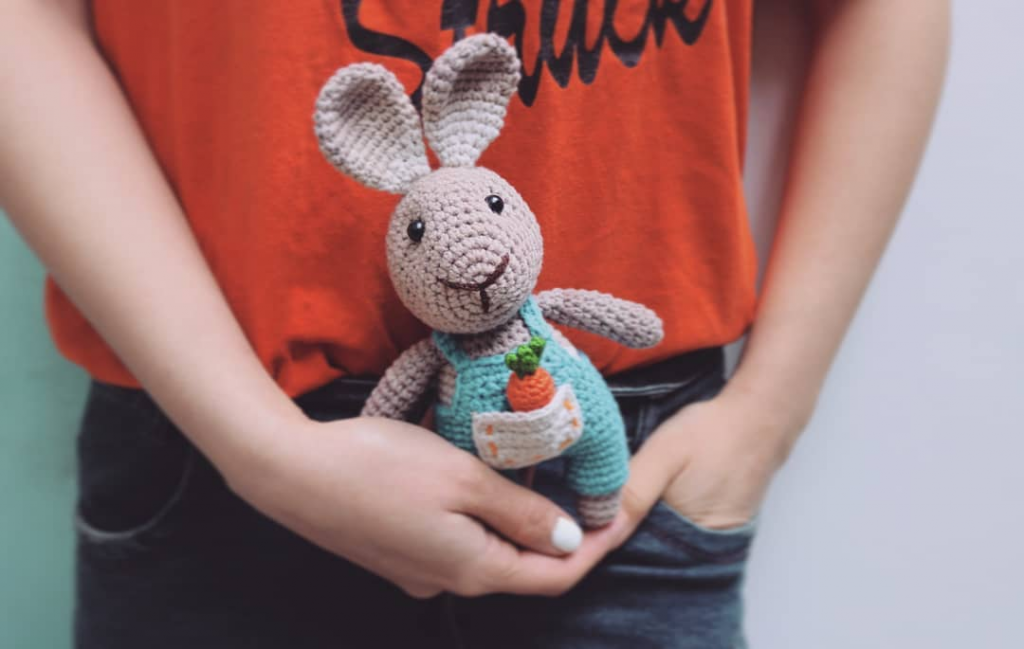
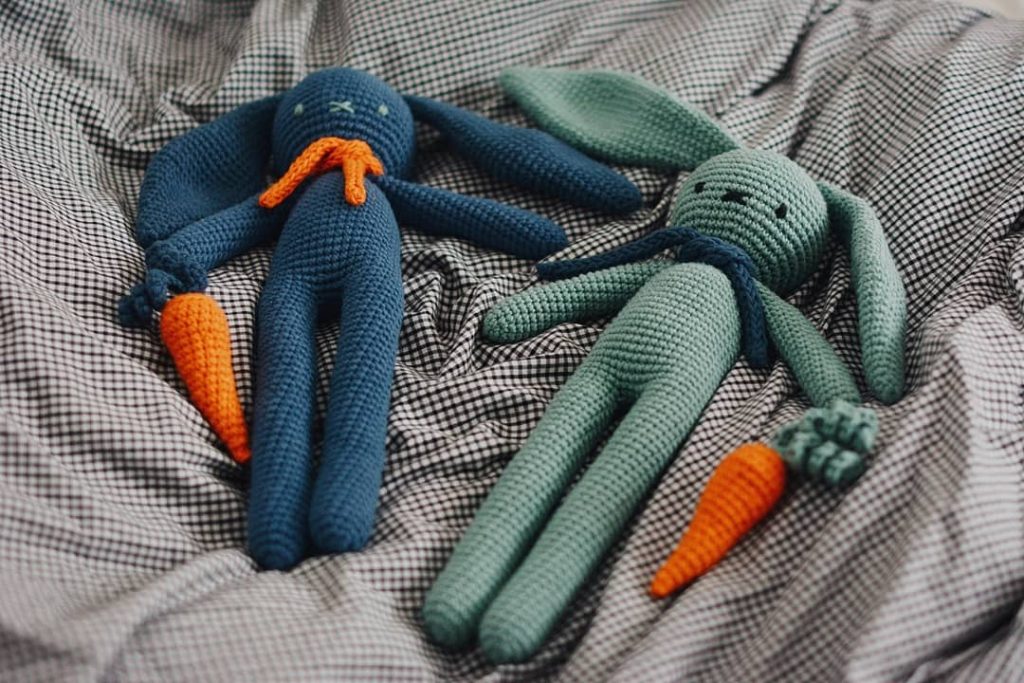
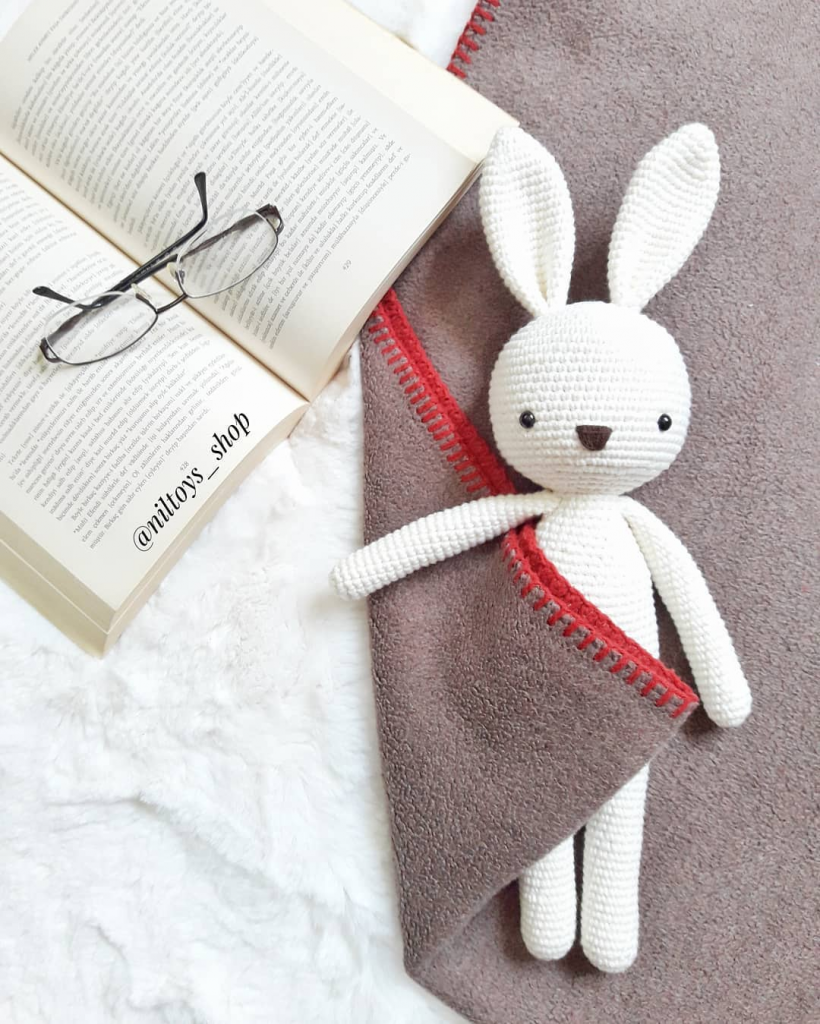
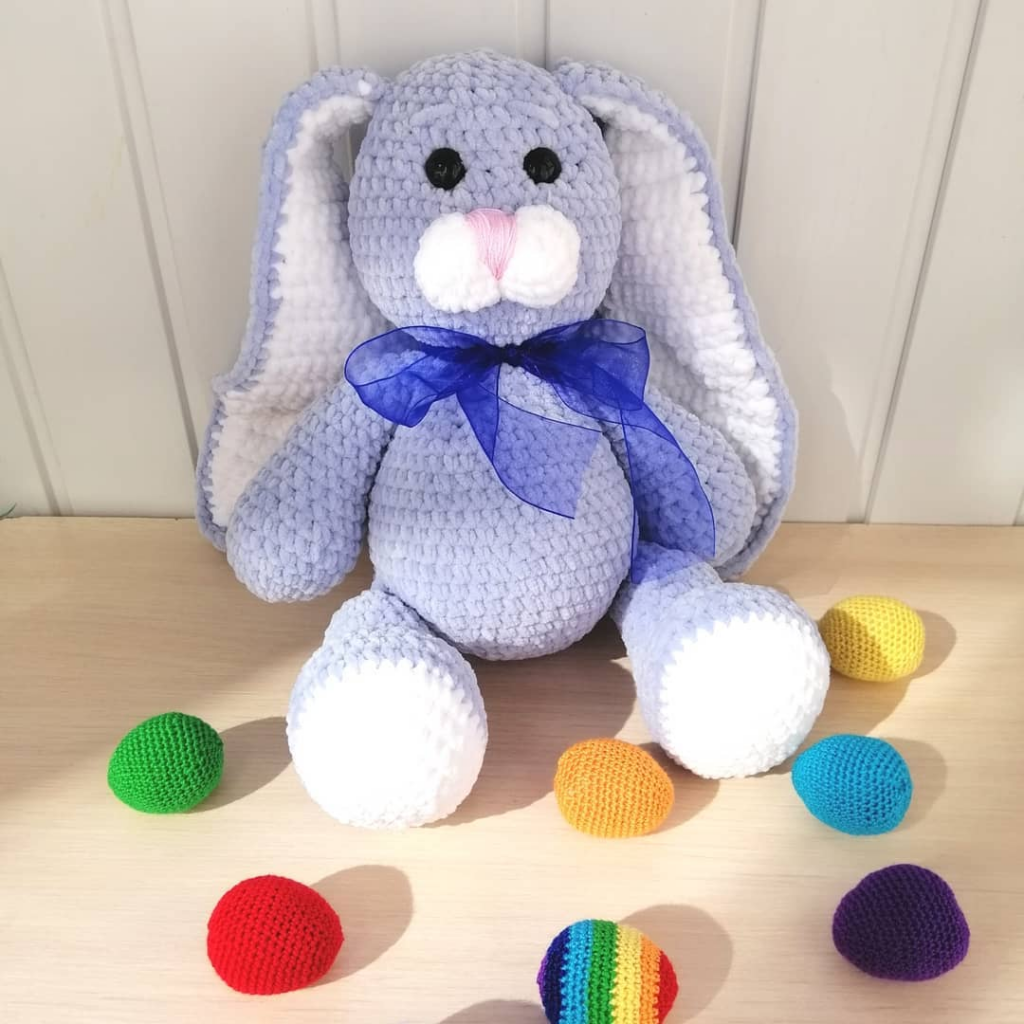
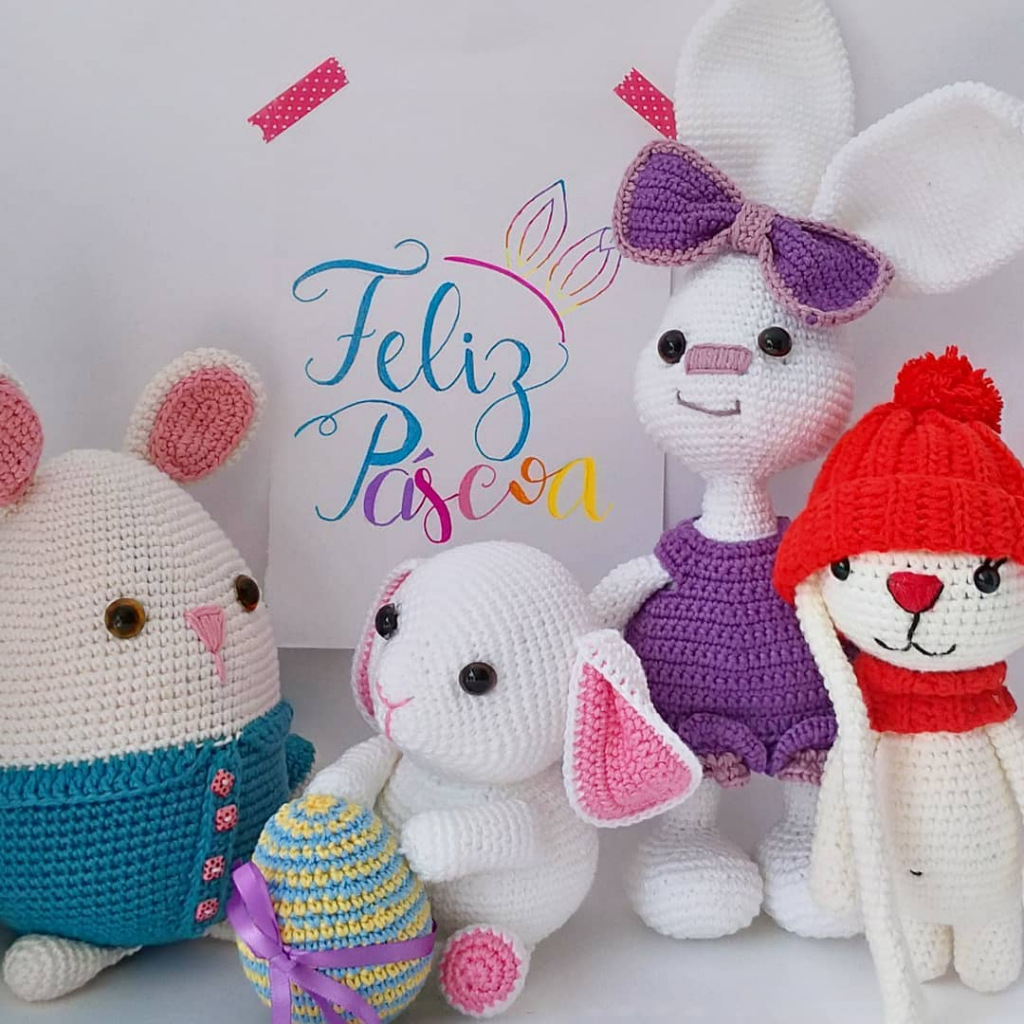
More Amigurumi Bunny Ideas