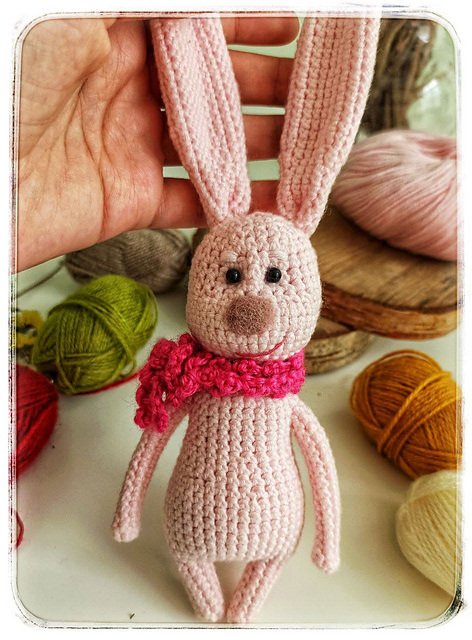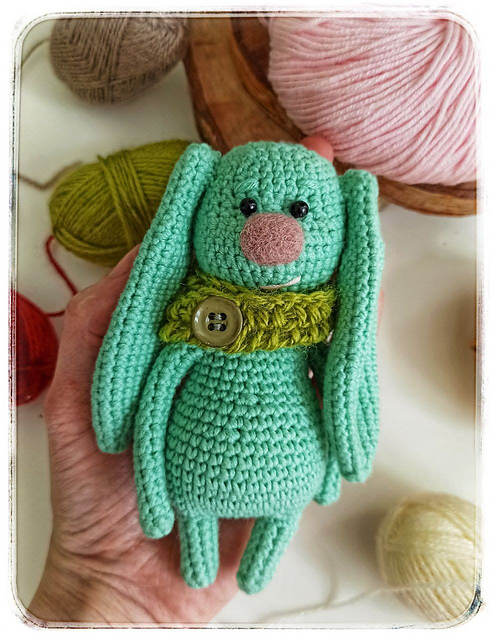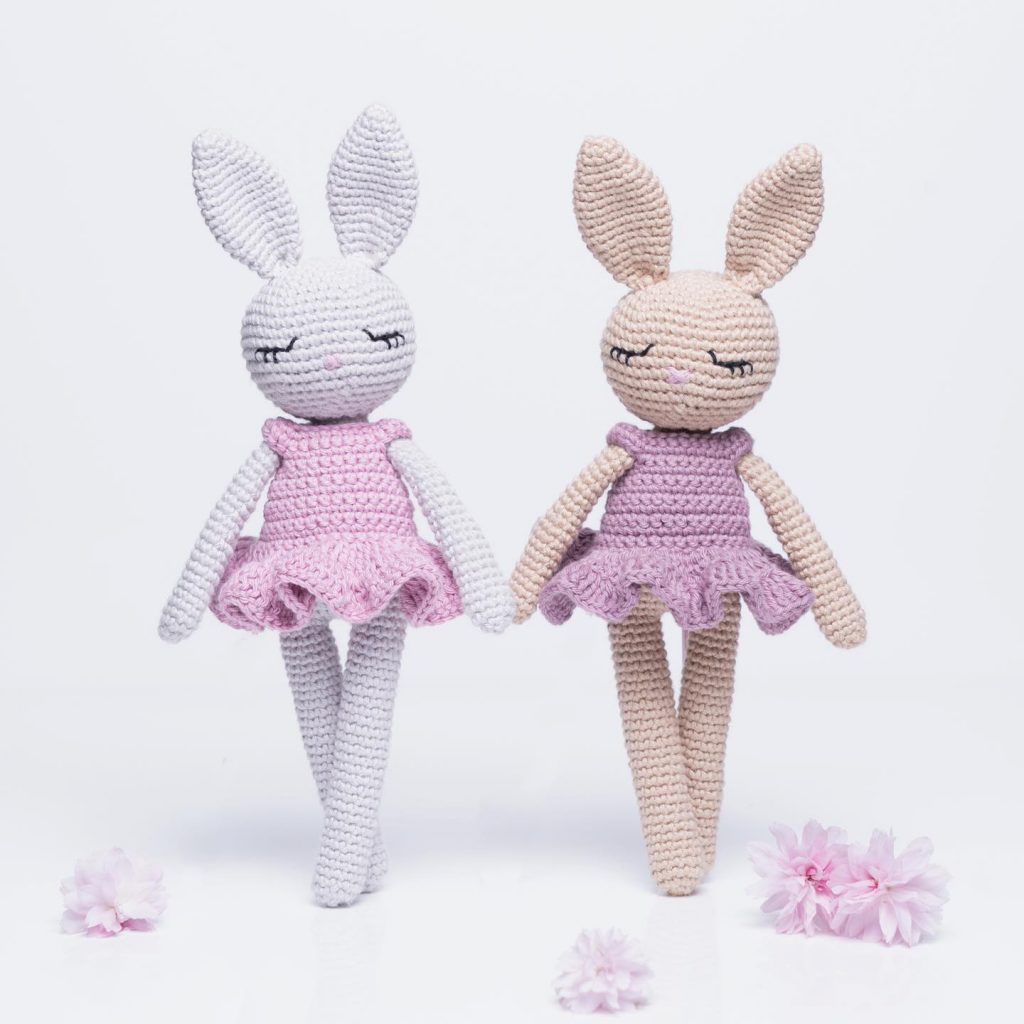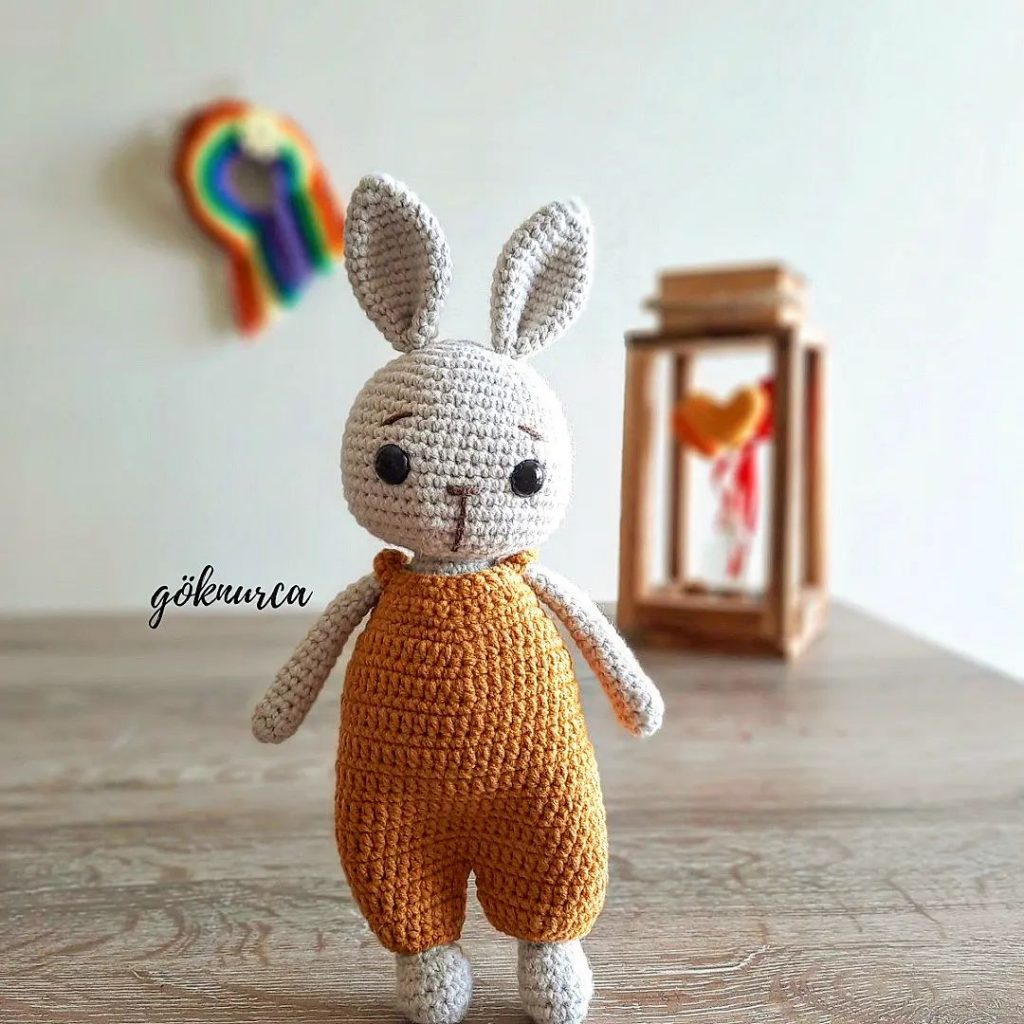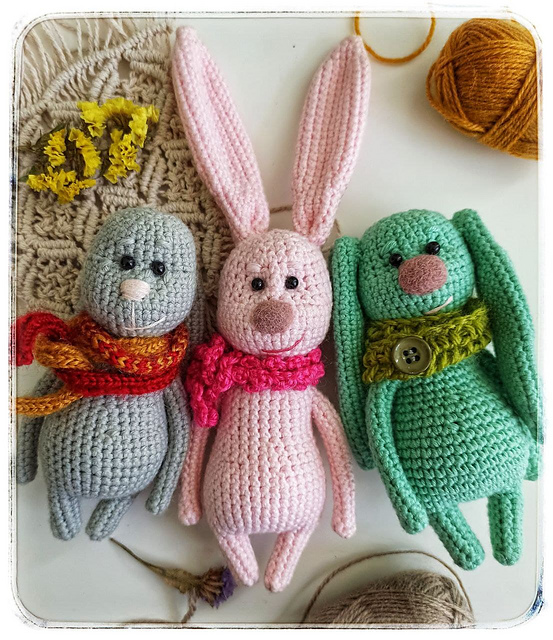
Autumn Bunny Amigurumi Free Pattern
Tools and materials:
• yarn (I used Gazzal baby cotton 50 g/ 165 m, 50 g enough for two bunnies);
• hook suitable for your yarn (mine is 1.5 mm);
• 1 joint and 2 fiber disks for the head (according to neck hole size; I used a 2.5 mm fiber disk with a
neck hole 2 mm);
• round pliers;
• felting needle and a small piece of wool (if you`re planning to do felted nose);
• embroidery threads (for the embroidered nose);
• chenille wire (or you can use thin wire and wrap with a band-aid);
• filler – hollow fiber or polyester batting (sintepon for sewing);
• beads or eyes for toys.
Stitches used/abbreviations:
sc – single crochet;
inc – increase (2 single crochets from one loop);
dec – decrease (pull the working thread through 2 sc – you have 3 loops on the hook, yarn through all 3
loops);
ch – chain;
sl st – slip stitch.
Hands
Rnd 1. Make a magic loop of 6 sc.
Crochet 15 rows – 6 sc in a row.
At the beginning of a row, I put a marker. Advice: put a new
marker every 4-5 rows as with a circle crocheting the beginning
of row shifts over time. I do not remove old markers in case of
an error so you don`t have to start from the very beginning.
Rnd 2 – 16 = 6 sc.
Fasten off and weave in ends.
Legs
Rnd 1. 6 sc in magic loop;
Rnd 2. 2 sc, inc, 2 sc, inc = 8 sc;
Rnd 3 – 7. = 8 sc.
Fasten off and weave in ends. Don`t cut off the thread
after finishing the second leg.
Put a filler into the legs. It is better to attach already stuffed
legs.
Body
Continue to crochet from a second finished leg – make 5
ch and attach with a sl st in any loop of the first leg.
Rnd 1. 5 ch, sl st in any loop of the first leg, 8 sc of the first leg, 5
sc into each loop of chain, 8 sc of another leg = 26 sc;
Rnd 2. (5 sc, inc) *4, 2 sc = 30 sc;
Rnd 3. (4 sc, inc) *6 = 36 sc;
Continue crocheting in a circle:
Rnd 4 – 10 = 36 sc;
Rnd 11. (4 sc, dec) *6 = 30 sc;
Rnd 12 – 13 = 30 sc;
Rnd 14. (3 sc, dec) *6 = 24 sc;
Rnd 15 – 16 = 24 sc.
Stuff the body about 5 sm not reaching the edge so it is comfortable to attach the hands. Stuff as
tight as you can but try not to stretch the detail. Stretching can cause the filler to show through the
holes of the fabric.
Attaching hands to the body
Rnd 17. 8 sc, 1 sl st – 1 loop of the bodys stitch together with 1 loop of the hand, 4 sc of the hand, 1 sl st - 1 loop of the bodys stitch together with 1 last loop of the hand, 10 sc, repeat for another hand, 2 sc = 28
Rnd 18 – 19 = 28 sc (don`t stitch 2 loops which attach hands to the body, only 4 stitches around each hand).
Now you can put into the hands some wire to make them flexible.
I use fluffy chenille wire. Also, can be used any thin wire. Bend the wire on one side to make a loop and
(if you use a regular wire) rap it with a band-aid to make it sit tight inside the hand. Loop is needed not
to pierce the hand on the other side. Сut the wire to the hand length.
Rnd 20. (5 sc, dec) *4 = 24 sc;
Rnd 21. (2 sc, dec) *6 = 18 sc;
Rnd 22. (1 sc, dec) *6 = 12 sc.
Stuff the body with filler to the neck hole, put the fiber disk with a joint, make decreases for the whole closing of the body detail.
Head
Rnd 1. 6 sc in magic loop;
Rnd 2. 6 inc = 12 sc;
Rnd 3. (1 sc, inc) *6 = 18 sc;
Rnd 4. (2 sc, inc) *6 = 24 sc;
Rnd 5. (3 sc, inc) *6 = 30 sc;
Rnd 6. (4 sc, inc) *6 = 36 sc;
Rnd 7 – 9 = 36 sc.
Attach head with a body and bend over the joint.
Rnd 10. 18 sc, (1 sc, dec) *6 = 30 sc;
Rnd 11 – 14 = 30 sc;
Rnd 15. (3 sc, dec) *6 = 24 sc;
Rnd 16. (2 sc, dec) *6 = 18 sc;
Rnd 17. (1 sc, dec) *6 = 12 sc.
Stuff the head, make decreases for the whole closing.
Ears
Rnd 1. 6 sc in magic loop;
Rnd 2. 6 sc;
Rnd 3. 6 inc = 12 sc;
Rnd 4. 12 sc;
Rnd 5. (3 sc, inc) *3 = 15 sc;
Rnd 6. (4 sc, inc) *3 = 18 sc;
Rnd 7 – 21 = 18 sc;
Rnd 22. (4 sc, dec) *3 = 15 sc;
Rnd 23. 15 sc;
Rnd 24. (3 sc, dec) *3 = 12 sc;
Rnd 25 – 29 = 12 sc.
Left long peace of tread after finishing the ear. Bend each ear in half at the base and sew with a left thread.
Try on the head with pins for the placement of the ears, choose any position you like. Sew the ears to the head.
Face Design
Try the position of the eyes with pins. I use black beads, but you can use any fabric eyes for toys you
like
I make the felted nose. Take a small piece of wool, make a ball of it, and felt to the face.
Embroider nose and mouth. To make brows I use the same thread as for the bunny body, for mouth – pink embroidery thread.
Tail
Rnd 1. 6 sc in magic loop;
Rnd 2. 6 inc = 12 sc;
Rnd 3 – 4 = 12 sc.
Stuff with filler. Sew to the body.
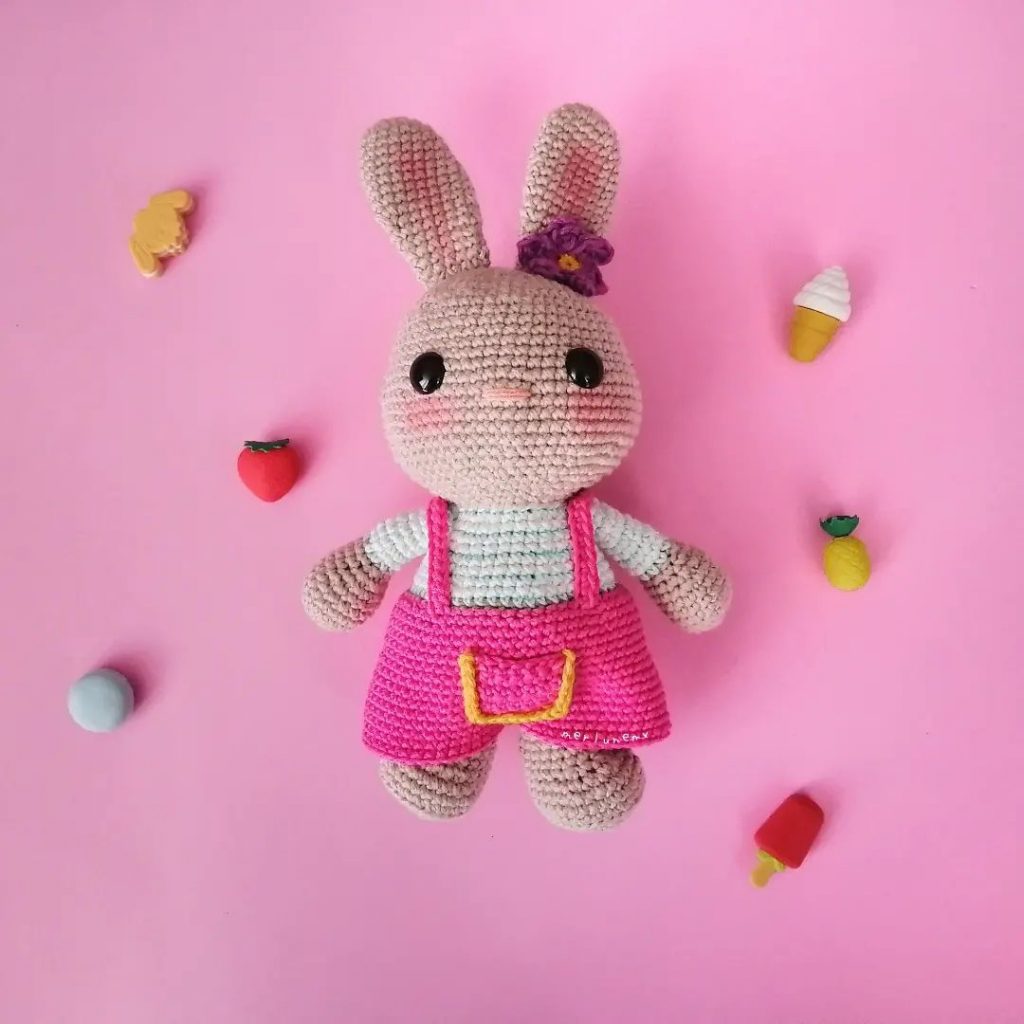
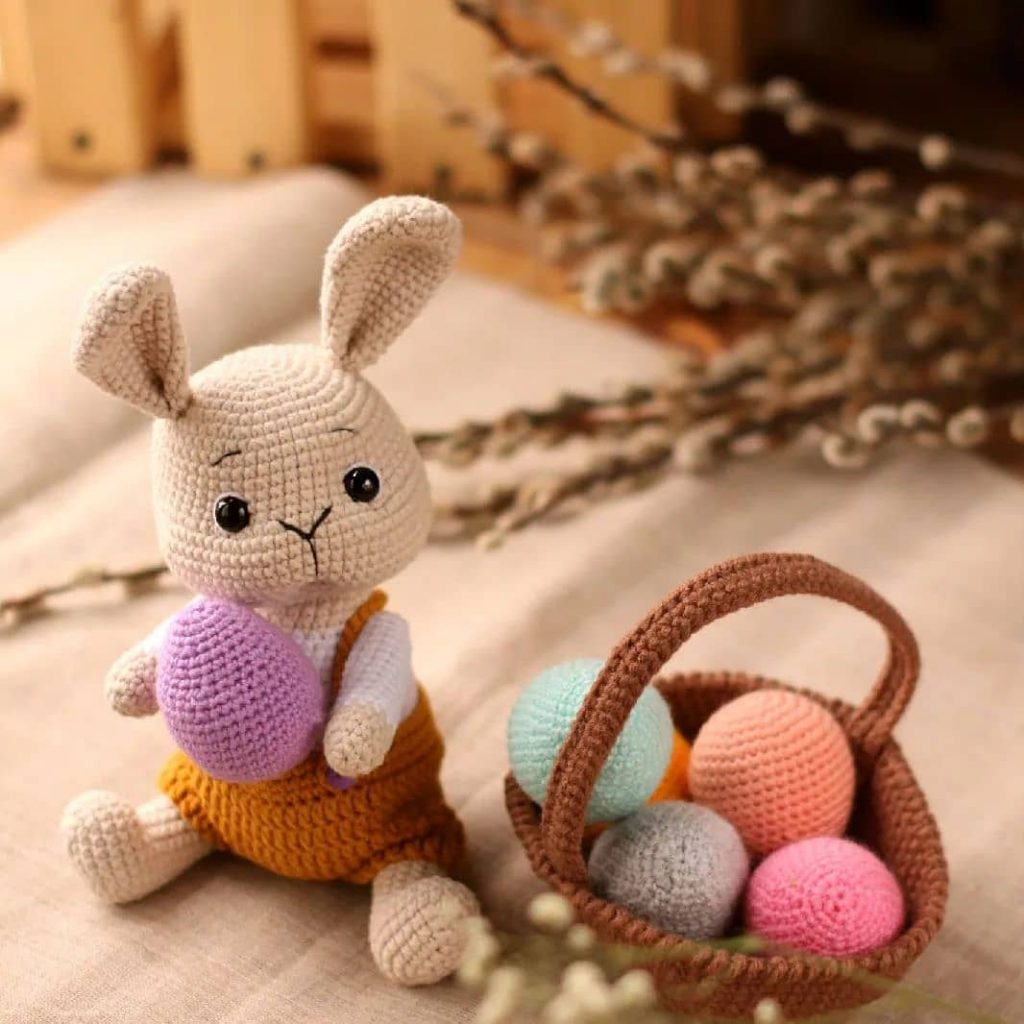
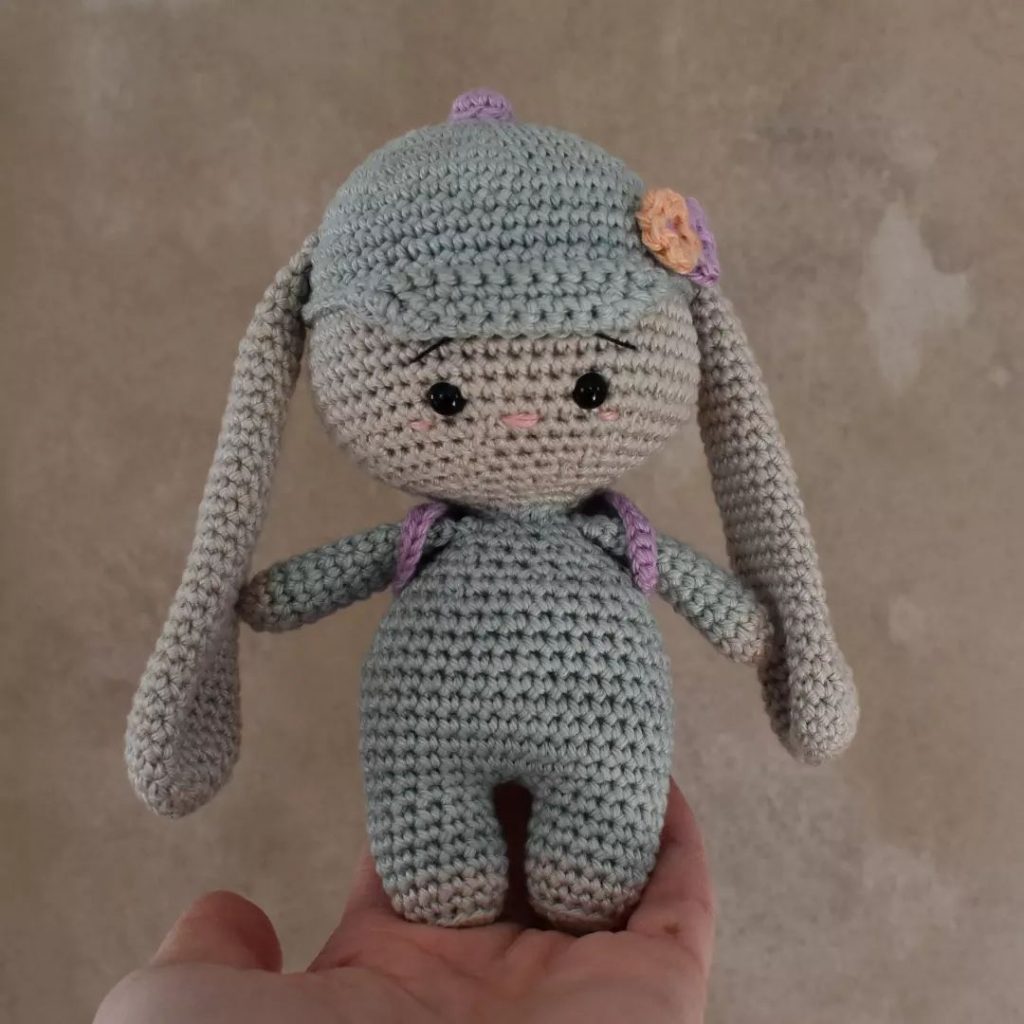
More Amigurumi Bunny İdeas