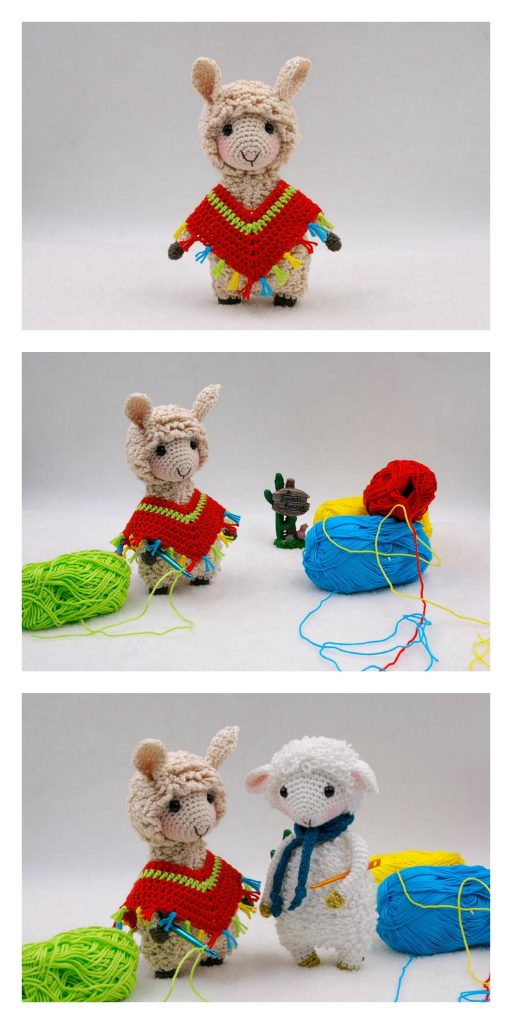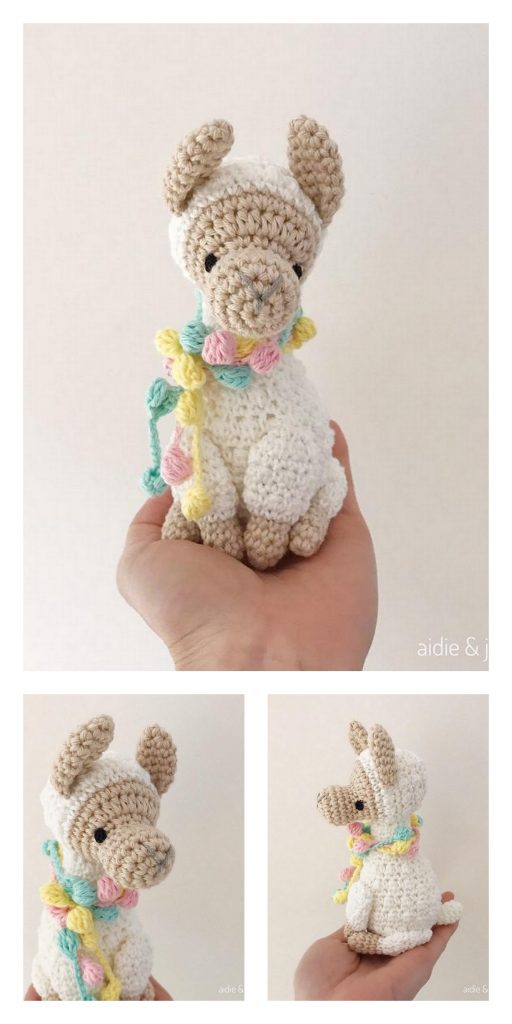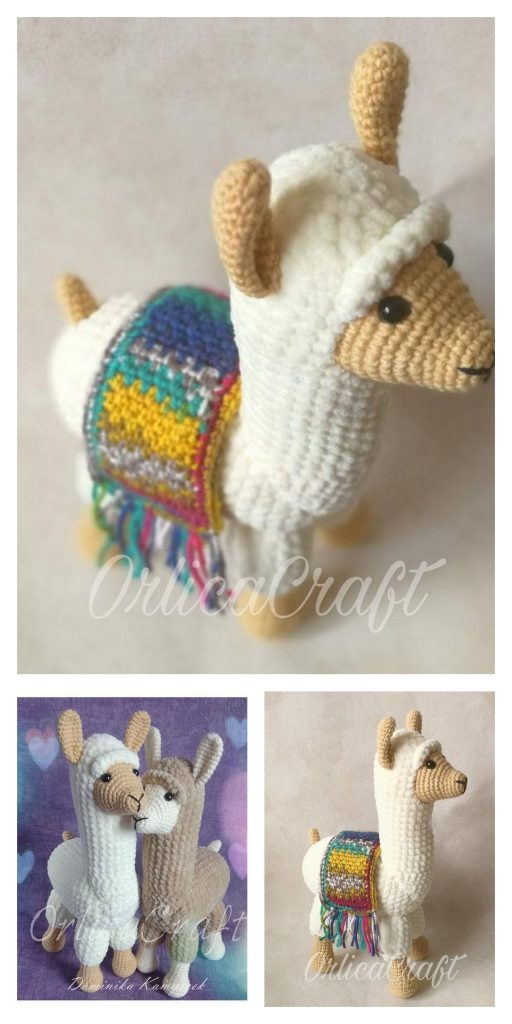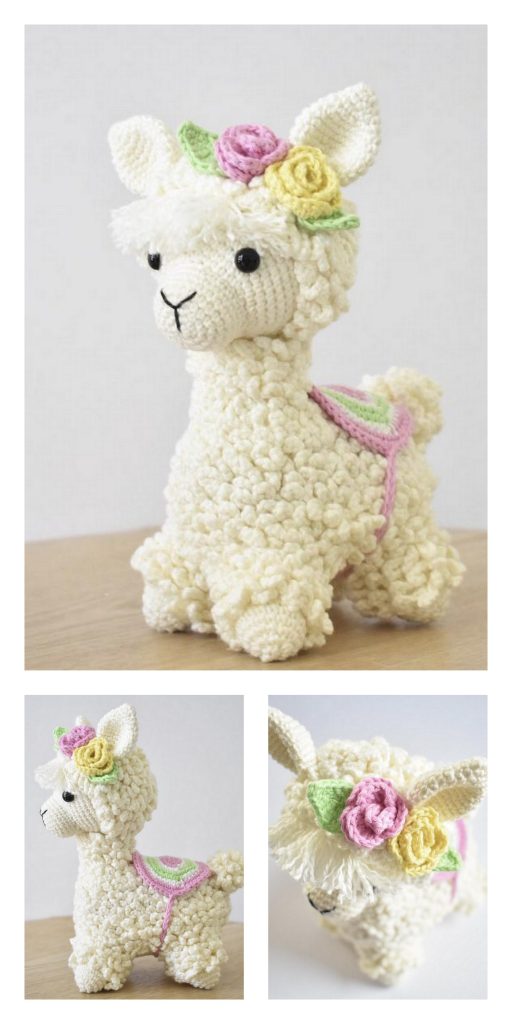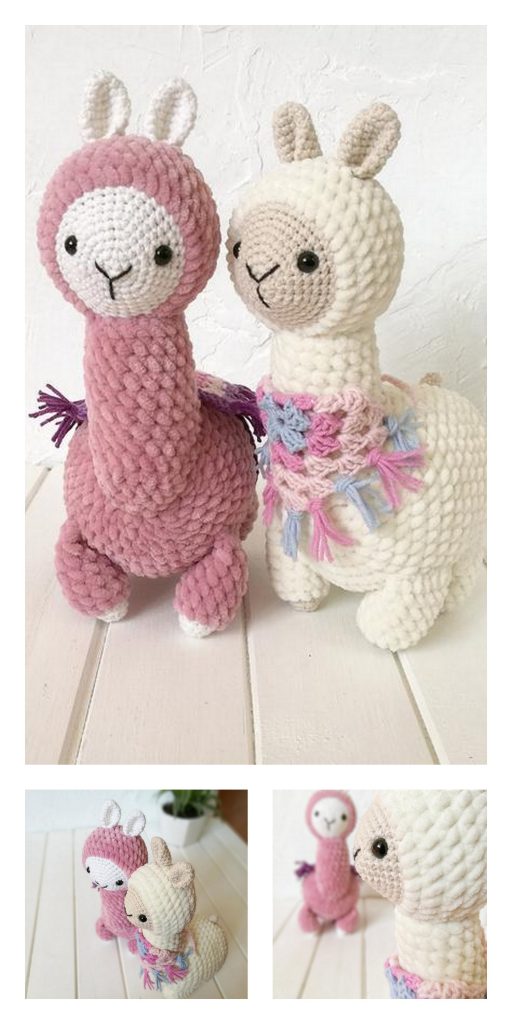
Amigurumi Llama Free Pattern
Llama toy measures about 14½” [37 cm]tall, measured from bottom offront feet to top of head. Toy measuresabout 11″ [28 cm] long, measured fromchest to backside (not including tail).
Notes
1.Llama toy is made from pieces: Headand neck, body, 4 legs, tail, 2 ears,halter, bangs, and blanket.
2.To make head and neck, head isworked first leaving an openingfor neck. Stitches are then workedaround the edge of the neck openingto begin the neck. All other piecesare worked separately and sewntogether, as needed.
3.Smaller hook and single strands ofyarn are used to crochet all piecesexcept the blanket. Larger hook andtwo strands of yarn held together areused to crochet blanket.
4.Safety eyes are attached before headis complete. Do not use safety eyesif making for child under 4 years ofage. Face is completed with simpleembroidery.
5.Gauge is not critical for this project.Work tightly so stuffing will not showbetween stitches.
6.To change color, work last stitch ofold color to last yarn over. Yarn overwith new color and draw through allloops on hook to complete stitch.Proceed with new color. Fasten offold color.
7.Use photograph as a guide forplacement of pieces to be sewntogether
PATTERN STITCH
Fur Stitch
Round 1: Working in front loops only, sc in first st, *ch 10, sc in next st; repeat from * around.
Round 2: Folding the ch-10 loops (fur) forward to reveal the sc sts and working in the remaining (back loops) only, sc in each st around.
Round 3: Working in both loops, sc in each st around.Repeat Rounds 1–3 for Fur Stitch.
Special Technique
Adjustable-ring = Wrap yarn into a ring, ensuring that the tail falls behind the working yarn. Grip ring and tail between middle finger and thumb. Insert hook through center of ring, yarn over (with working yarn) and draw up a loop. Work stitches of first round in the ring. After the first round of stitches is worked, pull gently on tail to tighten ring.
Special Stitches
join with sc = Place a slip knot on hook, insert hook in indicated stitch, yarn over and draw up a loop, yarn over and draw through both loops on hook.
sc2tog = [Draw up a loop in next st] twice, yarn over and draw through all 3 loops on hook.
HEAD AND NECK
Beginning at muzzle with smaller hook and A, make an adjustable ring.
Round 1 (right side): Work 6 sc in ring—6 sc. Do not join, work in continuous rounds (spirals). Place a marker in last stitch made. Move marker up as each round is completed.
Round 2: Work 2 sc in each st around—12 sc.
Round 3: [Sc in next st, 2 sc in next st] 6 times—18 sc.
Round 4: [Sc in next 2 sts, 2 sc in next st] 6 times—24 sc.
Round 5: [Sc in next 3 sts, 2 sc in next st] 6 times—30 sc.
Round 6: Sc in each sc around.
Round 7: [Sc in next 4 sts, 2 sc in next st] 6 times—36 sc.
Rounds 8–10: Sc in each sc around.
Round 11: [Sc in next 5 sts, 2 sc in next st] 6 times—42 sc.
Rounds 12 and 13: Sc in each st around.
Round 14: [Sc in next 6 sts, 2 sc in next st] 6 times—48 sc.
Round 15: [Sc in next 7 sts, 2 sc in next st] 6 times—54 sc.
Round 16: Sc in each st around.
Round 17: [Sc in next 8 sts, 2 sc in next st] 6 times—60 sc.
Rounds 18 and 19: Sc in each st around.
Form Neck Opening
Round 20: Ch 15, skip next 15 sts, sc in next 45 sts—45 sc and 1 ch-15 space.
Round 21: Sc in next 15 ch, sc in next 45 sts—60 sc.
Rounds 22 and 23: Work Rounds 1 and 2 of Fur Stitch.
Round 24: [Sc in next 8 sts, sc2tog] 6 times—54 sc.
Rounds 25–27: Work Rounds 1–3 of Fur Stitch.
Rounds 28 and 29: Work Rounds 1 and 2 of Fur Stitch.
Round 30: [Sc in next 7 sts, sc2tog] 6 times—48 sc.
Attach Safety Eyes
Flatten head so that neck opening is centered on one side of head. On other side of head, attach safety eyes between Rounds 15 and 16, about 13-14 sts apart. Stuff head lightly. Head will be stuffed more firmly after neck is completed.
Note: When placing eyes do not snap washer onto post until satisfied with placement.
Rounds 31 and 32: Work Rounds 1 and 2 of Fur Stitch.
Round 33: [Sc in next 6 sts, sc2tog] 6 times—42 sc.
Rounds 34 and 35: Work Rounds 1 and 2 of Fur Stitch.
Round 36: [Sc in next 5 sts, sc2tog] 6 times—36 sc.
Round 37: Work Round 1 of Fur Stitch.
Round 38: Working in remaining (back loops) only, [sc in next 4 sts, sc2tog] 6 times—30 sc.
Round 39: Working in both loops, [sc in next 3 sts, sc2tog] 6 times—24 sc.
Round 40: Work Round 1 of Fur Stitch.
Round 41: Working in remaining (back loops) only, [sc in next 2 sts, sc2tog] 6 times—18 sc.
Round 42: Working in both loops, [sc in next st, sc2tog] 6 times—12 sc.
Round 43: Work Round 1 of Fur Stitch.
Round 44: Working in remaining (back loops) only, [sc2tog] 6 times—6 sc. Fasten off, leaving a long tail. Thread tail through the stitches of last round and pull to gather. Weave in end securely.
Facial Features: With F, embroider a “Y” shaped straight stitch nose and mouth onto muzzle.
Neck
Round 1: Join A with sc in first ch of neck opening (Round 20 of body), sc again in same ch, sc in next 14 ch, 2 sc in next st, sc in next 14 sts—32 sc.
Round 2: [Sc in next 7 sts, 2 sc in next st] 4 times—36 sc.
Rounds 3–14: Work Rounds 1–3 of Fur Stitch 4 times.
Fasten off, leaving a long yarn tail for sewing neck to body.
BODY
Beginning at chest with smaller hook and A, make an adjustable ring.
Round 1 (right side): Work 6 sc in ring—6 sc. Do not join, work in continuous rounds (spirals). Place a marker in last stitch made. Move marker up as each round is completed.
Round 2: Work Round 1 of Fur Stitch.
Round 3: Folding the ch-10 loops (fur) forward to reveal the sc sts and working in the remaining (back loops) only, 2 sc in each st around—12 sc.
Round 4: Working in both loops, [sc in next st, 2 sc in next st] 6 times—18 sc.
Round 5: Work Round 1 of Fur Stitch.
Round 6: Folding the ch-10 loops (fur) forward to reveal the sc sts and working in the remaining (back loops) only, [sc in next 2 sts, 2 sc in next st] 6 times—24 sc.
Round 7: Working in both loops, [sc in next 3 sts, 2 sc in next st] 6 times—30 sc.
Round 8: Work Round 1 of Fur Stitch.
Round 9: Folding the ch-10 loops (fur) forward to reveal the sc sts and working in the remaining (back loops) only, [sc in next 2 sts, 2 sc in next st] 10 times—40 sc.
Round 10: Working in both loops, [sc in next 3 sts, 2 sc in next st] 6 times—50 sc.
Round 11: Work Round 1 of Fur Stitch.
Round 12: Folding the ch-10 loops (fur) forward to reveal the sc sts and working in the remaining (back loops) only, [sc in next 4 sts, 2 sc in next st] 10 times—60 sc.
Round 13: Work Round 3 of Fur Stitch.
Round 14: Work Round 1 of Fur Stitch.
Form
Neck Opening
Round 15: Folding the ch-10 loops (fur) forward to reveal the sc sts and working in the remaining (back loops) only, sc in next st, ch 18, skip next 18 sts, sc in next 41 sts—42 sc and 1 ch-18 space.
Round 16: Working in both loops, sc in next st, sc in next 18 ch, sc in next 41 sts—60 sc.
Rounds 17–19: Work Rounds 1–3 of Fur Stitch.
Sew Neck and Head to Body
Insert end of neck into neck opening of body, matching stitches and making sure that the face and muzzle face forwards. Using long yarn tail from neck, sew neck securely to body. If needed, use additional lengths of yarn to reinforce the seam. Weave in ends securely.Complete stuffing head and neck firmly. Begin stuffing body firmly. Continue to stuff body as work progresses.
Round 20: Work Round 1 of Fur Stitch.
Round 21: Folding the ch-10 loops (fur) forward to reveal the sc sts and working in the remaining (back loops) only, [sc in next 8 sts, sc2tog] 6 times—54 sc.
Round 22: Work Round 3 of Fur Stitch.
Rounds 23–58: Work Rounds 1–3 of Fur Stitch 12 times.
Round 59: Work Round 1 of Fur Stitch.
Round 60: Folding the ch-10 loops (fur) forward to reveal the sc sts and working in the remaining (back loops) only, [sc in next 7 sts, sc2tog] 6 times—48 sc.
Round 61: Working in both loops, [sc in next 6 sts, sc2tog] 6 times—42 sc.
Round 62: Work Round 1 of Fur Stitch.
Round 63: Folding the ch-10 loops (fur) forward to reveal the sc sts and working in the remaining (back loops) only, [sc in next 5 sts, sc2tog] 6 times—36 sc.
Round 64: Working in both loops, [sc in next 4 sts, sc2tog] 6 times—30 sc.
Round 65: Work Round 1 of Fur Stitch.
Round 66: Folding the ch-10 loops (fur) forward to reveal the sc sts and working in the remaining (back loops) only, [sc in next 3 sts, sc2tog] 6 times—24 sc.
Round 67: Working in both loops, [sc in next 2 sts, sc2tog] 6 times—18 sc.
Round 68: Work Round 1 of Fur Stitch.Finishing stuffing body firmly.
Round 69: Folding the ch-10 loops (fur) forward to reveal the sc sts and working in the remaining (back loops) only, [sc in next st, sc2tog] 6 times—12 sc.
Round 70: Working in both loops, [sc in next st, sc2tog] 4 times—8 sc.
Round 71: Work Round 1 of Fur Stitch.
Fasten off, leaving a long tail. Thread tail through the stitches of last round and pull to gather. Weave in end securely.
LEGS (make 4)
Beginning at bottom of foot, with smaller hook and A, make an adjustable ring.
Round 1 (right side): Work 6 sc in ring—6 sc. Do not join, work in continuous rounds (spirals). Place a marker in last stitch made. Move marker up as each round is completed.
Round 2: Work 2 sc in each st around—12 sc.
Round 3: [Sc in next st, 2 sc in next st] 6 times—18 sc.
Round 4: [Sc in next 2 sts, 2 sc in next st] 6 times—24 sc.
Round 5: [Sc in next 3 sts, 2 sc in next st] 6 times—30 sc.
Rounds 6–13: Sc in each sc around.
Rounds 14–25: Work Rounds 1–3 of Fur Stitch 4 times.
Fasten off, leaving a long yarn tail for sewing leg to body. Repeat to make a total of 4 legs.
TAIL
With smaller hook and A, ch 7.
Round 1: Sc in 2nd ch from hook and in next 4 ch, 2 sc in last ch; rotate piece to work along opposite side of foundation ch, sc in next 5 ch—12 sc. Do not join, work in continuous rounds (spirals). Place a marker in last stitch made. Move marker up as each round is completed.
Round 2: Sc in each st around.
Rounds 3–14: Work Rounds 1–3 of Fur Stitch 4 times.
Rounds 15 and 16: Work Rounds 1 and 2 of Fur Stitch.
Round 17: Working in both loops, sc in next st, [sc2tog] twice, sc in next 3 sts, 2 sc in each of next 2 sts, sc in next 2 sts—12 sc.
Rounds 18–23: Repeat Rounds 15–17 twice.
Rounds 24–26: Work Rounds 1–3 of Fur Stitch.
Fasten off leaving a long yarn tail for sewing tail to body.
EARS (make 2)
With smaller hook and A, leaving a long beginning tail, ch 19; join with slip st in first ch to form a ring.
Round 1: Skip join, sc in next 18 ch—18 sc. Do not join, work in continuous rounds (spirals). Place a marker in last stitch made. Move marker up as each round is completed.
Rounds 2–6: Sc in each sc around.
Round 7: [Sc2tog, sc in next 7 sts] twice—16 sc.
Round 8: Sc in each sc around.
Round 9: [Sc2tog, sc in next 6 sts] twice—14 sc.
Round 10: Sc in each sc around.
Round 11: [Sc2tog, sc in next 5 sts] twice—12 sc.
Round 12: [Sc2tog, sc in next 4 sts] twice—10 sc.
Round 13: [Sc2tog, sc in next 3 sts] twice—8 sc.
Round 14: [Sc2tog] 4 times—4 sc.
Fasten off, leaving a long tail. Thread tail through the stitches of last round and pull to gather. Weave in end securely. Do not weave in beginning tail, it will be used to sew ear to head. Repeat to make a total of 2 ears.
BANGS
With smaller hook and A, ch 10
Fasten off, leaving a yarn tail on both ends.
Cut about twenty 3″ [7.5 cm] lengths of A. With smaller hook and 2 lengths held together and beginning in first ch, *insert hook in next ch, place yarn overhead of hook and draw halfway through chain to form a loop. Thread ends of lengths through loop and pull to tighten. Repeat from * across chain until desired fullness is achieved. With yarn needle, carefully separate the plies to add fluffiness to the bangs.
HALTER
Noseband: With smaller hook and B, ch 30; join with slip st in first ch to form a ring.
Note: This part of the halter is placed around the llama’s muzzle.
Head Strap: Ch 49.
Note: This part of the halter forms the strap that fits around the llama’s head. Try halter on for size and adjust as needed. Join the end of the head strap with a slip st in the opposite side of the noseband circle.Fasten off, knotting the yarn end securely. Do not trim ends.Working in front loops only, join C with slip st in first ch of noseband, slip st in each ch of noseband and head strap. Fasten off, leaving a yarn tail. Tie beginning and ending yarn tails together to secure.
Tassels (make 3 – 1 each with B, C, D)
Wrap yarn 10 times around two outstretched fingers. Slip wraps off fingers and insert one of the yarn ends on the halter into the loops (for top of tassel) and tie securely to attach. Securely tie a length of contrasting color yarn around the wraps about ½” [1.5 cm] from top. Cut and trim loops at bottom of tassel. Repeat to make and attach a total of 3 tassels to halter.
BLANKET
Row 1: With larger hook and 2 strands of B held together, leaving a 4-5″ [10–12.5 cm] beginning tail, ch 26. Fasten off, leaving a 4–5″ [10–12.5 cm] ending tail. Continue to leave 4–5″ [10–12.5 cm] beginning and ending tails on all rows. These tails will be used later to create the braided fringe.
Row 2: TURN, working in front loops only, join B with slip st in first ch, slip st in each remaining ch across and fasten off.
Row 3: TURN, working in front loops only, join C with slip st in first st, slip st in each remaining st across and fasten off.
Rows 4–22: Repeat Row 3 working 1 row each in the following color sequence: [D, E, B, C] 4 times, E, D, and C (or in any color sequence you prefer).
Rows 23 and 24: With B, repeat Row 3 twice.
Treating the 2 strands of yarn held together as 1 strand, make fringe along blanket edges by braiding each group of 3 strands. Braid for about 2″ [5 cm] or as desired and then tie off with a scrap of yarn. Time ends to form a small tassel.
Blanket Ties (make 2)
Join B with slip st in any corner of blanket, ch 40. Fasten off, leaving a yarn tail. Repeat to attach and make a tie on the opposite corner. With D, make and attach tassels, to the end of each tie, in same way as tassels were made and attached to halter.
FINISHING
Sew Legs to Body
Notes
1.Sew front legs to bottom of bodydirectly under would-be shoulders ofllama (about Round 20 of body).
2.Sew back legs to bottom of bodyat imaginary hip area, before thedecrease rounds.
3.Push the Fur Stitch rounds out of theway to access sc rounds. Sew legsonto sc rounds.
4.Legs are sewn side-by-side withedges touching.
Stuff one leg firmly. Flatten top edge of leg and, with yarn needle and attached long yarn tail, sew top edges together. Then sew leg to body. Repeat to sew all 4 legs to body.
Sew Tail to Body
Do not stuff tail. With yarn needle and long yarn tail, sew end closed and sew to upper rear end of llama.
Sew Ears to Head
With yarn needle and long yarn tail, sew ears to top of head about 2″ [5 cm]apart.
Note: Push the Fur Stitchrounds out of the way to access scrounds. Sew ears onto sc rounds.
Sew Bangs to Head
Fold back the first row of Fur Stitch along top of head. With yarn needle and yarn tails, sew bangs to head, along entire length of strip.
Tie blanket around neck and place halter on head.
Weave in and trim any remaining ends.
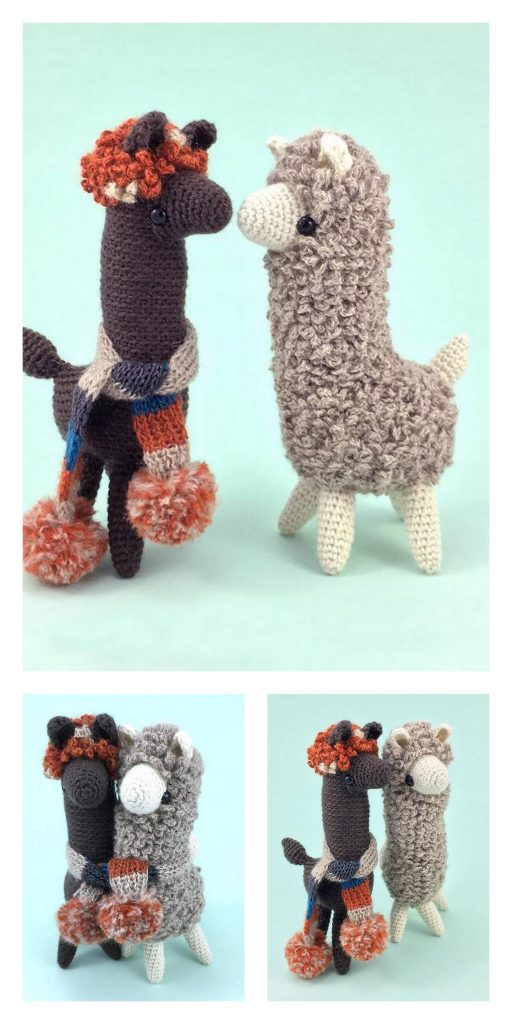
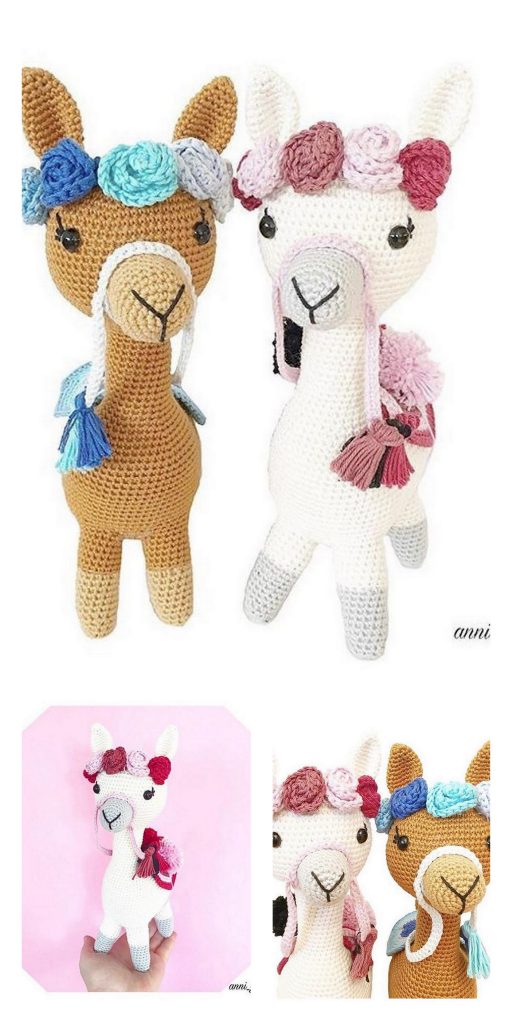
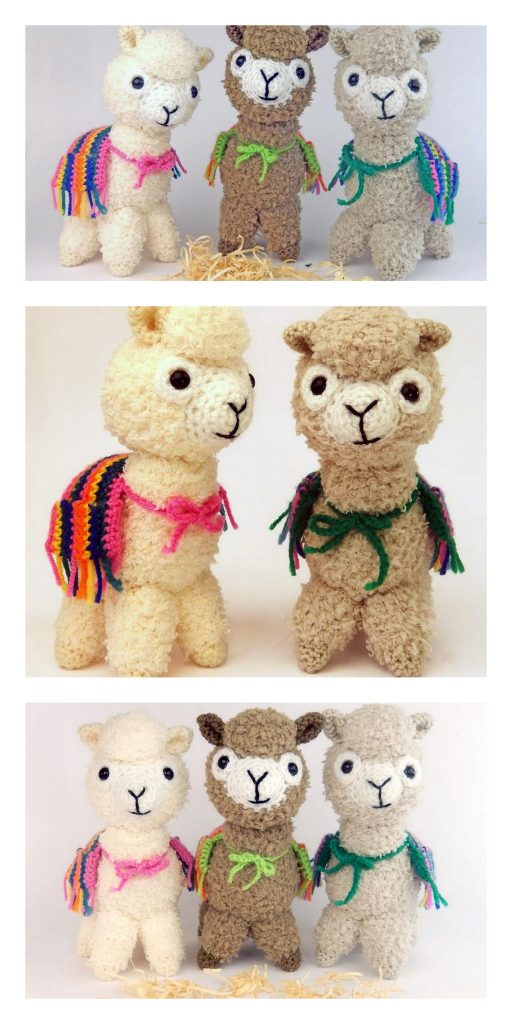
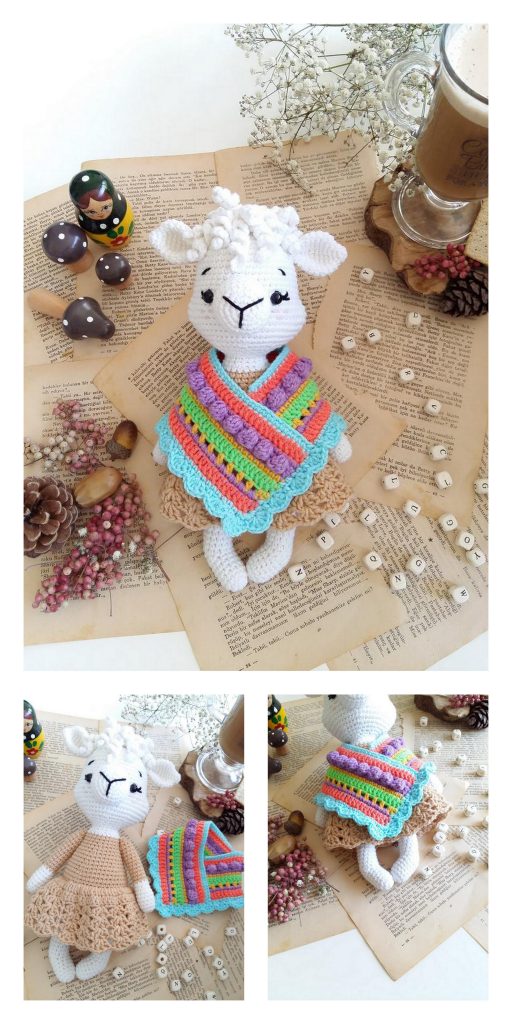
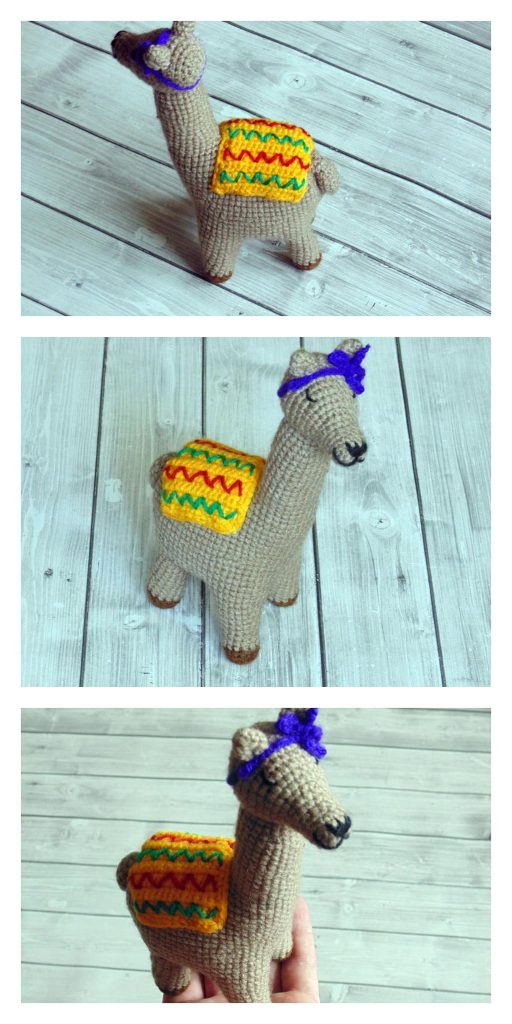
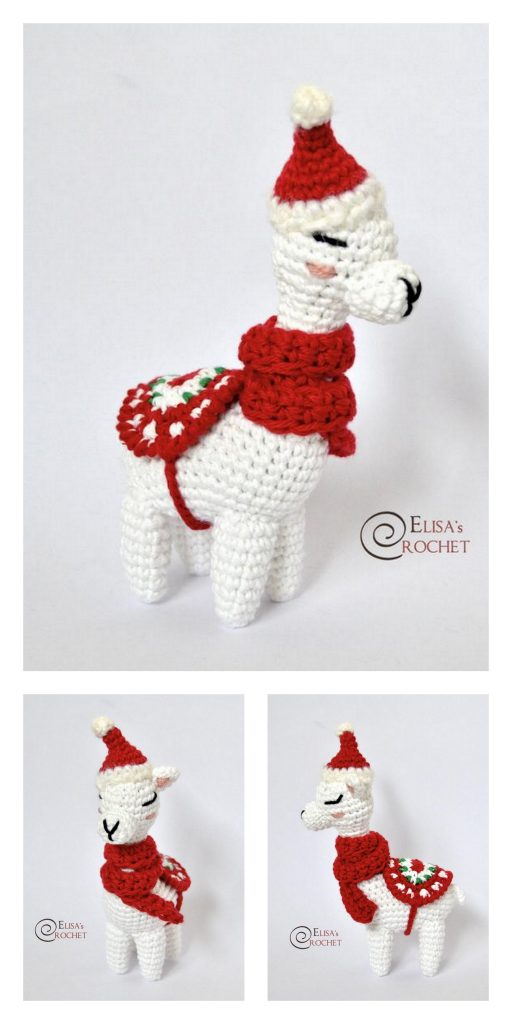
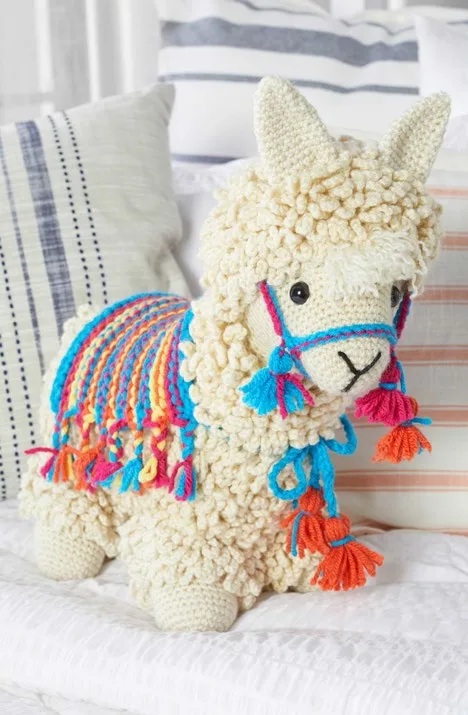
More Amigurumi Llama Ideas: