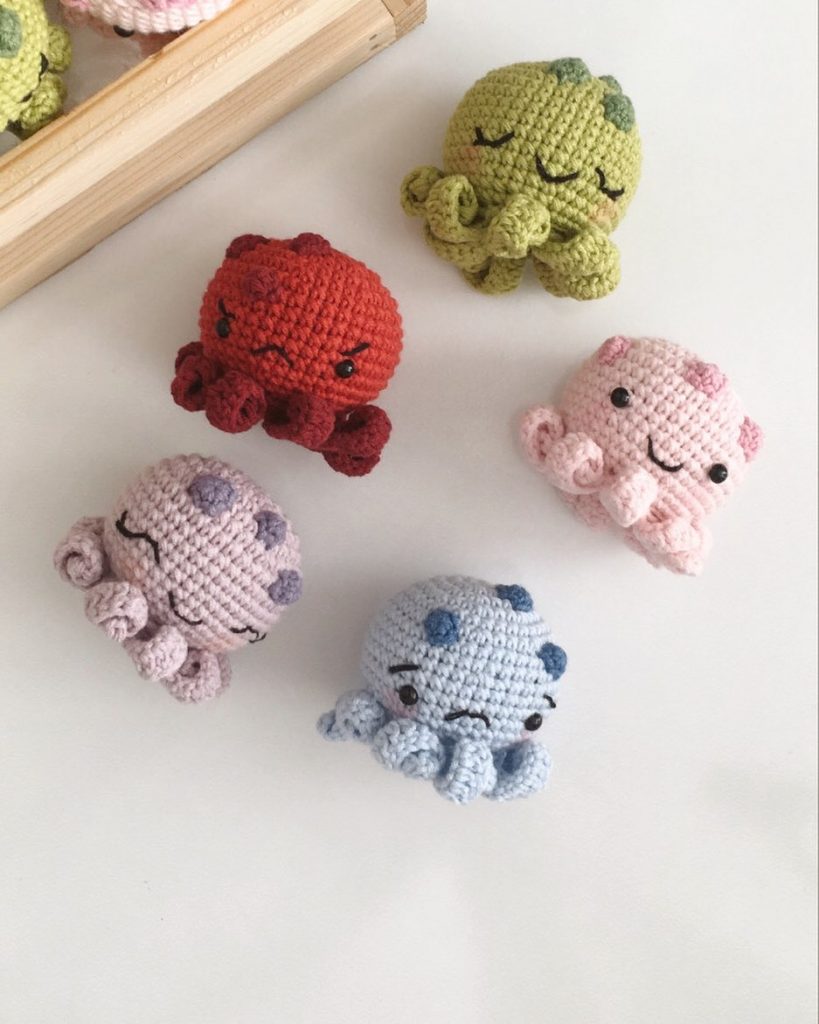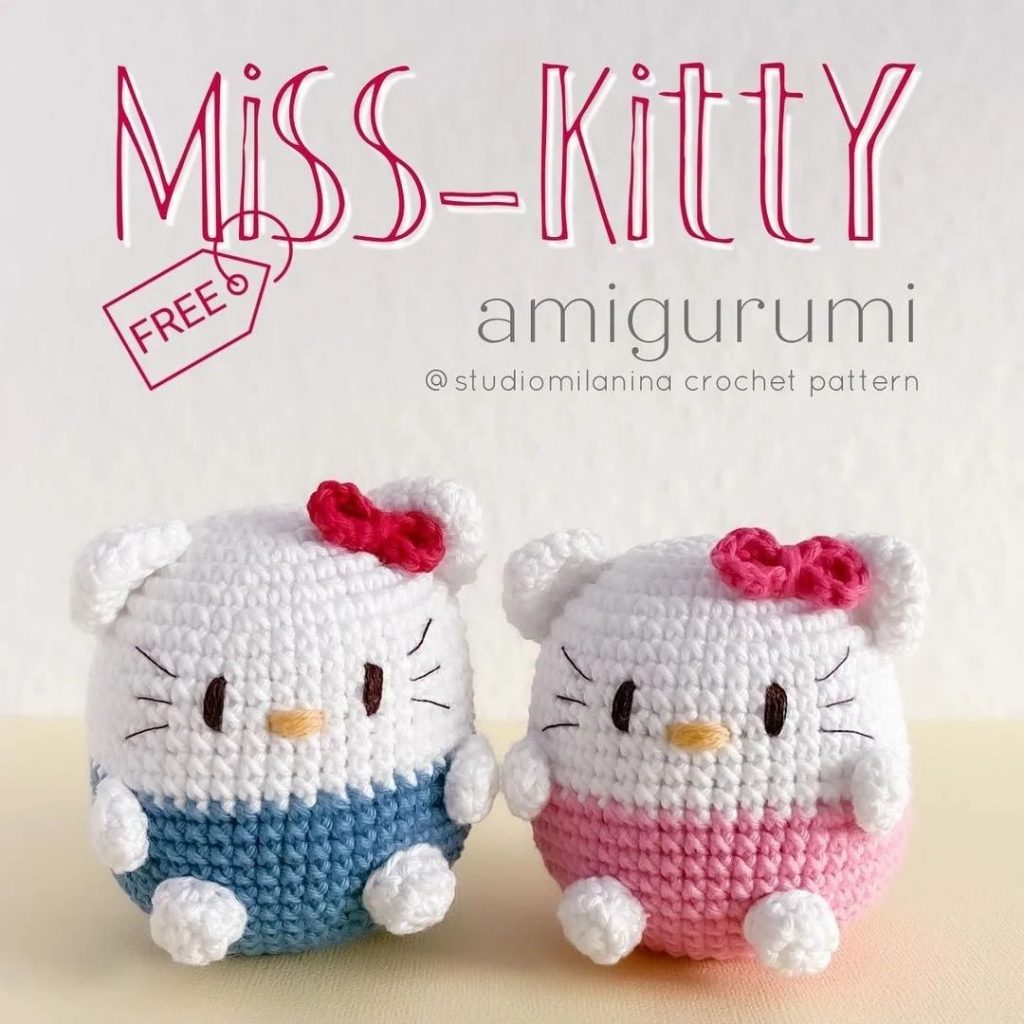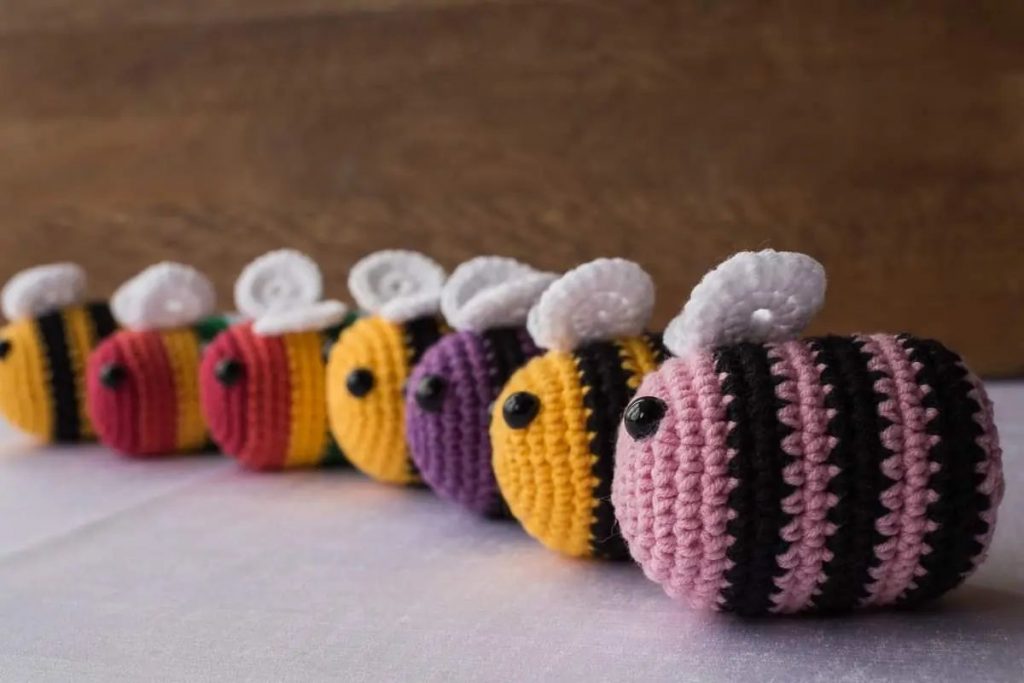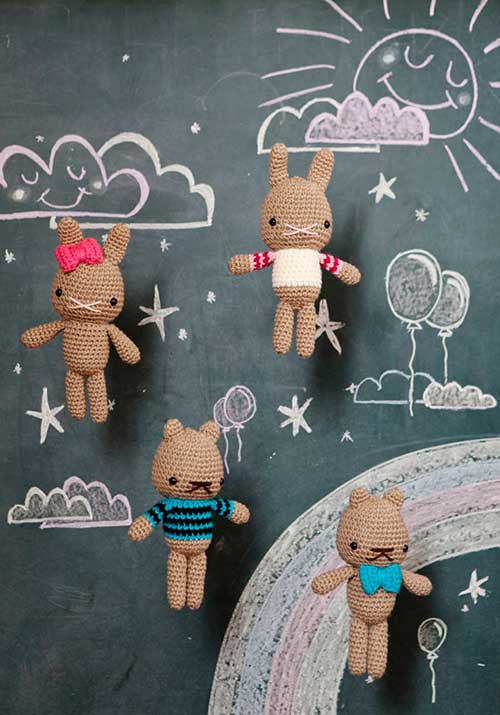
Amigurumi Keychain Free Pattern
Materials
3.5mm crochet hook – Or other hook to give firm tension
8 ply/DK yarn in colours of your choice
8mm toy safety eyes – You can also sew on small beads or sew on
yarn eyes
Polyester toy stuffing
Wool needle – Large eye with a blunt point
Other embelishments like small buttons, ribbons, pom poms, appliqués to
decorate are optional
Abbreviations
dc = double crochet. For US makers a double crochet
is the same as a single crochet
dec = decrease
inc = increase
st = stitch
x = times
Anything between stars .. is to be repeated given
number of times in brackets after
Notes
There are several methods for starting amigurumi crochet. The method I use is below:
STARTER RING:
3 chain and join back to first chain to make a circle. 2 chain, then dc 5 times into the circle. Join back to the 2nd chain, insert marker
after this and start the first round – you should now have 6 stitches. You can substitute another starting method like the magic ring
as long as you have 6 dc stitches when you begin the pattern. You can use purchased stitch markers but I just use an offcut of yarn.
It goes in between the last stitch of a round and the first stitch of the next round. All pieces are worked in continuous spiral rounds.
Head
Use starter ring giving 6 stitches. Add marker between last stitch and
first stitch of next round below.
inc all (x6)(12 st)
inc all (x12)(24 st)
dc 1 round
2 dc, inc (x8)( 32st)
dc 2 rounds
7 dc, inc (x4)(36 st)
dc 4 rounds
8 dc, inc (x4)(40 st)
dc 1 round
3 dc, dec (x8)(32 st)
It’s time to put on the face so loosen the loop and remove hook to
continue later. Place eyes about 3 rounds up from working edge, about
2-3 cm and about 5-6 cm apart. Poke eye stalks through but don’t put
on backs. If you’re unhappy with their placement you can still move
them at this stage. When the eye backs go on you can’t remove them.
You also need to stitch the nose and mouth now. I’ve used a little cross
for Miss Bunny. For Mr. Ted a couple of horizontal stitches between the
eyes and then an upside-down V or Y for the mouth. If you’re happy with
the look of the face, place the safety back on the eyes. Start stuffing the
top of the head but make sure you don’t stuff too close to the working
edge. Restart crocheting by placing hook back through yarn loop and
tightening.
dc 1 round
2 dc, dec (x8)(24 st)
1 dc, dec (x8)(16 st)
Cut yarn leaving a tail 3-5 cm which will be tucked back into the head
after stuffing. Finish stuffing the head making sure to go around the eyes.
Check the head from a few different angles to make sure stuffing is even
so your teddy or bunny won’t end up with a wonky head.
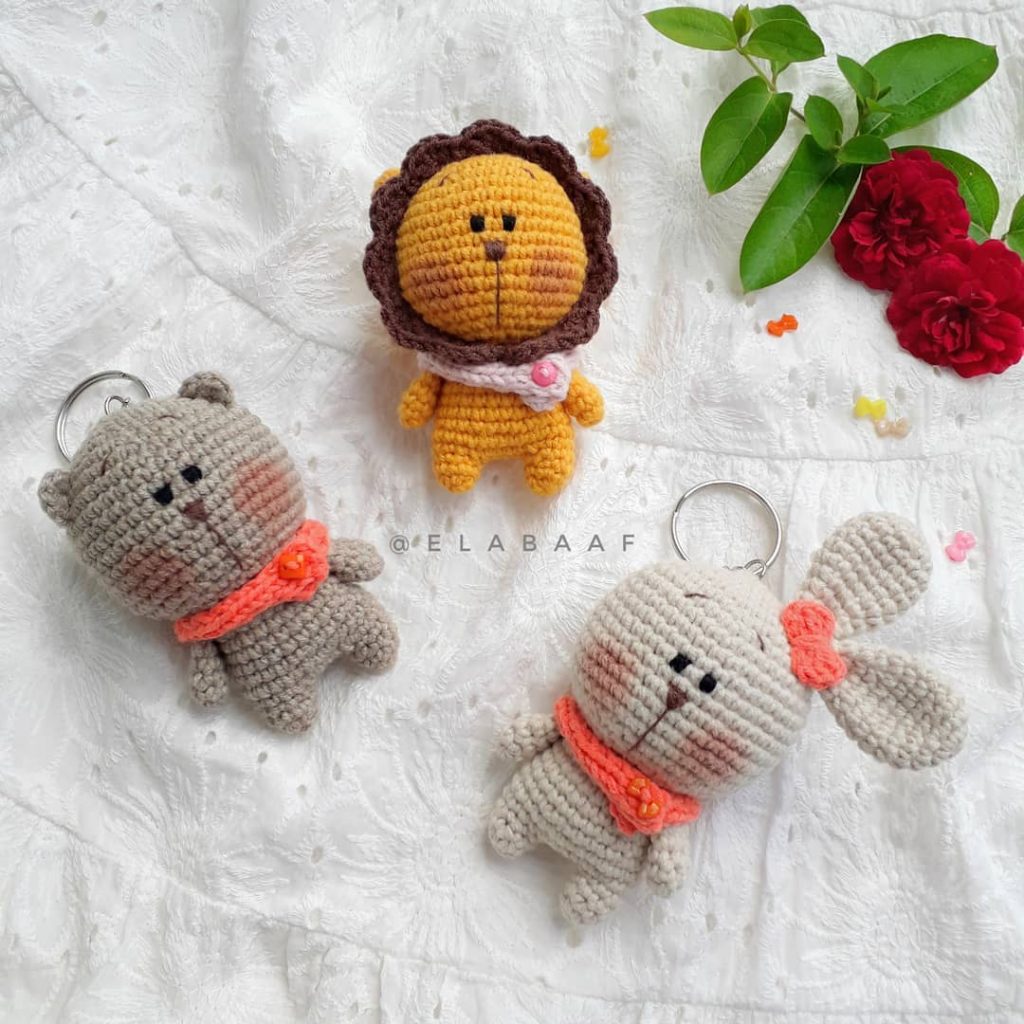
Ears(make2)
Use starter ring giving 6 stitches. Add marker between
last stitch and first stitch of next round below.
1 dc, inc (x3)(9 st)
For Mr. Ted dc 2 rounds. Cut yarn leaving a long tail
about 15-20 cm so you can sew on ears later.
For Miss Bunny dc 7 rounds. Cut yarn leaving a long
tail about 15-20 cm so you can sew on ears later.
Arms(make 2)
Use starter ring giving 6 stitches. add marker between
last stitch and first stitch of next round below.
1 dc, inc (x3)(9 st)
dc 8 rounds in total for arm
**If you want your teddy or bunny to have a sweater,
change colour for the 4th round and continue in
sweater colour. Add a couple of extra stitches on
the last round and the colour seam will be on the
underside of the arm.
**Arms are crocheted into the body later so cut yarn
leaving a tail 3-5 cm. If you don’t feel comfortable with
this technique, just leave a long tail 15-20 cm and you
can sew the arms to the body. Place a little stuffing in
the paw area, but not the whole arm.
Legs(make2)
Use starter ring giving 6 stitches. Add marker between last stitch and first
stitch of next round below.
2 dc, inc* (x2)(8 st)
dc 10 rounds.
Cut yarn leaving a long tail about 15-20 cm so you can sew on legs later.
Stuff legs to the top
Body
Use starter ring giving 6 stitches. add marker between last stitch and first
stitch of next round below.
inc all (x6)(12 st)
1 dc, inc (x6)(18 st)
2 dc, inc (x6)(24 st)
dc 8 rounds total
**If you want your teddy or bunny to have a sweater change colour for the
3rd round and continue in sweater colour.
Fold body in half and use sewing pins to mark where you will crochet arms
in along the top edge. Hold the arms in place and crochet through all the
layers. Make sure you tie the cut yarn of the arm to the working yarn for
extra security.
dc 1 round – cut yarn leaving a long tail about 30 cm so you can sew the
body to head later. Stuff body.
Bow
To crochet a bow, leave a long tail of about 30 cm before starting. You
need this for stitching later. Chain 6, dc into second stitch from hook, dc
into each stitch back to start. There should be 5 dc stitches in total.
Turn and chain 1, dc in each stitch back to other end. 5 dc stitches in total. Repeat this for the length of the bow tie. Tie length should be about
8-10 cm long. Fold one short end to the other to check size. When happy,
end leaving a long tail of about 30 cm. Sew the short ends together. Use
the long tails of yarn to wrap tightly around the middle of the bow. Knot
at the back. DO NOT cut these tails, you’ll use them to sew to the body or
head later.
FINISHING
Use a large eyed wool/yarn needle. I normally sew using a ladder stitch
but you can also use a whip stitch to sew your bunny or teddy together.
Head
Check ear placement carefully before sewing to make
sure you don’t have a lopsided bunny or bear. Miss
Bunny should have her ears sewn on close to the top
of her head. Mr. Ted also has his ears sewn close to
the top of the head but you can place them further
down if you like for a different look. If your Miss Bunny
is wearing her bow on her head you‘ll be gluing then
stitching the bow. Decide where you want the bow to
sit, then use clear craft glue on the center back of the
bow. Place bow on head and hold for a minute so the
glue dries a little. Then finish stitching the bow to her
head.
Body
If your Mr. Ted is wearing a bow tie on his chest, you’ll
be gluing then stitching the bow tie on. Decide where
you want the bow to sit. Make sure it isn’t too close to
the top edge, less than 2 cm from the top will make it
difficult to sew on the head. Then use clear craft glue
on the center back of the bow, place bow on chest
and hold for a minute so the glue dries a little. Then
finish stitching the bow tie to the chest. Pin the neck
to the head. Make sure you look from several angles to
check the body is in the correct position. Don’t forget
to look from the top down. Sew around the top edge.
I usually sew around the neck twice to make sure the
head is secure.
Legs
The legs are sewn on close to the center bottom of the
body.
Extra İdeas
Double-sided satin ribbon from a craft store would make a great headband for Miss Bunny. Add some craft flowers or felt flowers
on top for super cute girliness. Embroidered appliqués from a craft store can be sewn onto the sweater for a different look, or you
could embroider your own design onto the front of the sweater using different yarn or embroidery floss. Tiny little matching buttons
sewn on the front of the sweater can change it into a cardigan.
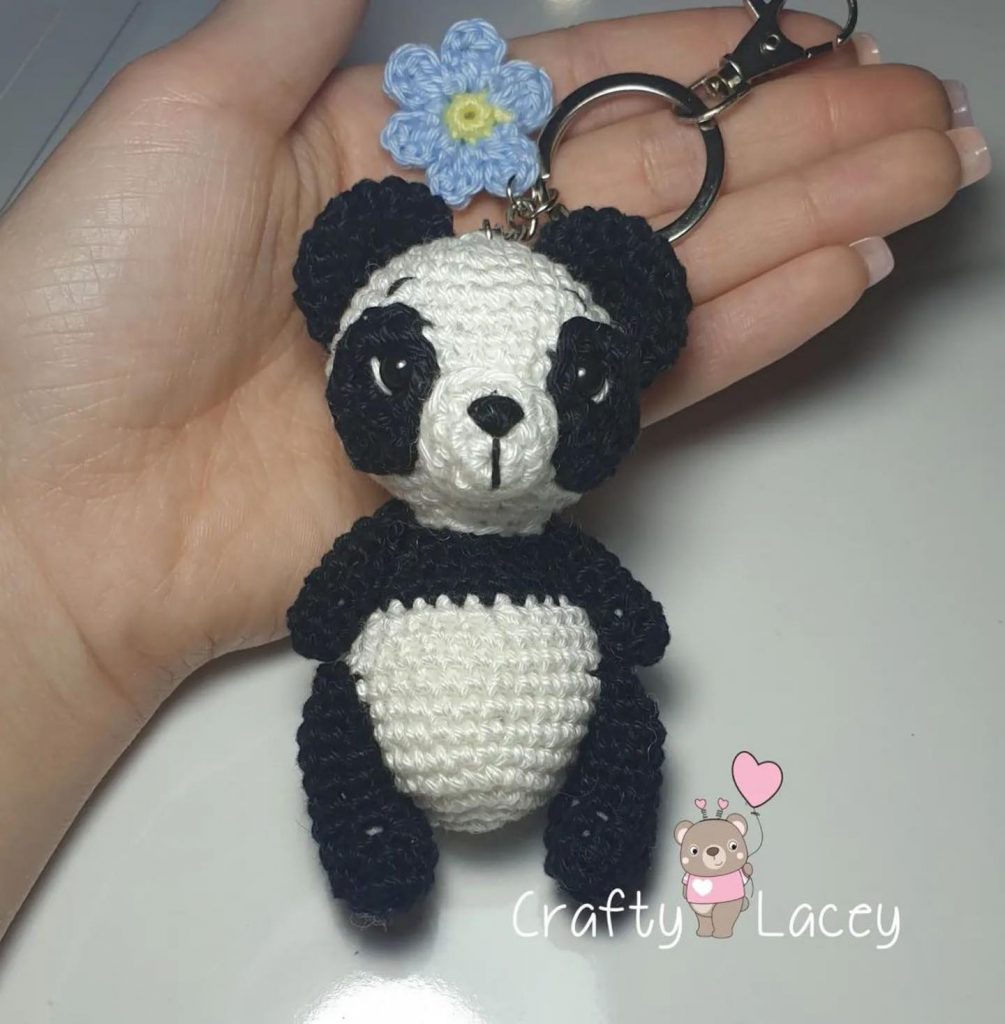
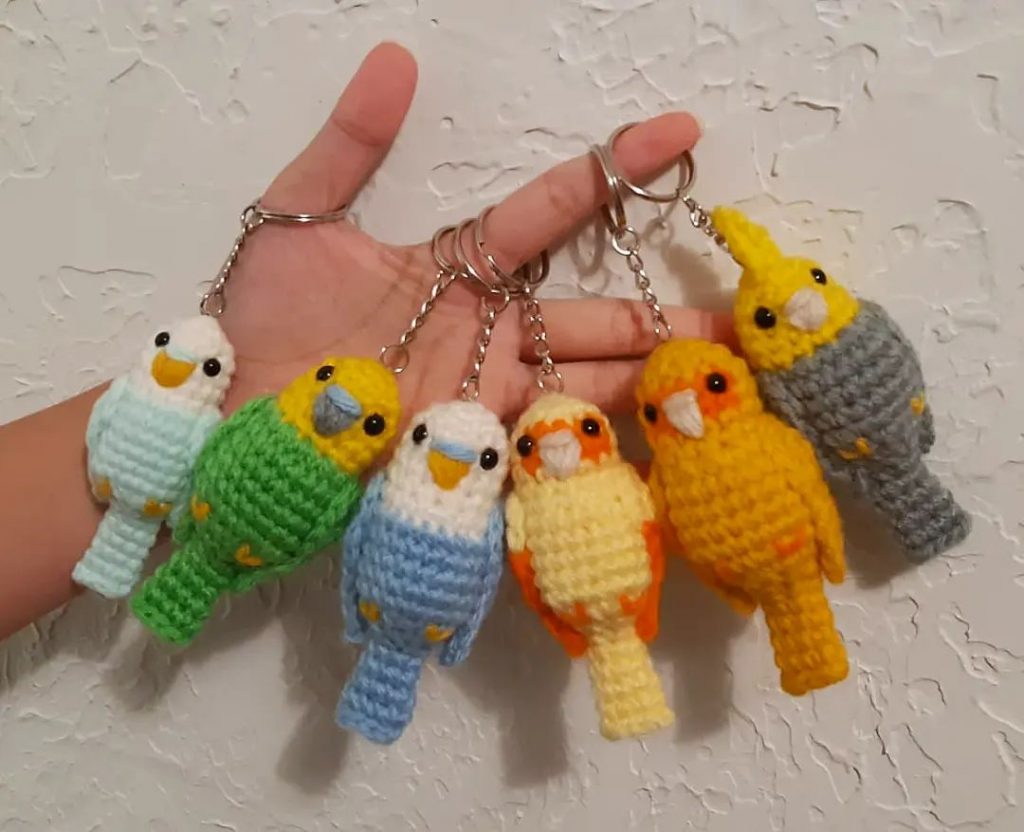
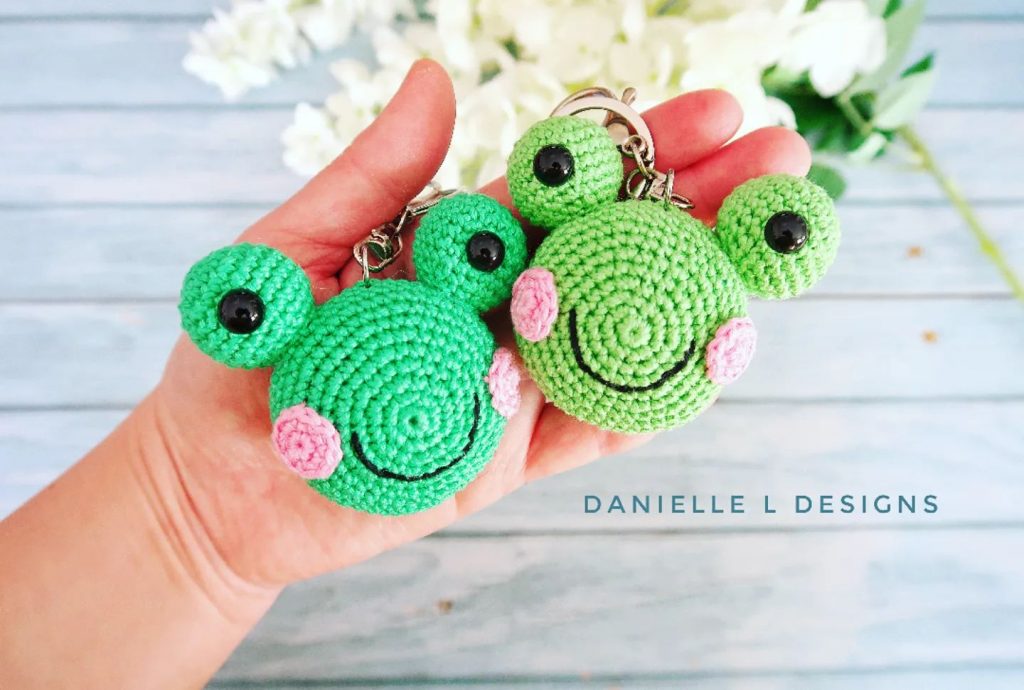
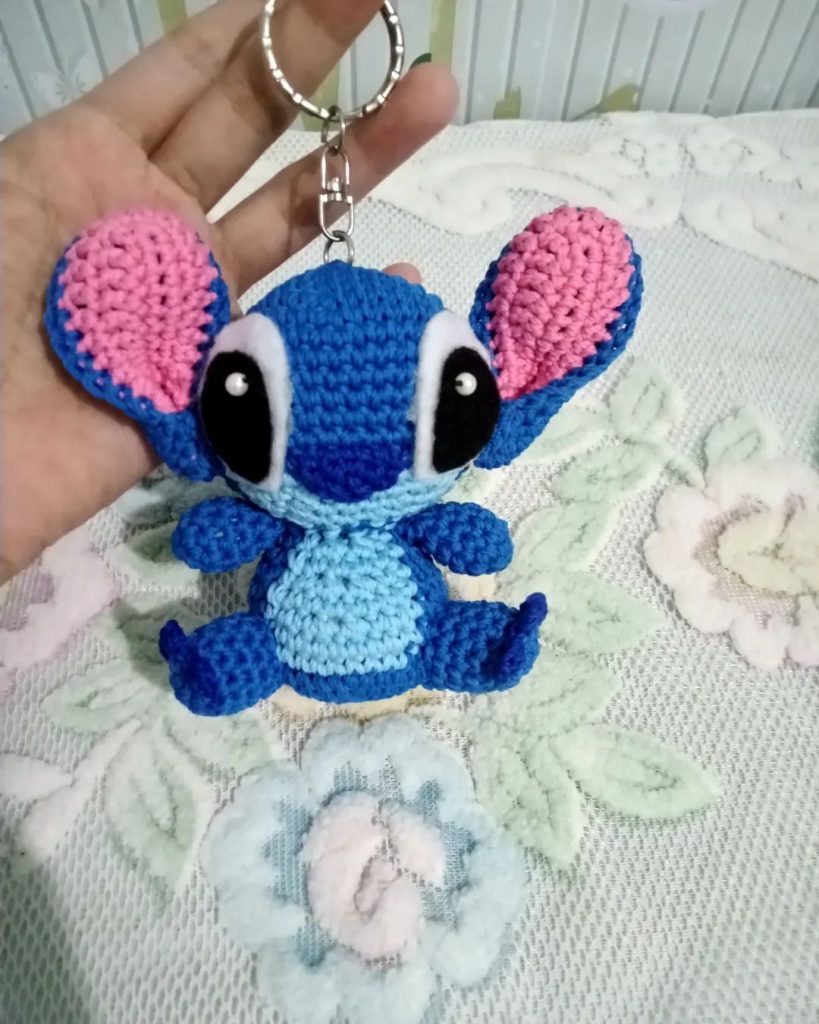
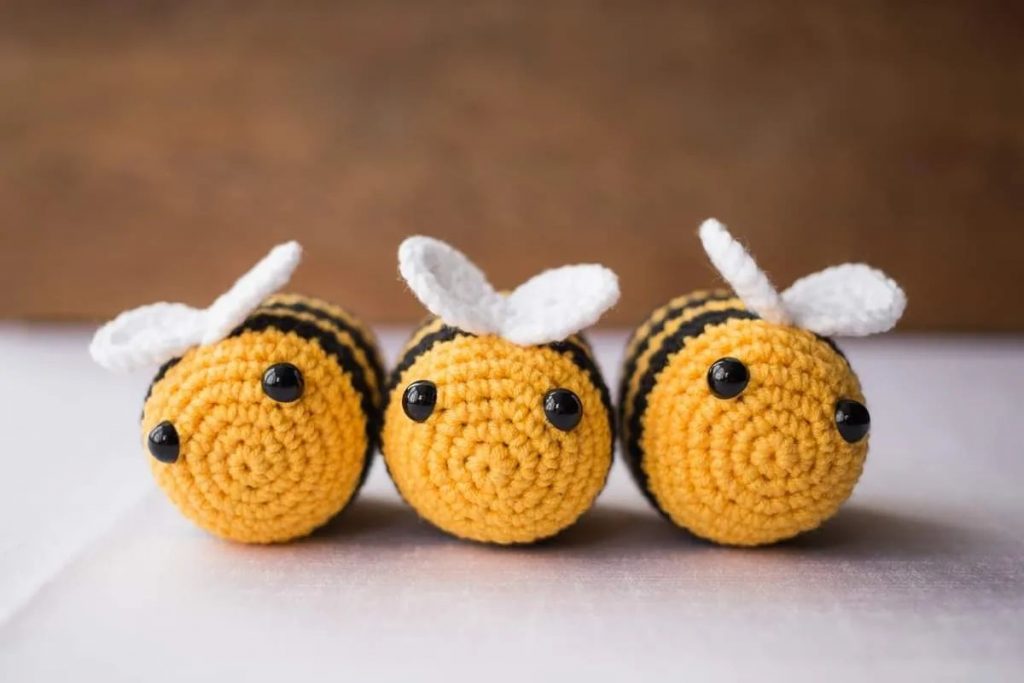
More Amigurumi Keychain İdeas