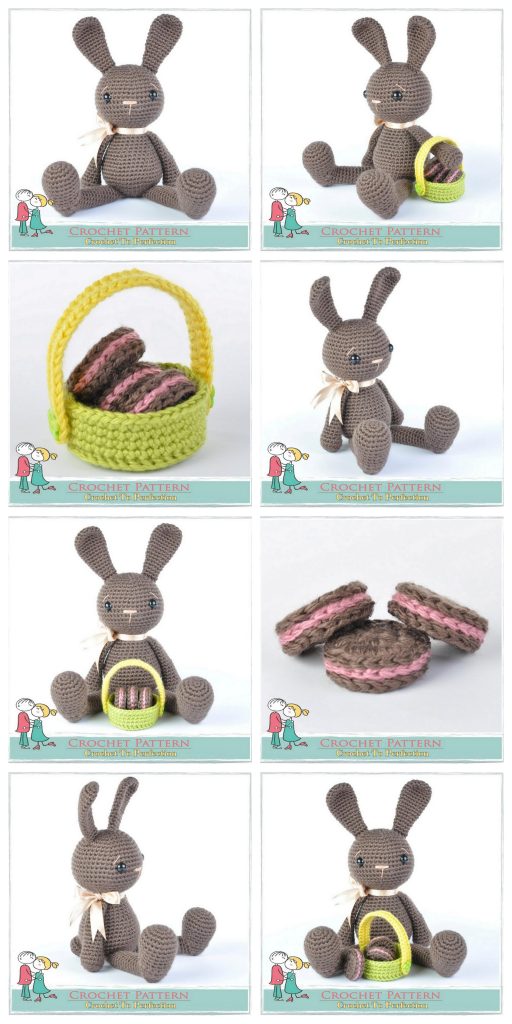
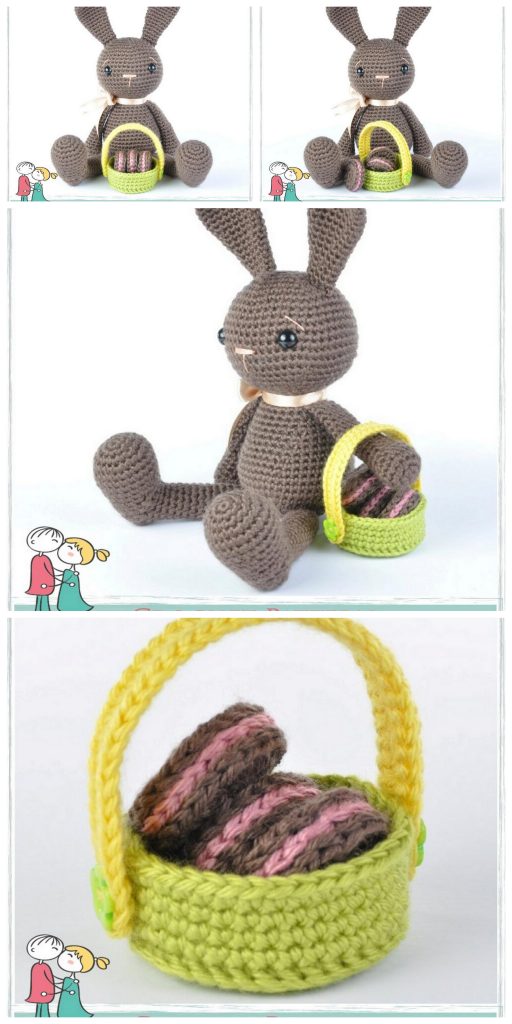
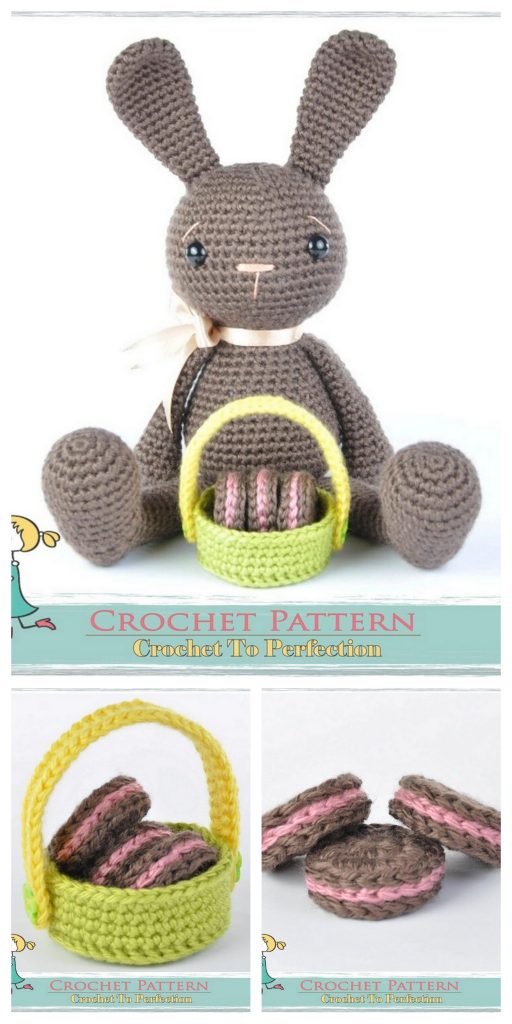
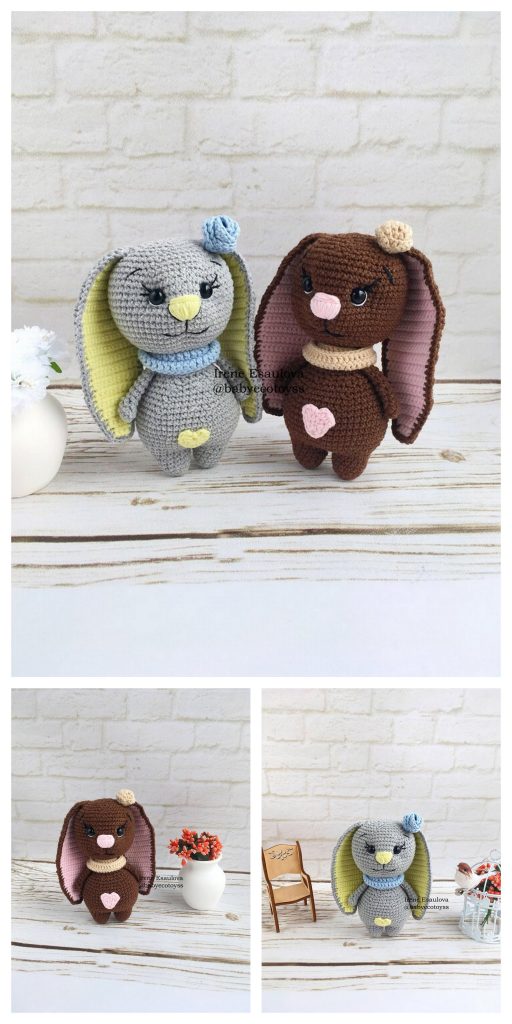
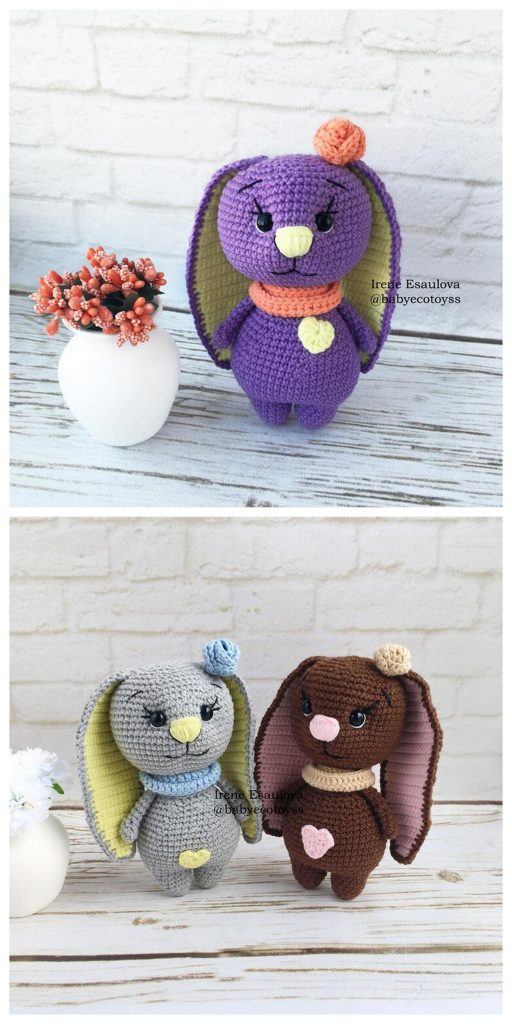
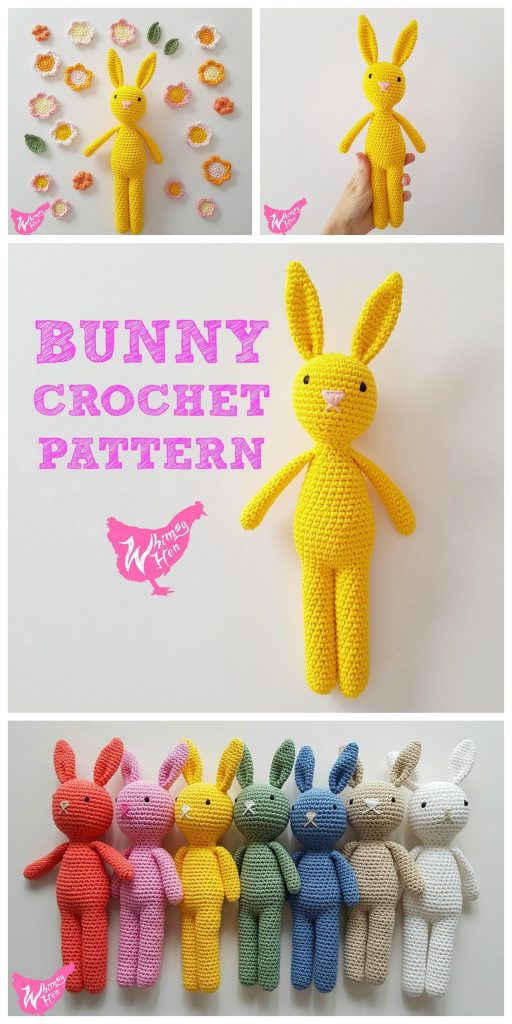
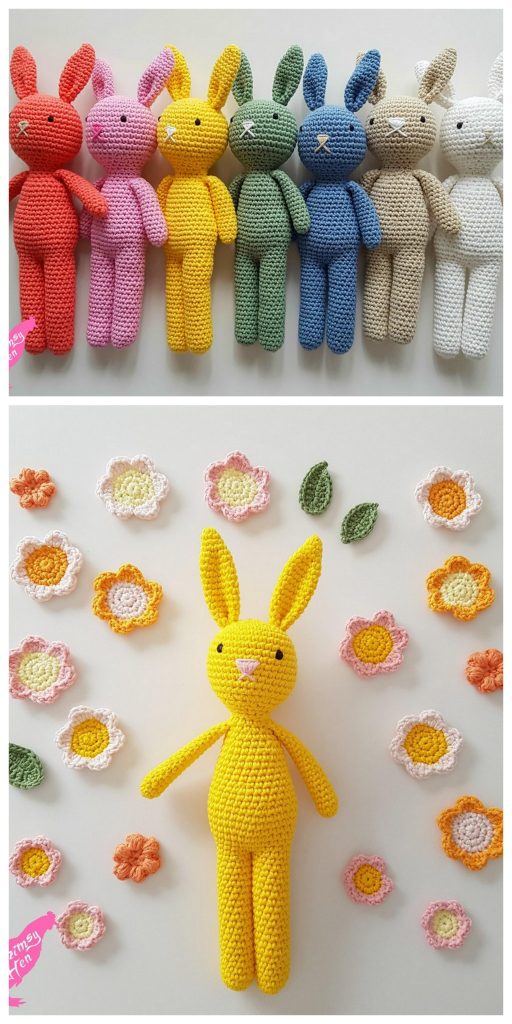
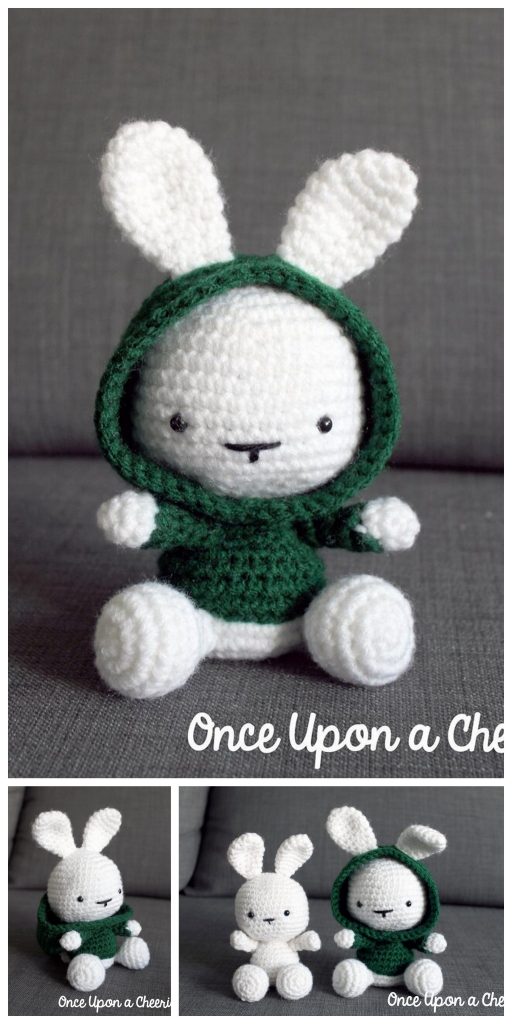
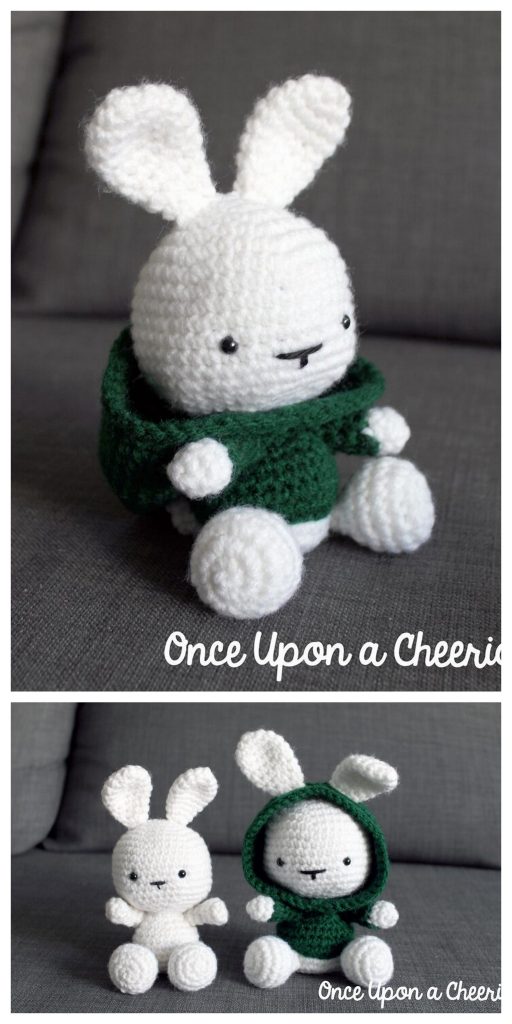
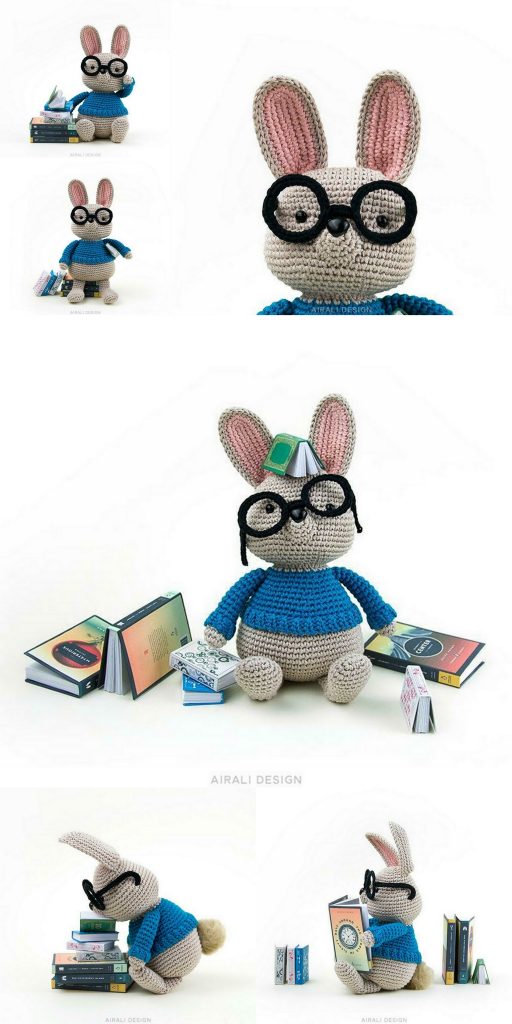
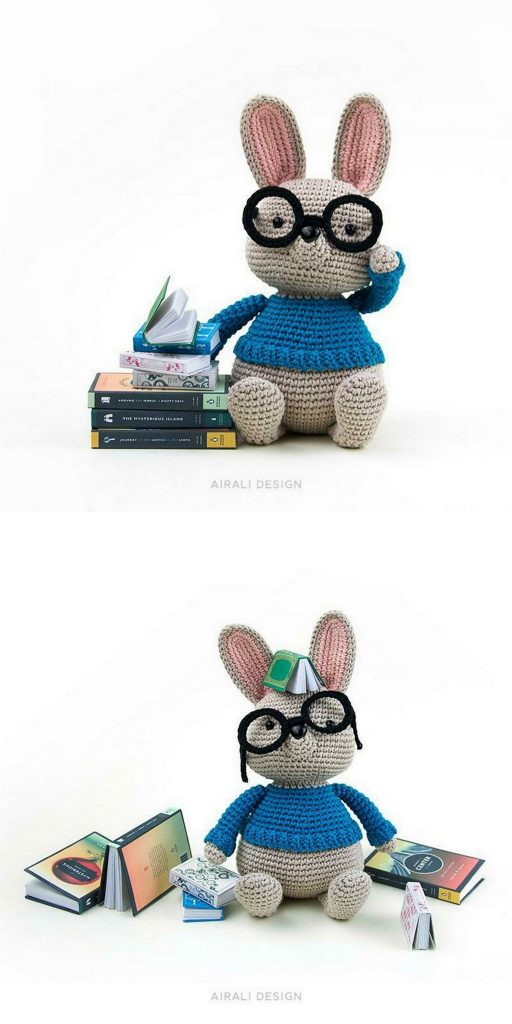
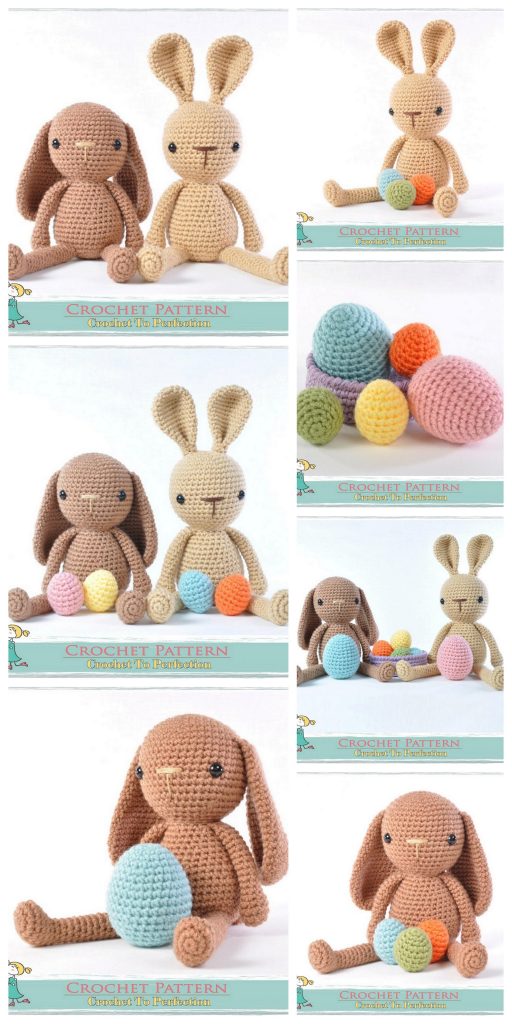
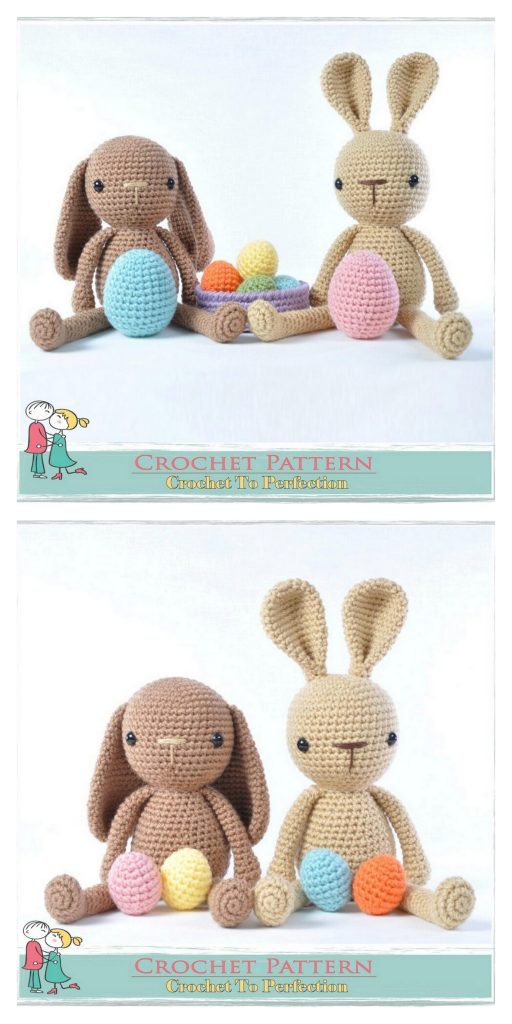
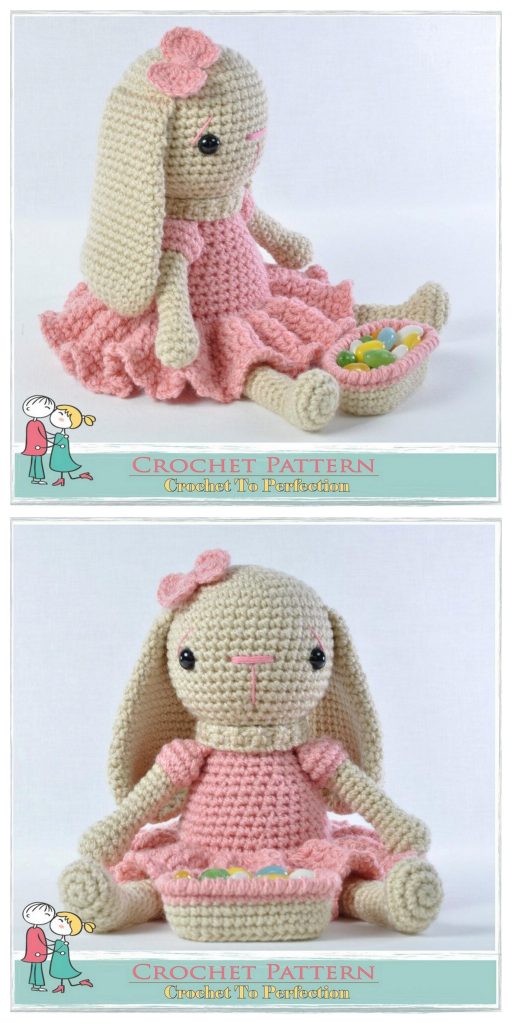
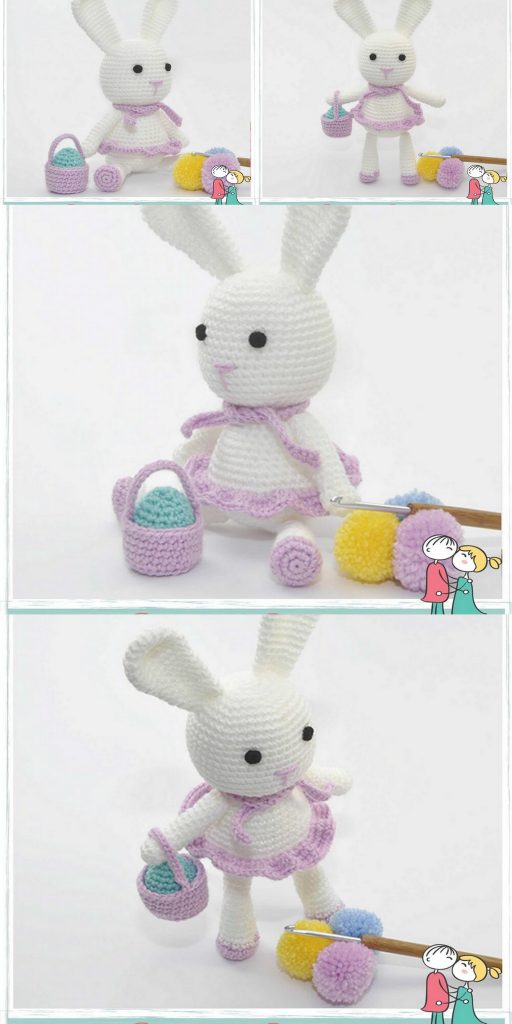
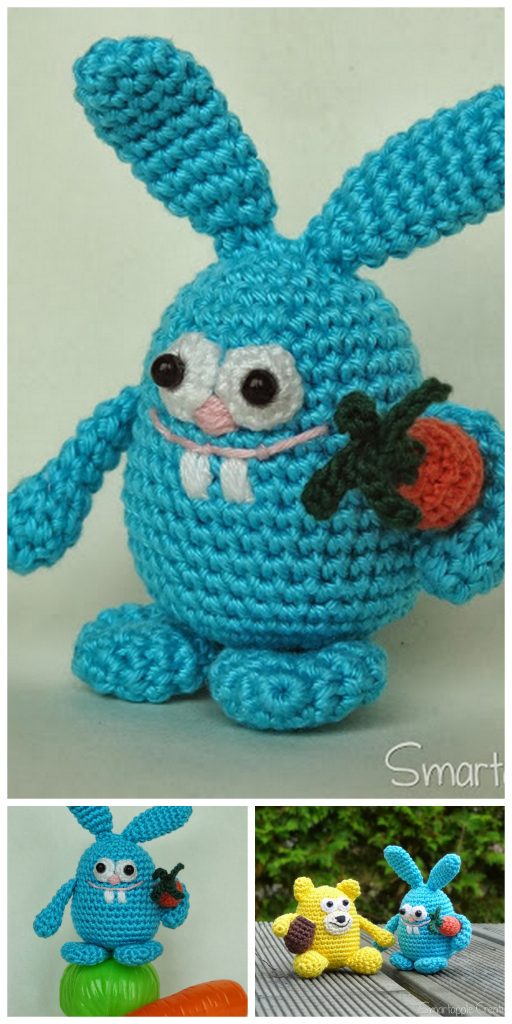
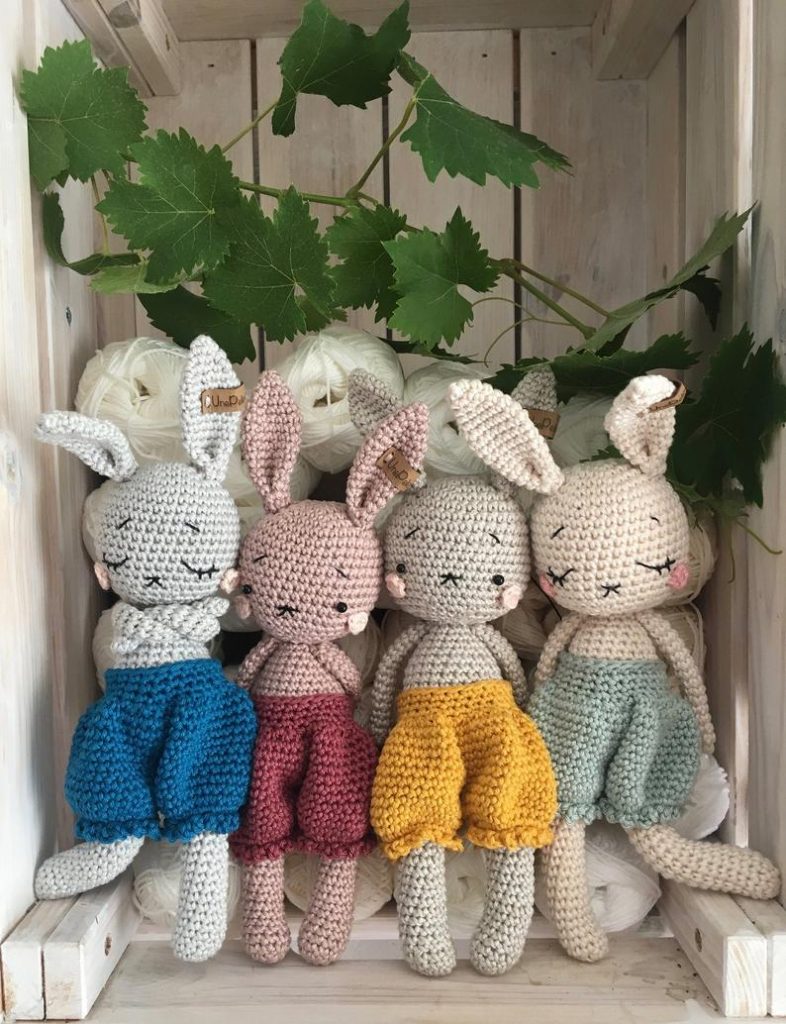
Amigurumi Easter Bunny Crochet Free Pattern
Materials
US 4 (3.5mm) Crochet Hook
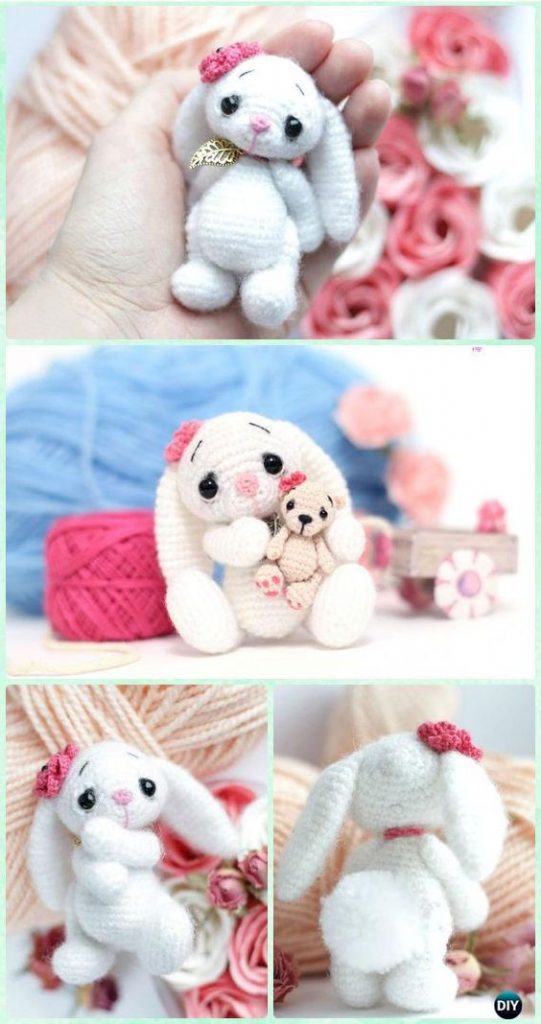
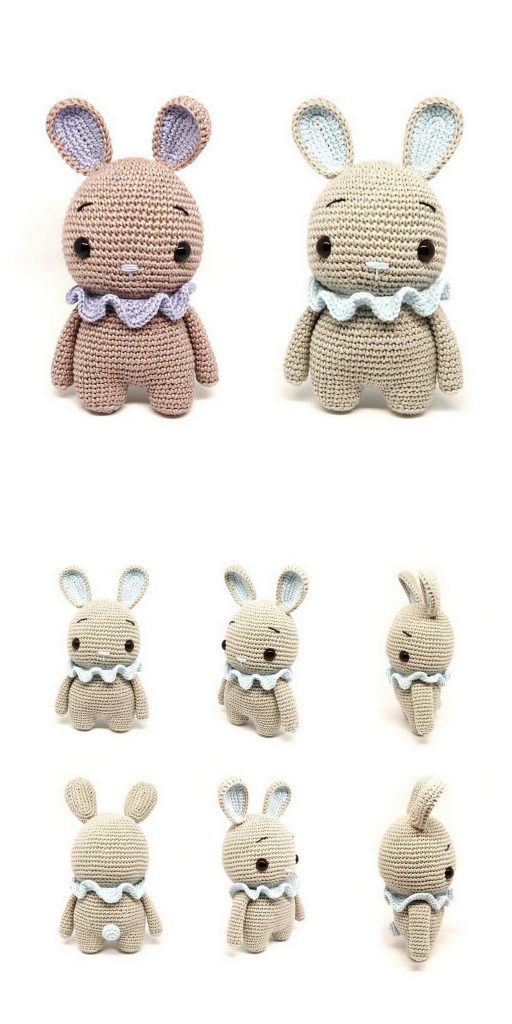
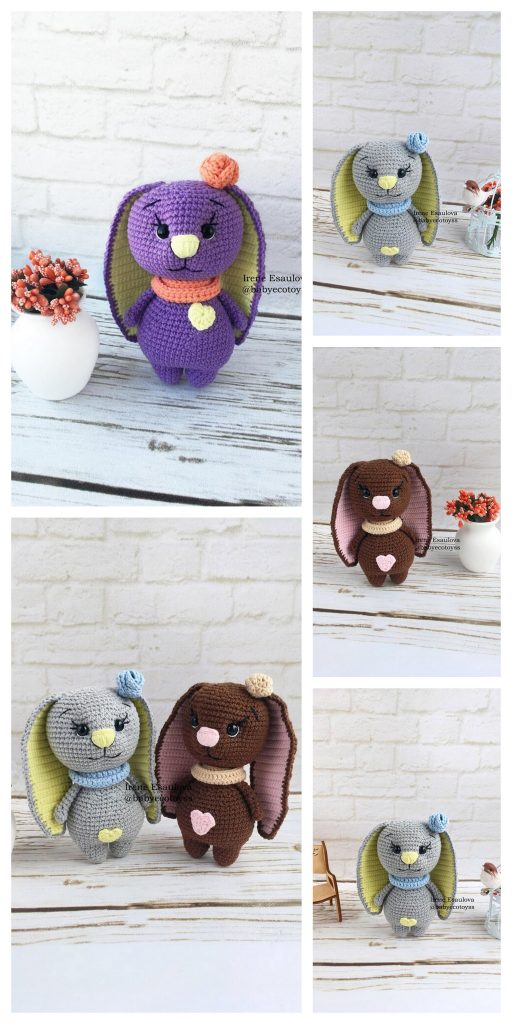
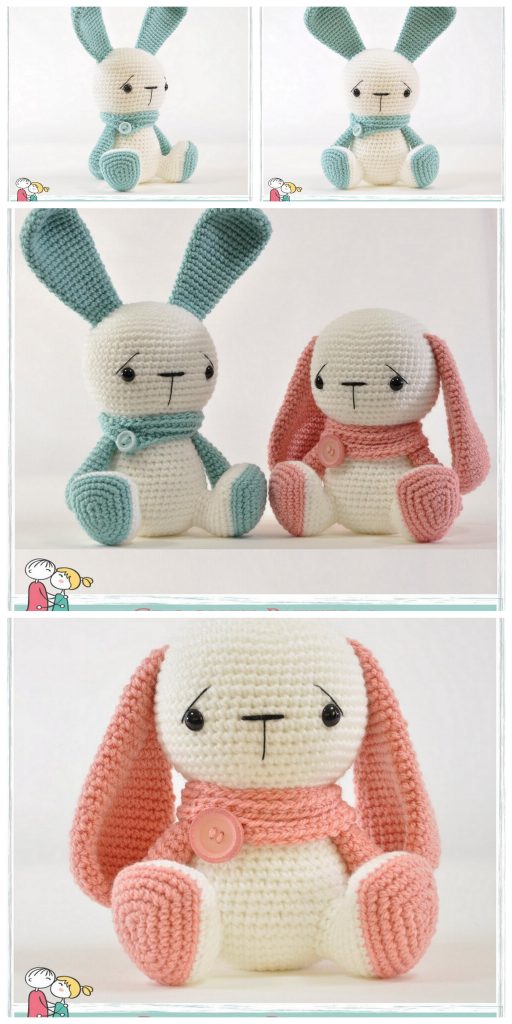
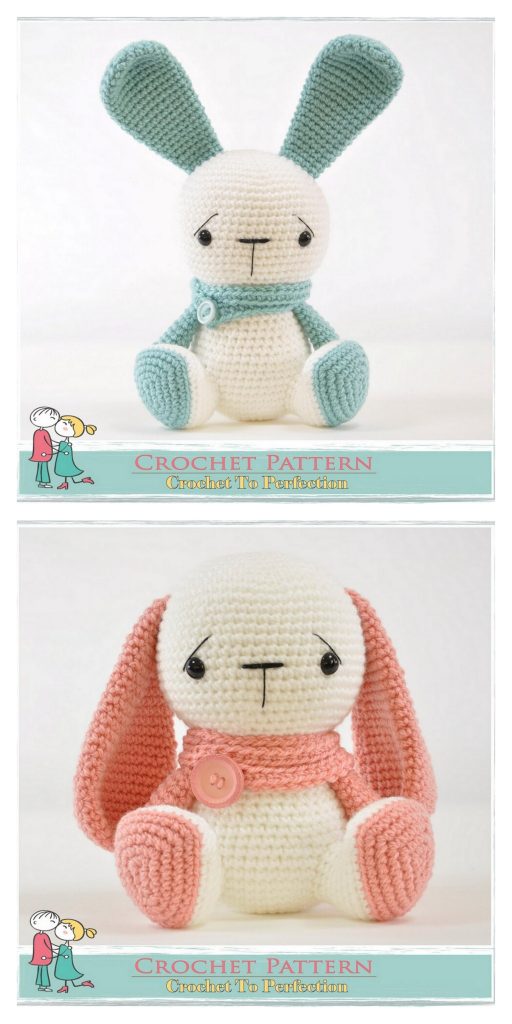
Approx 100g of any yarn, you can use any kind and colour – I am using DMC Woolly in 061 Lilac for the purple bunny and Paton Smoothie DK for the white bunny.
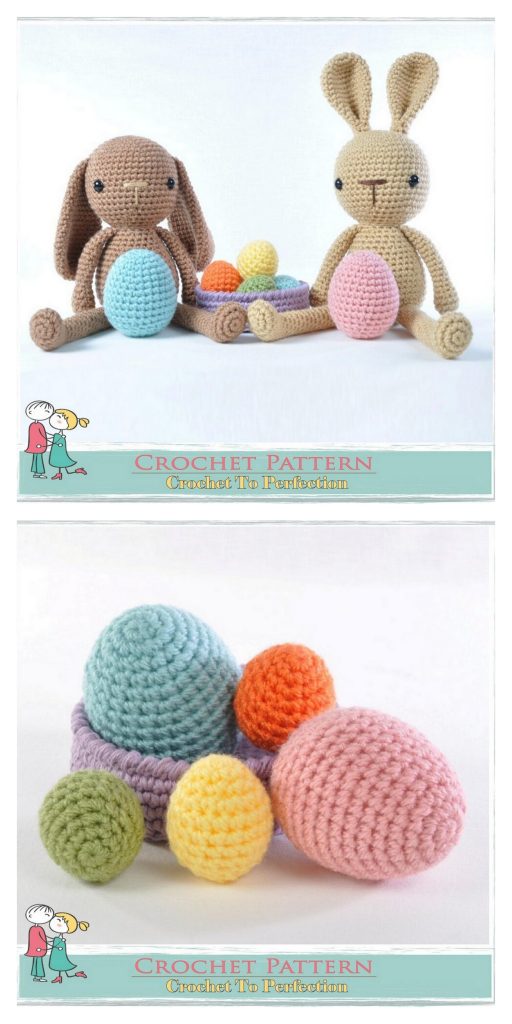
A small amount of: Red/ Pink/ Yellow/ White/ Green yarn for the flowers (optional)
A small amount of chunky white/ cream yarn for tail
Ribbon for the bow (optional)
Acrylic toy stuffing
1 x pair 8mm safety eyes
Small Pom Pom maker
Stitch marker
Scissors
Sewing needle
Abbreviations
MR – Magic ring
CH – Chain
SS – Slip Stitch
SC – Single crochet
SC Inc – Two single crochet stitches in the same stitch
SC2tog – Single Crochet two stitches together in the front loop only.
HDC – Half Double Crochet
* – Repeat from star to end
FO – Fasten off
Legs
Round 1: MR 5
Round 2: *SC Inc (10)
Round 3: *SC 1, SC Inc (15)
Round 4: SC around (15)
Round 5: *SC 2, Inc (20)
Round 6 -10: SC around (20)
FO
Body
This is a continuation of the legs. You will join both legs together at round 11 and continue to create the body.
Round 11: attach a new piece of yarn to leg one.
CH 1 and then 1 SC in the same stitch. SC around remaining 19 stitches of leg one, continue and SC around 20 stitches of the other leg.
SS to the CH on 1st leg to finish round. (as below)
For all other rounds continue to work in a spiral.
Round 12-13: SC around (40)
Sew up the gap between the legs
Rounds 14-16: SC around (40)
17: *SC 8, SC2tog around (36)
18: SC around (36)
19: *SC 7, SC2tog (32)
20: SC around (32)
Stuff legs
21: *SC6, SC2tog (28)
22: SC around (28)
23: *SC5, SC2tog (24)
24: SC around (24)
25:* SC4, SC2tog (20)
26: SC around (20)
27: *SC3, SC2tog (16)
28: SC around (16)
FO and leave tail long for sewing .
Stuff remainder of body.
Head
Round 1: MR 6
Round 2: Inc around (12)
Round 3: *1 SC, Inc (18)
Round 4: 1 SC, *Inc, 2 SC until last stitch, 1 SC (24)
Round 5: *3 SC, Inc (30)
Round 6: 2 SC, *Inc, 4 SC until last 2 stitches, 2 SC (36)
Round 7: *5 SC, Inc (42)
Rounds 8-12: SC around (42)
Round 13: 3 SC *Inc, 6 SC until last 3 stitches, 3 SC (48)
Rounds 14-15: SC around (48)
Round 16: 3 SC, *SC2tog, 6 SC until last 3 stitches 3 SC (42)
Round 17: *5 SC, SC2tog (36)
Round 18: 2 SC, *SC2tog, 4 SC until last 2 stitches, 2 SC (30)
Round 19: * 3 SC, SC2tog (24)
Round 20: 1 SC, *SC2tog, 2 SC until last stitch 1 SC (18)
FO
Attach eyes between rounds 11 and 12 approx 7 stitches apart.
Firmly stuff.
Ears (Make 2)
Round 1: MR 6
Round 2: Inc around (12)
Round 3: * 1 SC, Inc (18)
Round 4: * 2 SC, Inc (24)
Rounds 5-7: SC around (24)
Round 8: * 2 SC, SC2tog (18)
Rounds 9-11: SC around (18)
Round 12: SC2tog, 7 SC x 2 (16)
Round 13: SC around (16)
Round 14: SC2tog, 6 SC x 2 (14)
Rounds 15-17: SC around (14)
FO and leave tail long for sewing
DO NOT STUFF.
Arms (Make 2)
Round 1: MR 5
Round 2: Inc around (10)
Round 3: * 1 SC, Inc (15)
Rounds 4-11: SC around (15)
Round 12: * 1 SC, SC2tog (10)
FO and leave tail for sewing
Lightly stuff.
Tail
Use the chunky yarn and small Pom Pom maker to make a small pom pom for the tail.
Assembly
Sew the head the body and ears to the head.
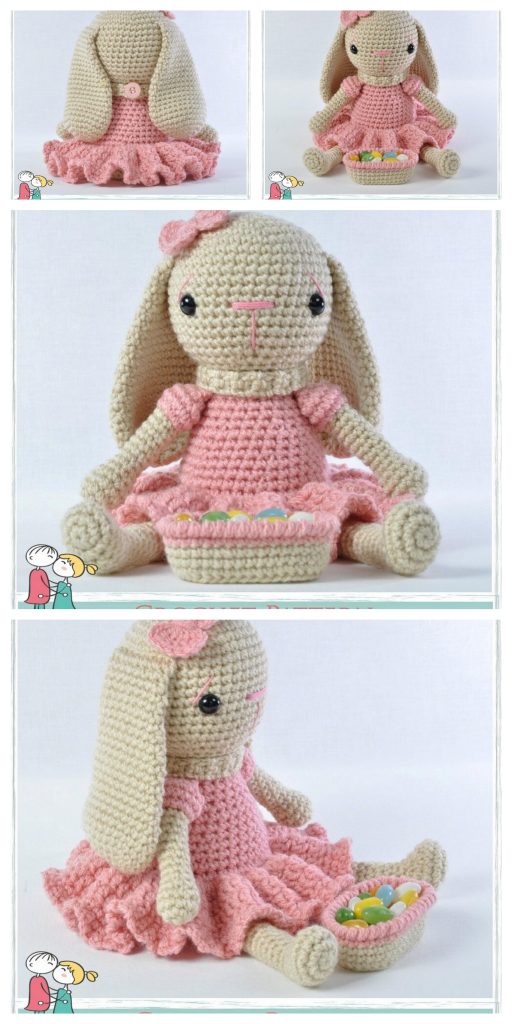
The sew the arms in place. Sew the tail to the back of the body and tie a ribbon in a bow around the neck.
Finally embroider a small cross (approx 3 stitches x 3 stitches) between the eyes in a pale pink to make the nose.
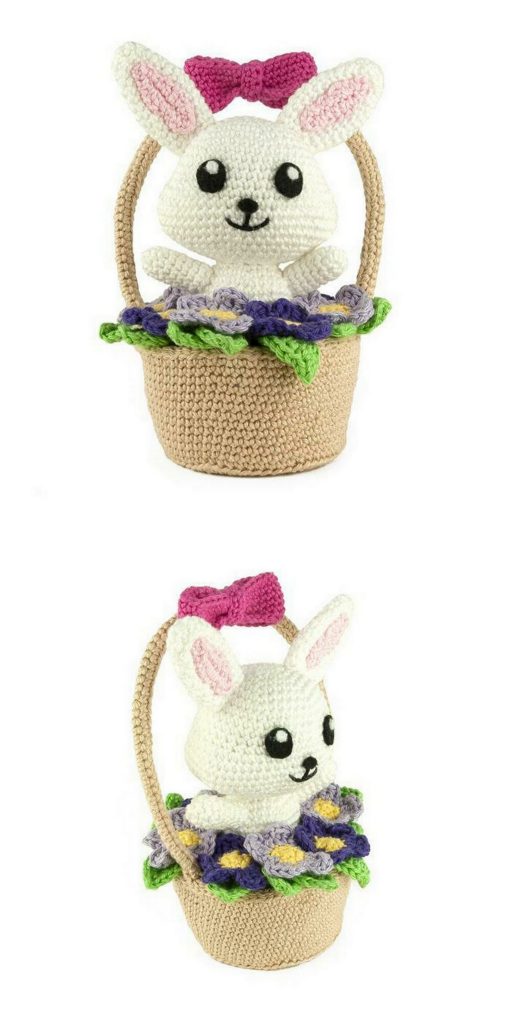
Daisy
MR 5 in Yellow – colour change to white at the end of the MR
Slip stitch to first stitch
First stitch: CH 1, 2 DC, 1 SC, SS to next stitch
Repeat for remainder of 4 stitches.
FO and weave in ends, leave one tail for sewing
Roses
CH 15
In 2nd CH: SS, 1 SC
3rd CH: 1 SC, SS
Repeat CH 2-3 for remainder of the row.
Weave in ends and leave one end for sewing.
The rose will role up in a swirl – sew up through the middle and then in place.
(Note: For slightly larger roses swap the SS for a SC and the SC for a HDC)
Leaves
CH 2
In 2nd CH – SS, 1 SC, 1 HDC, 1 SC, SS
FO leave tail for sewing
Assembly
Pin the flowers however you wish and as many as you wish and sew in place one by one to finish your bunny.
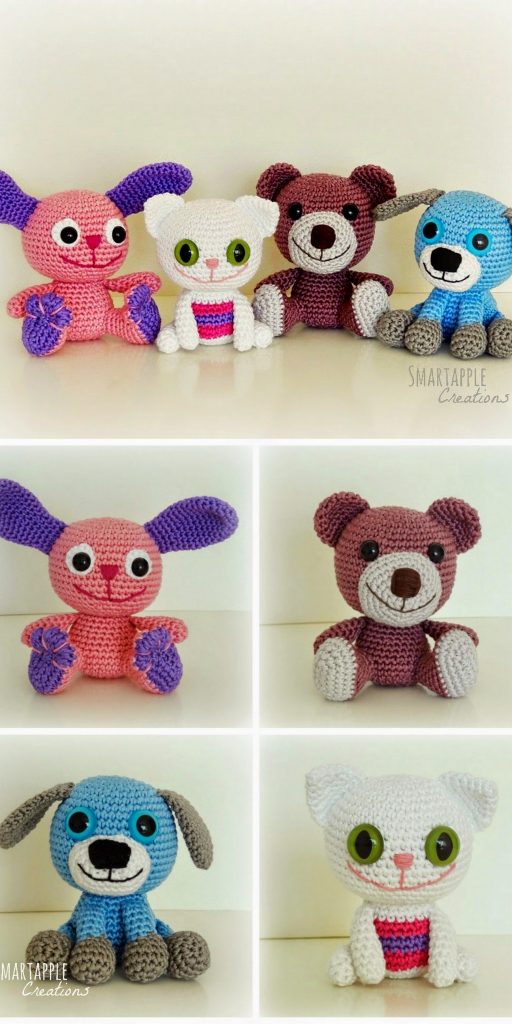
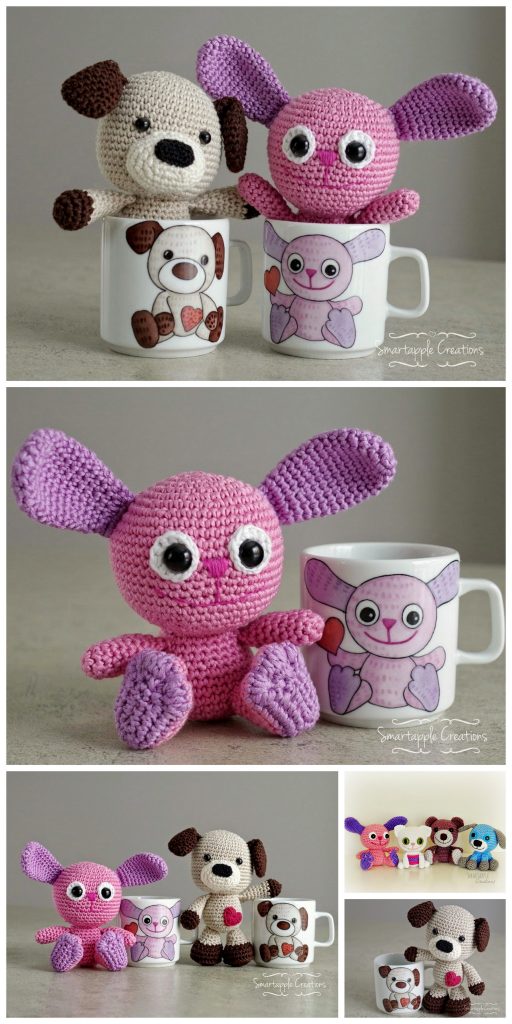
More Amigurumi Bunny İdeas