Amigurumi Cute Pokemon Crochet Free Pattern
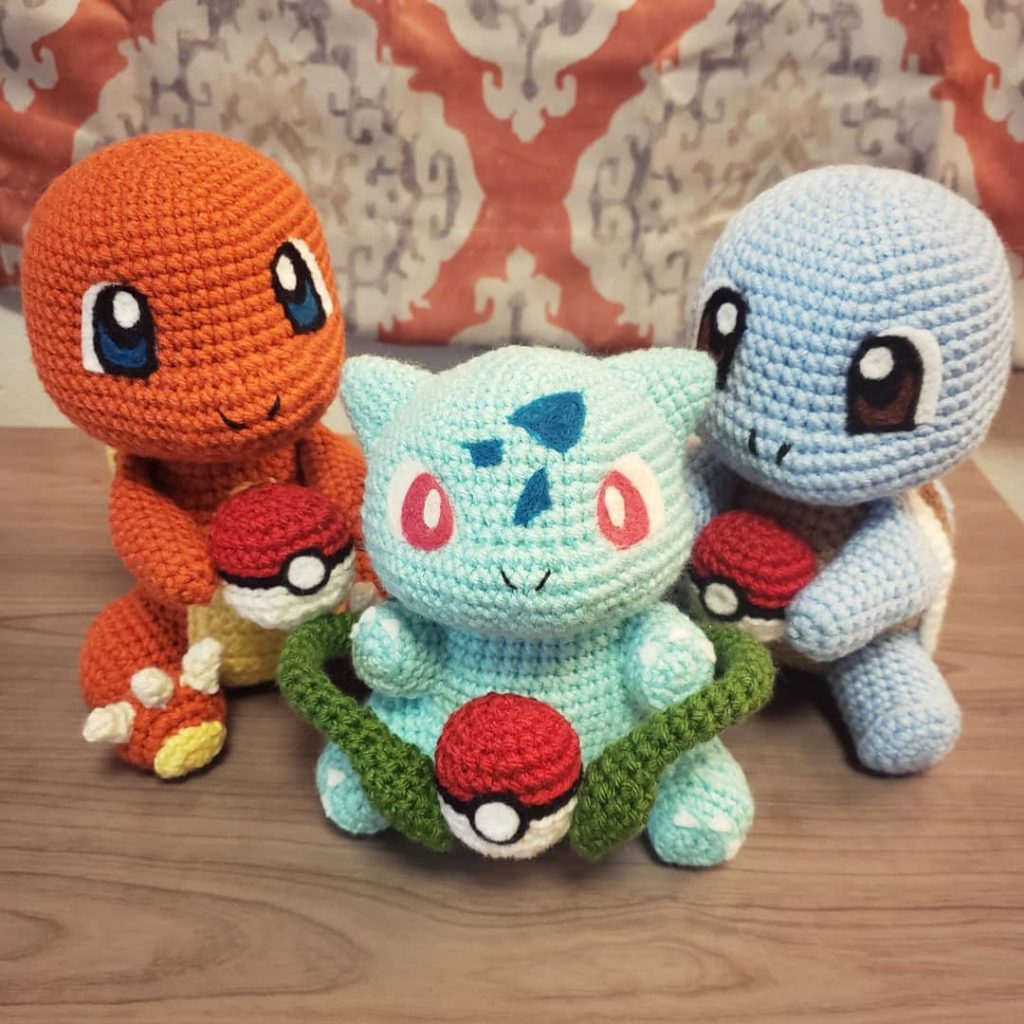
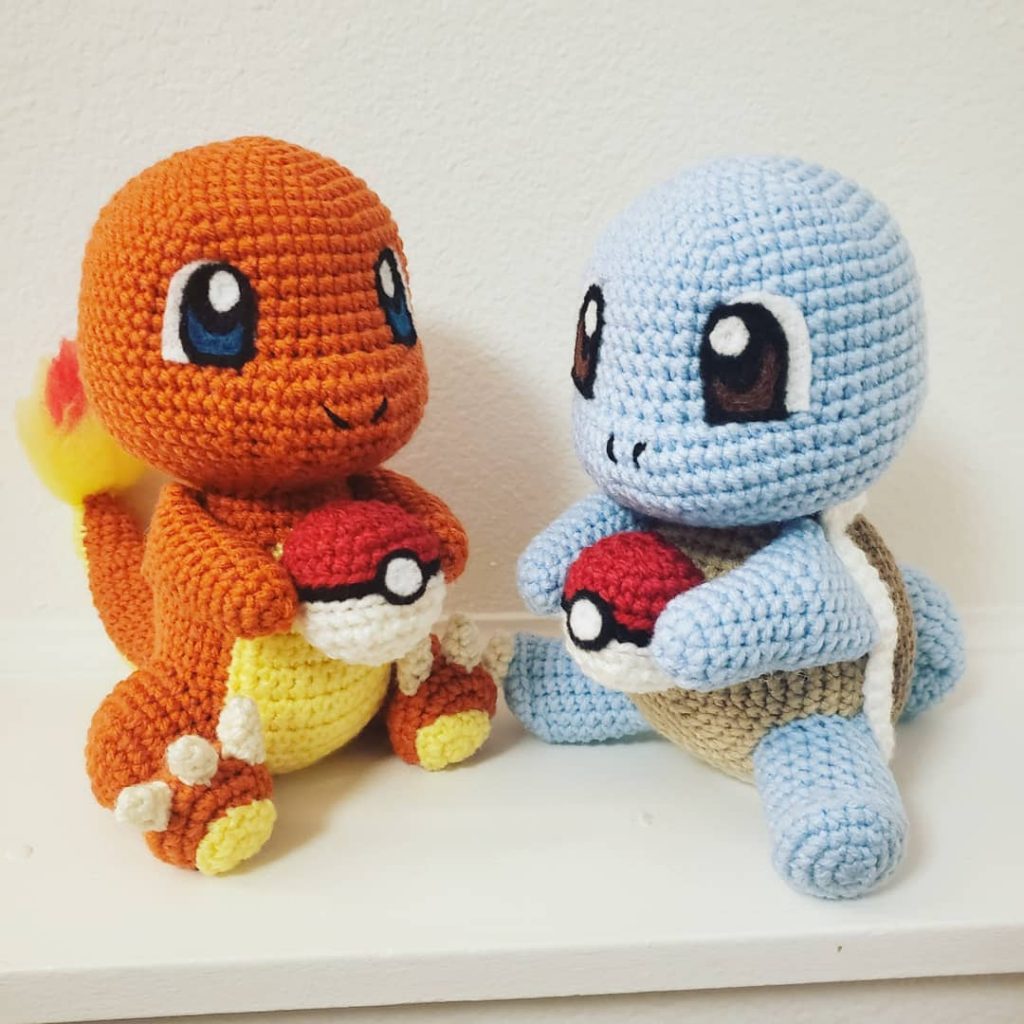
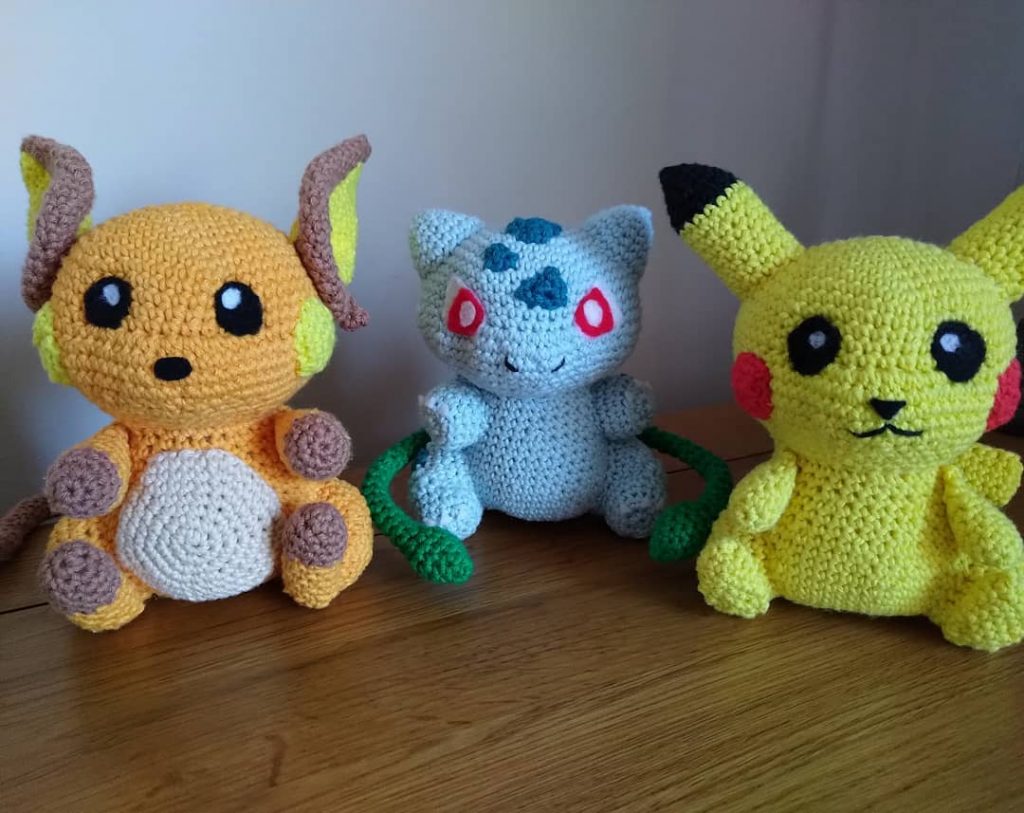
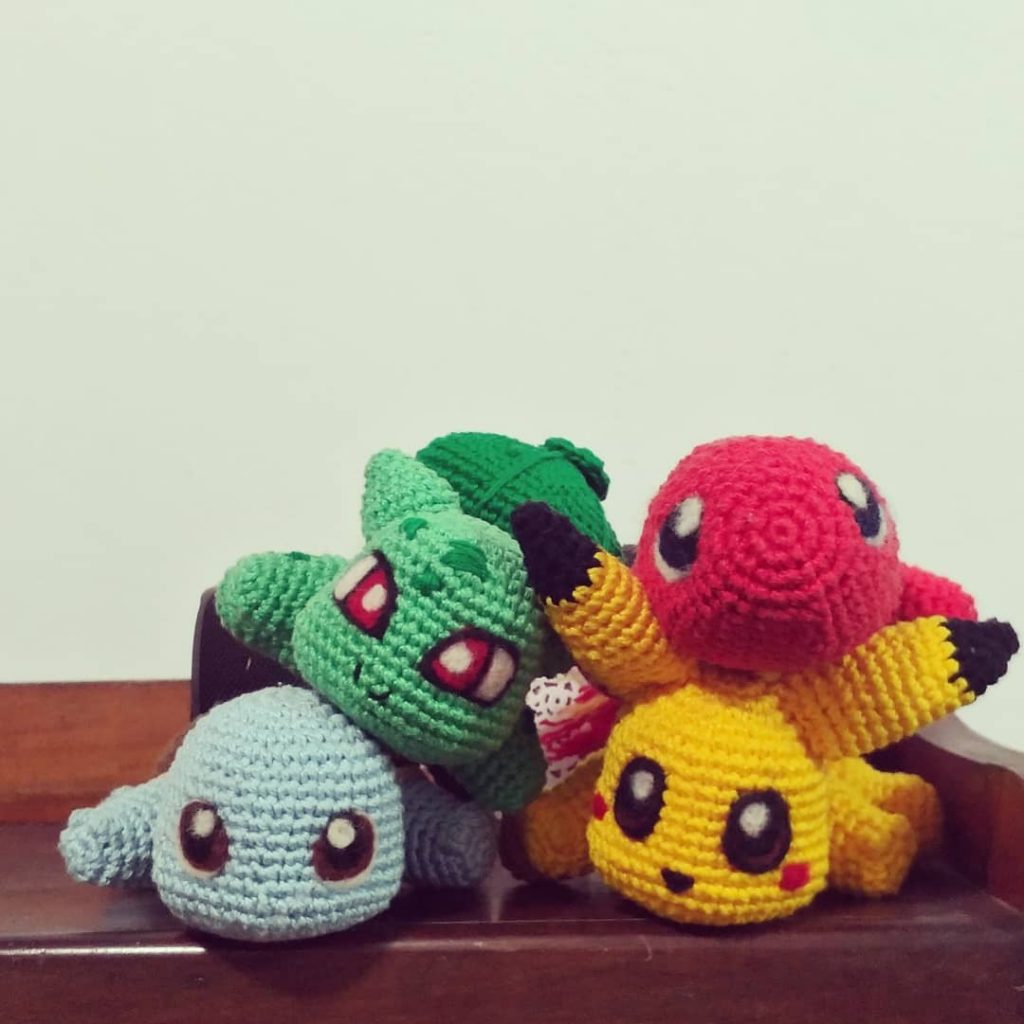
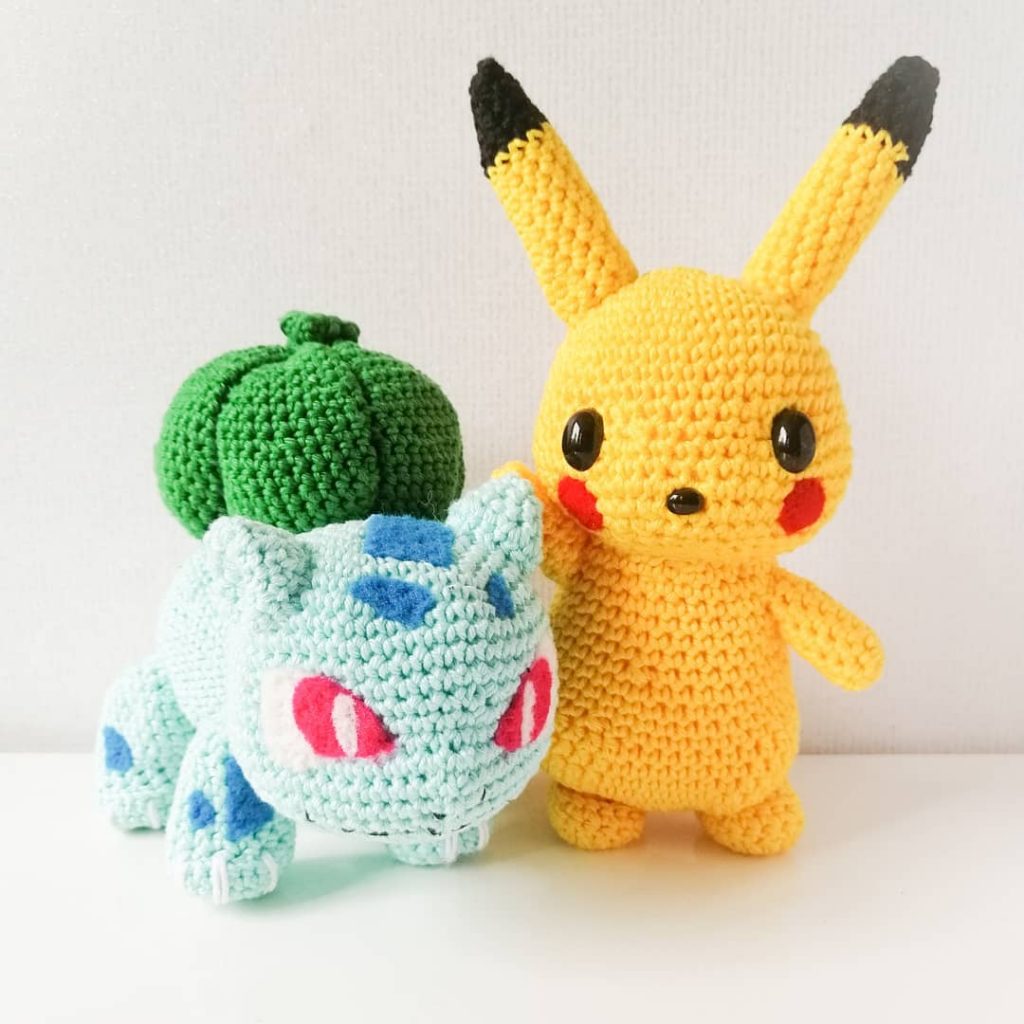
I was Pokemon crazy as a kid (let’s get real, I still am), the original starter Pokemon will always have a special place in my heart and I’ve seen so many great amigurumi, I had to try my hand at my own. So, starting with 001, here’s Bulbasaur!
Well, without further ado, here is the pattern!
You will need:
- turquoise yarn
- green yarn
- dark turquoise or blue/green felt
- polyester filling
- 3.00mm crochet hook
- fabric glue
- 2x 10mm safety eyes
HEAD
1. (in Turquoise) MR 6 (6)
2. [ inc ]x 6 (12)
3. [ inc, sc ]x 6 (18)
4. sc, [ inc, sc 2 ]x 5, inc, sc (24)
5. [ inc, sc 3 ]x 6 (30)
6. sc 2, [ inc, sc 4 ]x 5, inc, sc 2 (36)
7-10. sc 36 (36)
11. [ inc, sc 5 ]x 6 (42)
12-13. sc 42 (42)
14. [ dec, sc 5 ]x 6 (36)
15. sc 2, [ dec, sc 4 ]x 5, dec, sc 2 (30)
16. [ dec, sc 3 ]x 6 (24)
Leave a tail for sewing and finish off.
Insert the safety eyes between rows 11 and 12, with approximately 7 stitches between them.
BODY
1. (in Turquoise) MR 6 (6)
2. [ inc ]x 6 (12)
3. [ inc, sc ]x 6 (18)
4. sc, [ inc, sc 2 ]x 5, inc, sc (24)
5. [ inc, sc 3 ]x 6 (30)
6-8. sc 30 (30)
9. [ dec, sc 3 ]x 6 (24)
10-12. sc 24 (24)
Finish off.
LEG
1. (in Turquoise) MR 6 (6)
2. [ inc, sc ]x 3 (9)
3-6. sc 9 (9)
Leave a tail for sewing and finish off.
ARM
1. (in Turquoise) MR 6 (6)
2. [ inc, sc 2 ]x 2 (8)
3-4. sc 8 (8)
5. dec, sc 6, (7)
6. sc 7 (7)
Leave a tail for sewing and finish off.
EARS
1. MR 6 (6)
2. sc 6 (6)
3. [ inc, sc ]x 3 (9)
Leave a tail for sewing and finish off.
BULB
1. MR 6 (6)
2. [ inc ]x 6 (12)
3. [ inc, sc ]x 6 (18)
4. sc, inc, [ sc 2, inc ]x 5, sc (24)
5-7. sc 24 (24)
8. sc, dec [ sc 2, dec]x 5, sc (18)
9. [ dec, sc ]x 6 (12)
(stuff the bulb at this point)
10. [ dec ]x 6 (6)
11. [ inc, sc ]x 3 (9)
Leave a long tail and finish off.
When stuffing the bulb make sure that it’s not stuffed too much, and that the base can be flattened. You should be able to easily pinch it and have it stay flat, like the picture above.
Now we’re going to take the tail and use it to shape the bulb. What you want to achieve is to see a flower-like shape from above with 6 even sections. Use the tail, and take it from the top of the bulb to the bottom, pulling it very tight so that it makes a dent in the bulb (picture on the right above). Then do the same thing, going back up from the bottom of the bulb to the top on the opposite side. Do this until you have 6 even sections and it has a flower-like outline when placed flat.
That’s all of the crocheting done! Stuff the head, legs and body. I find the ears and arms don’t really need stuffing (and we’ve already done the bulb). After they’re stuffed I like to use pins to hold them in place before sewing them on. It makes it easier to gauge placement.
Then I just sew them on! I usually find this order easiest: legs, arms, head, ears, bulb. I find it easier to place the bulb and ears evenly after the rest of the body has been put together.
Last thing left to do are the small marks on his arms and face. Cut out 5 weird oval-like shapes out of a dark turquoise felt. The one I’ve used is a bit greener than it should be because I couldn’t find anything closer to the colour I wanted. You could also stitch the markings on using yarn. Glue them in place and then you’re done.
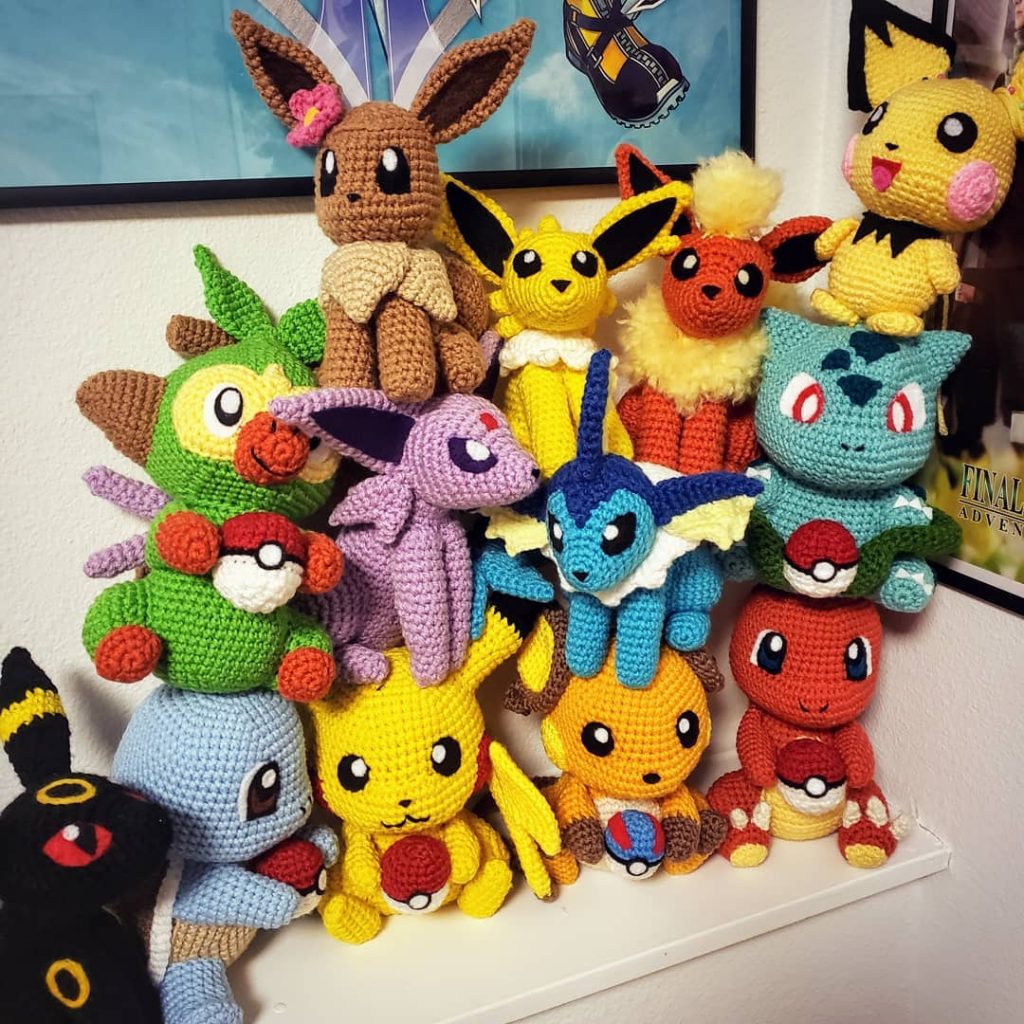
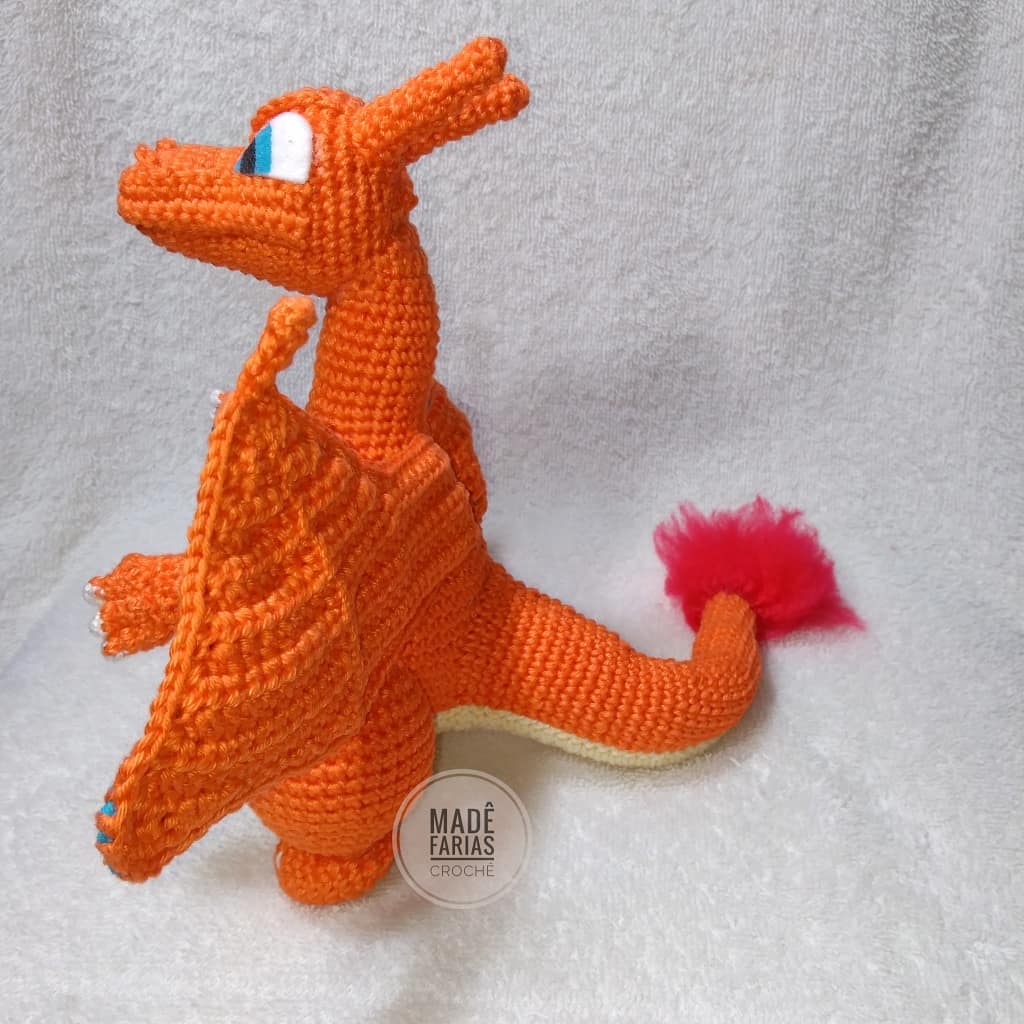
More Amigurumi Pokemon Ideas