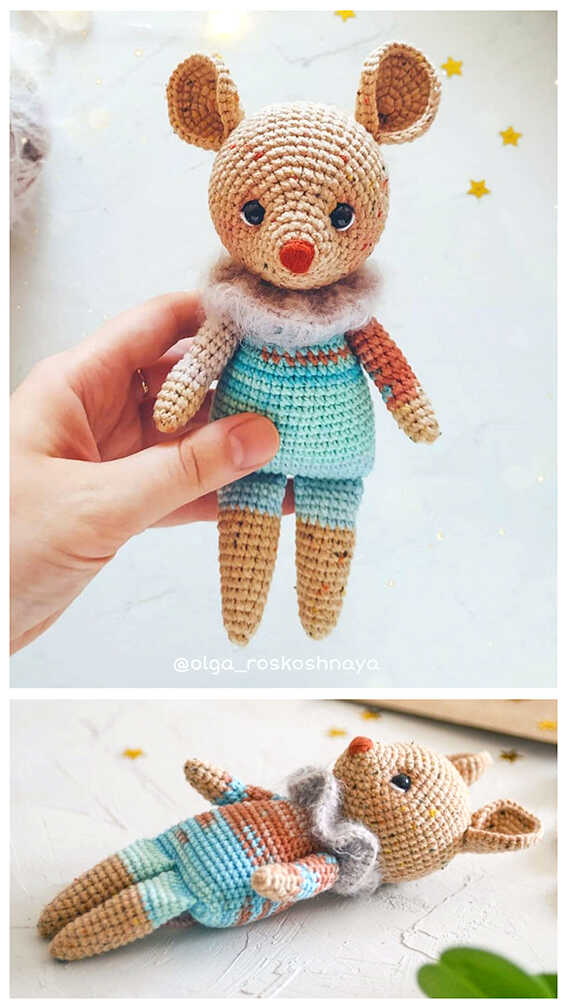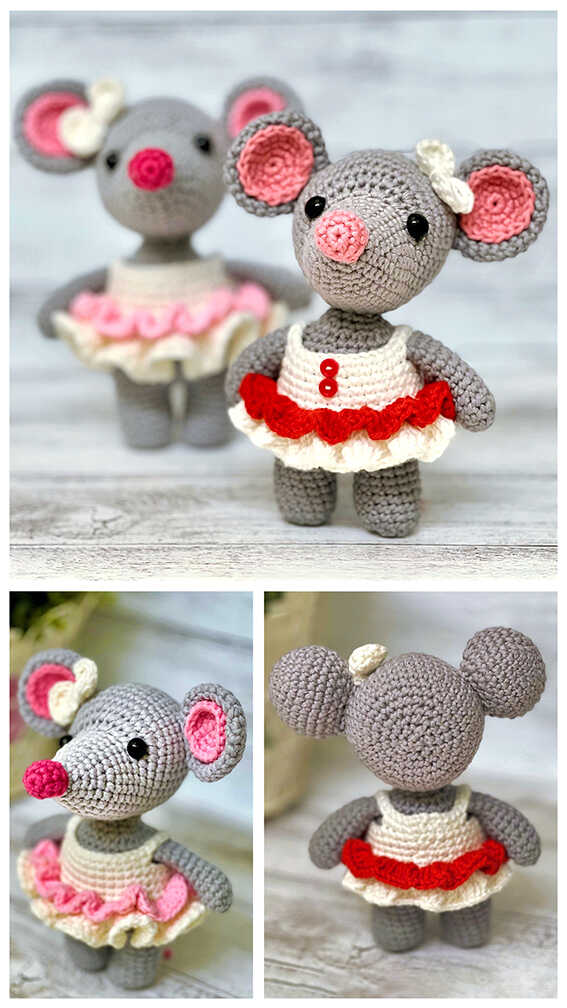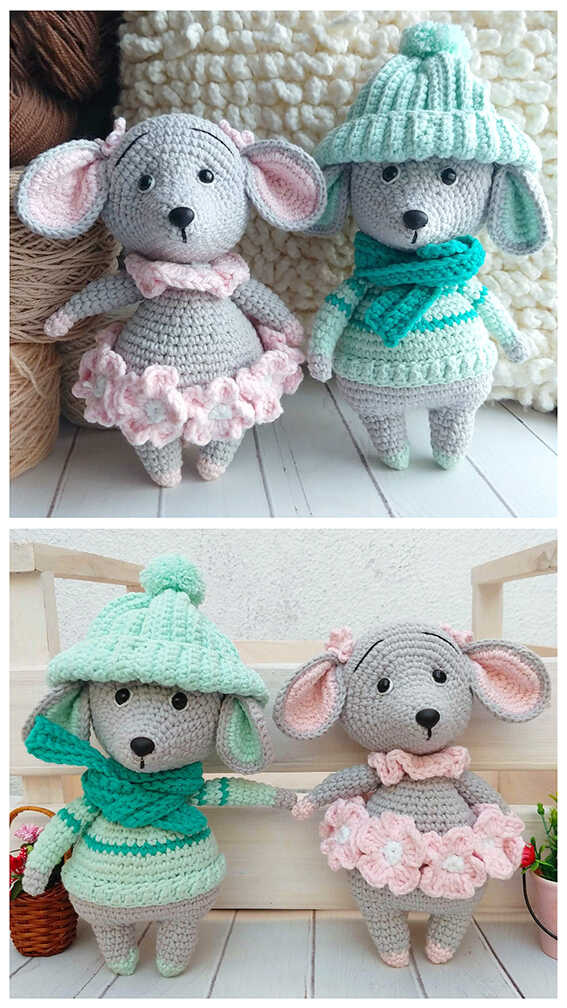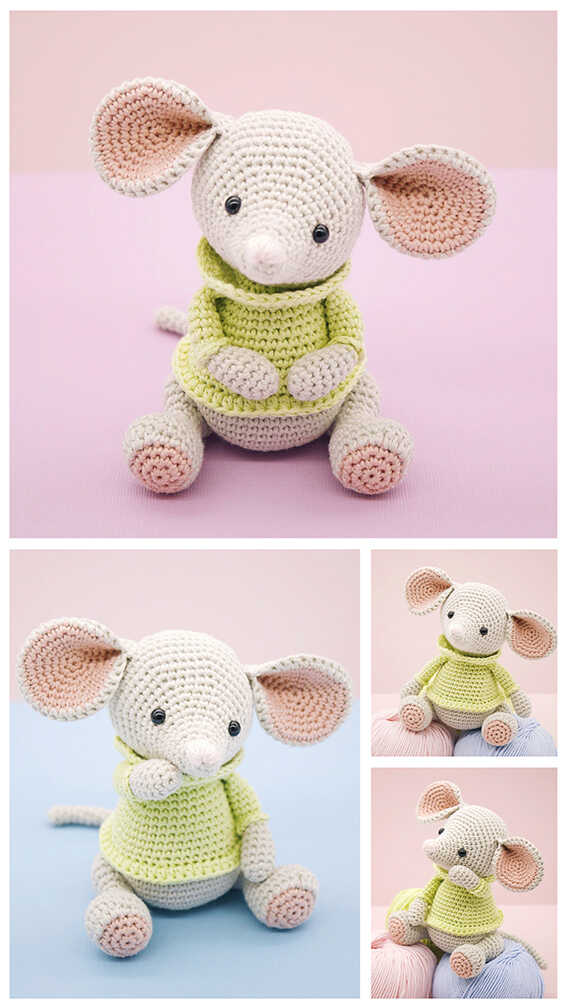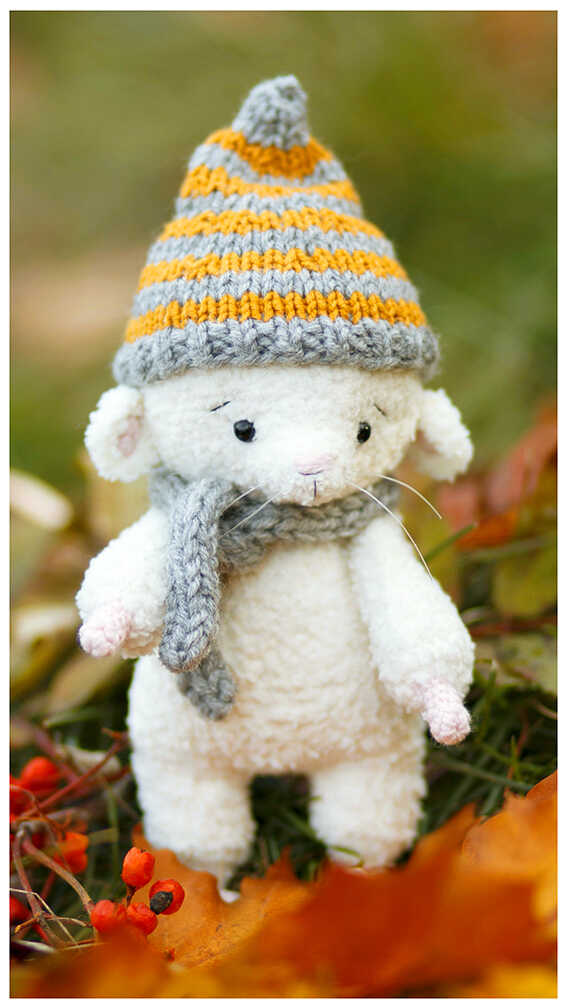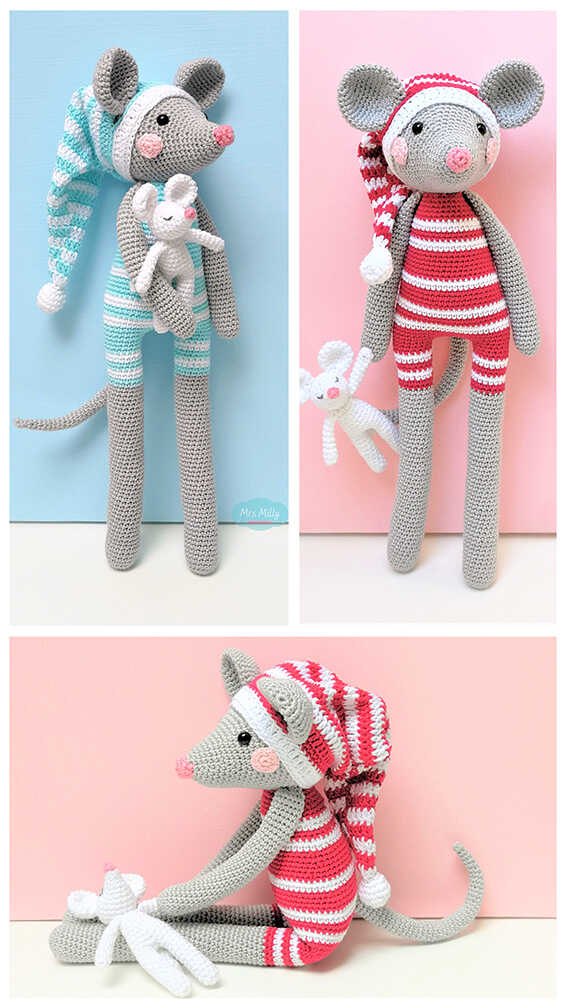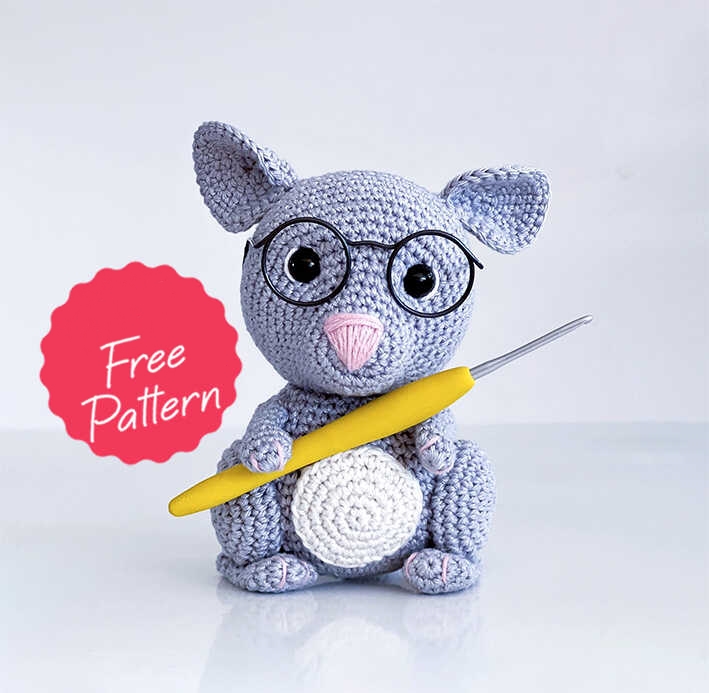
Amigurumi Cute Mouse Free Crochet Pattern
Materials
– Yarn, I used fingering weight yarn cotton yarn; Scheepjes Catona (1 skein for 1 chinchilla). Colors used Mercury (074) and Light Silver (172). And some left-overs of creme and pink.
– Crochet hook 2.2 mm
– Fibrefill / toy stuffing
– Stitch marker, scissor and embroidery needle
– Security eyes 10 mm
– Optional: 2 pipe cleanser/furry wires
Abbreviations
MR = Magic ring
Ch = chain/s
Sc = single crochet
Inc = increase; crochet 2 sc in the same stitch
Dec = decrease; crochet 2 sc together
Rnd = round(s)
[…] x X = repeat instructions in brackets X times
(..) = total number of stitches in the round or row (chains not counted)
Head
Work with grey
Rnd 1: 6 sc in a magic ring (6)
Rnd 2: [inc] x 6 (12)
Rnd 3: [1 sc, inc] x 6 (18)
Rnd 4: [5 sc, inc] x 3 (21)
Rnd 5: 21 sc (21)
Rnd 6: 7 sc, 3 sc in next st, 5 sc, 3 sc in next st, 7 sc (25). (3 sc in same stitch).
Rnd 7: 8 sc, 3 sc in next st, 7 sc, 3 sc in next st, 8 sc (29)
Rnd 8: 7 sc, inc, 3 sc, inc, 5 sc, inc, 3 sc, inc, 7 sc (33)
Rnd 9: [10 sc, inc] x 3 (36)
Now we will mark where to place the security eyes.
Take a piece of yarn in another color and draw it in the hole under the stitch. Use another piece of yarn for the other eye.
Rnd 10: [5 sc, inc] x 2, mark the hole under next stitch: 1 sc, 4 sc, inc, 5 sc, mark next stitch same way, inc, [5 sc, inc] x 2 (42)
Rnd 11: 3 sc, inc, [6 sc, inc] x 5, 3 sc (48)
Rnd 12: [7 sc, inc] x 6 (54)
Now place the security eyes where you marked with different yarn on round 10. Use 10 mm security eyes (if using 2.20 mm hook, otherwise use what fits the gauge best).
Rnd 13-18: 54 sc – 6 rounds (54)
Rnd 19: [7 sc, dec] x 6 (48)
Rnd 20: 48 sc (48)
Rnd 21: 3 sc, dec, [6 sc, dec] x 5, 3 sc (42)
Rnd 22: 42 sc (42)
Rnd 23: [5 sc, dec] x 6 (36)
Rnd 24: 2 sc, dec, [4 sc, dec] x 5, 2 sc (30)
Stuff the head firmly with filling and keep doing as you go.
Rnd 25: [3 sc, dec] x 6 (24)
Rnd 26: [2 sc, dec] x 6 (18)
Rnd 27: [1 sc, dec] x 6 (12)
Rnd 28: [dec] x 6 (6)
Fasten off and leave a small yarn tail.
Weave the yarn tail through the front loops of each stitch and pull it tight to close. Then weave in the yarn end.
Body
Work with grey.
Rnd 1: 6 sc in a magic ring (6)
Rnd 2: [inc] x 6 (12)
Rnd 3: [1 sc, inc] x 6 (18)
Rnd 4: 1 sc, inc, [2 sc, inc] x 5, 1 sc (24)
Rnd 5: [3 sc, inc] x 6 (30)
Rnd 6: 2 sc, inc, [4 sc, inc] x 5, 2 sc (36)
Rnd 7: [5 sc, inc] x 6 (42)
Rnd 8-16: 42 sc – 9 rounds (42)
Rnd 17: [5 sc, dec] x 6 (36)
Rnd 18: 36 sc (36)
Rnd 19: 2 sc, dec, [4 sc, dec] x 5, 2 sc [30)
Rnd 20: 30 sc (30)
Rnd 21: [3 sc, dec] x 6 (24)
Fasten off and leave a long tail to sew to the head.
Stuff the body with filling.
Belly
Rnd 1: 6 sc in a magic ring (6)
Rnd 2: [inc] x 6 (12)
Rnd 3: [1 sc, inc] x 6 (18)
Rnd 4: 1 sc, inc, [2 sc, inc] x 5, 1 sc (24)
Rnd 5: [3 sc, inc] x 6 (30)
Fasten off and leave a long tail to sew to the body
Ears (make 2)
Work with grey.
Rnd 1: 6 sc in a magic ring (6)
Rnd 2: [inc] x 6 (12)
Rnd 3: [1 sc, inc] x 6 (18)
Rnd 4: 1 sc, inc, [2 sc, inc] x 5, 1 sc (24)
Rnd 5: [3 sc, inc] x 6 (30)
Fasten off and leave a long tail to sew to the head.
Fold the ears on the corner and sew it on the side.
Remember to fold the corners on different direction on the two ears to fit right versus left side of the head.
Arms (make 2)
Work with grey. Do not stuff.
Rnd 1: 6 sc in a magic ring (6)
Rnd 2: [inc, 2 sc] x 2 (8)
Rnd 3-4: 8 sc – 2 rounds (8)
Rnd 5: [dec, 2 sc] x 2 (6)
Rnd 6-10: 6 sc – 5 rounds (6)
Fasten off and leave a long tail to sew to the body.
Legs (make 2)
Work with grey.
Rnd 1: 6 sc in a magic ring (6)
Rnd 2: [inc] x 6 (12)
Rnd 3: [1 sc, inc] x 6 (18)
Rnd 4: 1 sc, inc, [2 sc, inc] x 5, 1 sc (24)
Rnd 5: [3 sc, inc] x 6 (30)
Rnd 6-7: 30 sc – 2 rounds (30)
Rnd 8: [1 sc, dec] x 10 (20)
Rnd 9: [2 sc, dec] x 5 (15)
Fasten off and leave a long tail to sew to the body.
Stuff the leg with filling.
Feet (make 2)
Work with grey. Do not stuff.
Rnd 1: 6 sc in a magic ring (6)
Rnd 2: [inc] x 6 (12)
Rnd 3-4: 12 sc – 2 rounds (12)
Rnd 5: [4 sc, dec] x 2 (10)
Rnd 6-7: 10 sc – 2 rounds (10)
Rnd 8: [3 sc, dec] x 2 (8)
Rnd 9-11: 8 sc – 3 rounds (8)
Rnd 12: [dec] x 4 (4)
Fasten off and leave a long yarn tail. Flatten the piece, and do not stuff. Weave the yarn tail through the front loops of each stitch and pull it tight to close. Now attach the foot at round 6-7 of the leg. Remember to place the feet different directions on each leg, so it fits right versus left side of the body.
Tail
Work with grey. Do not stuff if you will use wires.
Rnd 1: 6 sc in a magic ring (6)
Rnd 2: [inc] x 6 (12)
Rnd 3: [1 sc, inc] x 6 (18)
Rnd 4-6: 18 sc – 3 rounds (18)
Rnd 7: [1 sc, dec] x 6 (12)
Rnd 8-13: 12 sc – 6 rounds (12)
Rnd 14: [2 sc, dec] x 3 (9)
Rnd 15-26: 9 sc – 12 rounds (9)
Fasten off and leave a long tail to sew to the body.
Take 2 furry wires and fold them.
Insert the furry wires into the tail. Cut the wires that sticks out.
Now you can bend the tail.
Assembly
Attach the ears at rounds 19 and 20 of the head, with 9-10 stitches between the ears.
Attach the body between rounds 12 and 20 of the head.
Attach the belly between rounds 7 and 16 of the body.
Attach the legs between rounds 7 and 15 of the body.
Press the legs against the body and sew it at round 7 of the leg.
Don’t sew the bottom of the leg. This is to give better balance between the legs, and so the feet stands straight down.
Attach the arms between rounds 17 and 19 of the body.
Sew also on the sides so the arms stays nicely against the body.
Attach the tail centered back between rounds 6 and 7 of the body.
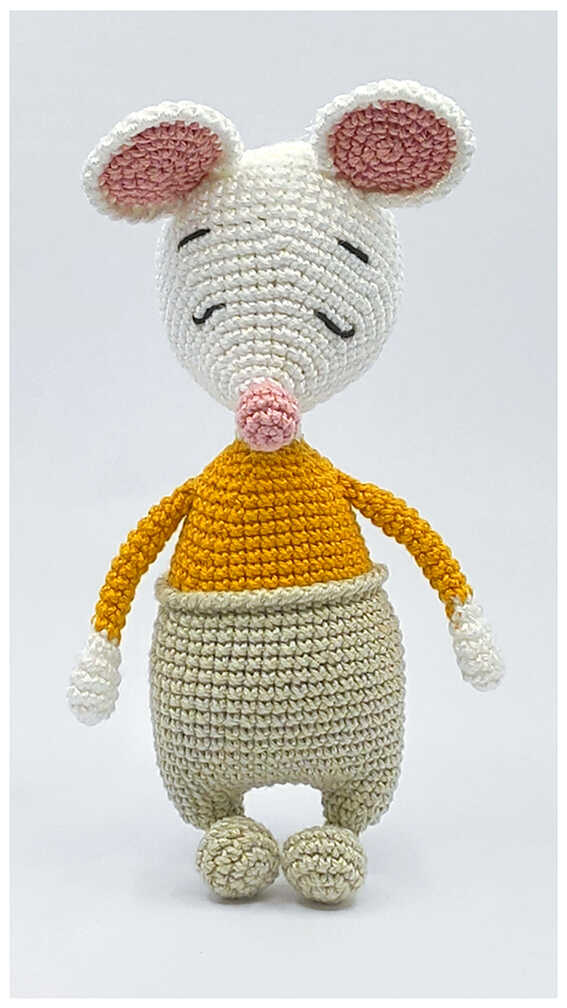
Embroider the nose with pink yarn. Embroider
white area and/or lashes to the eyes.
Embroider the claws
on the hands and feet.
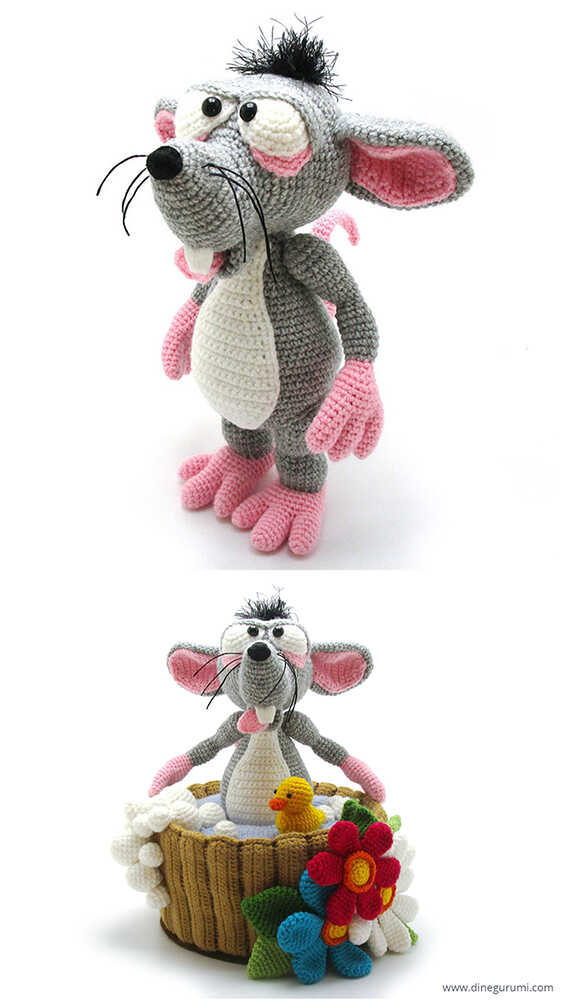
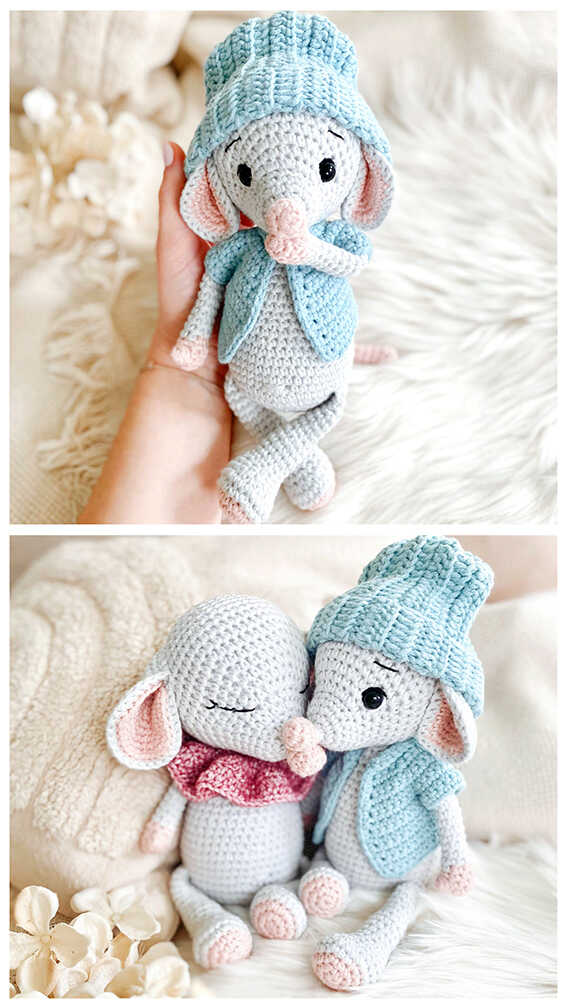
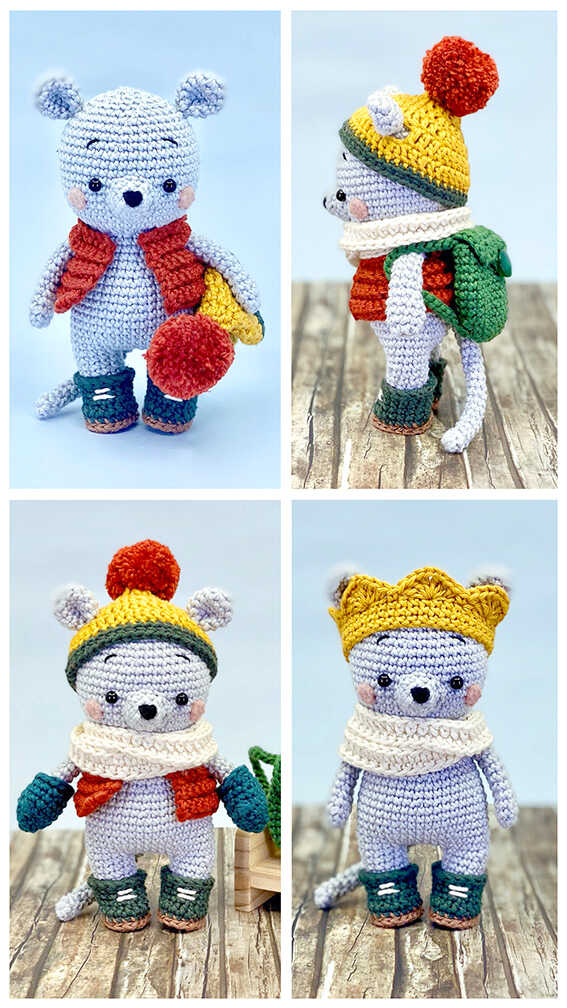
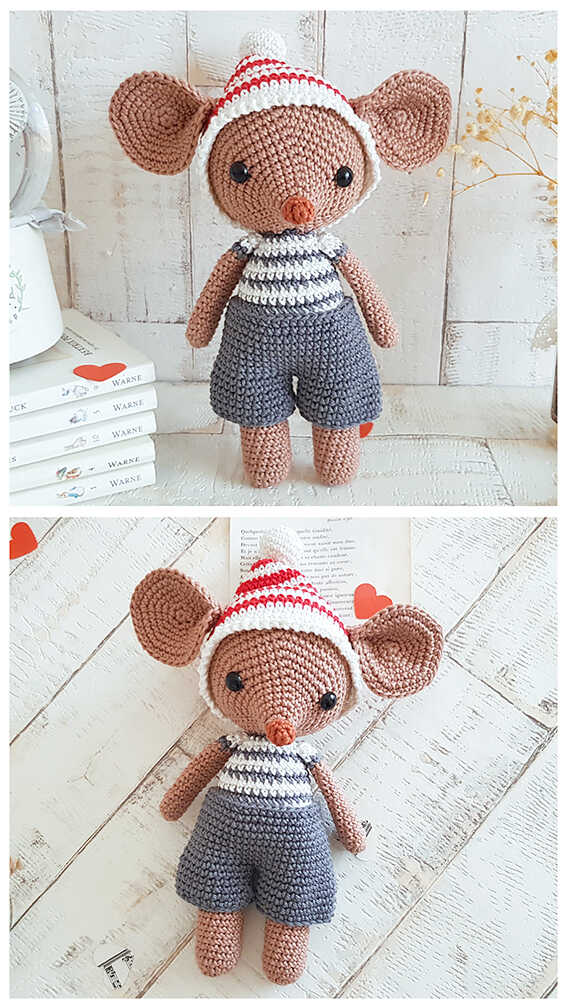
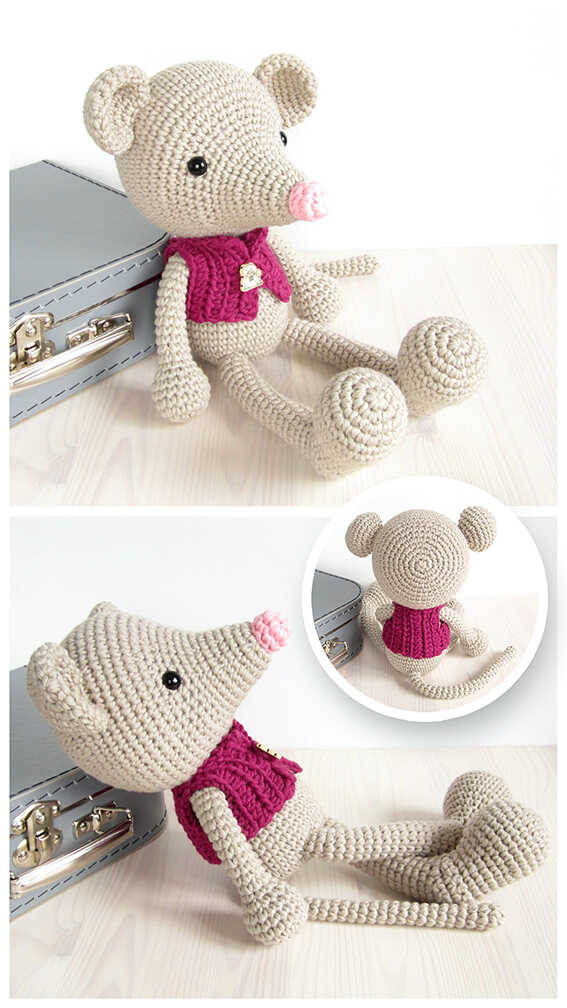
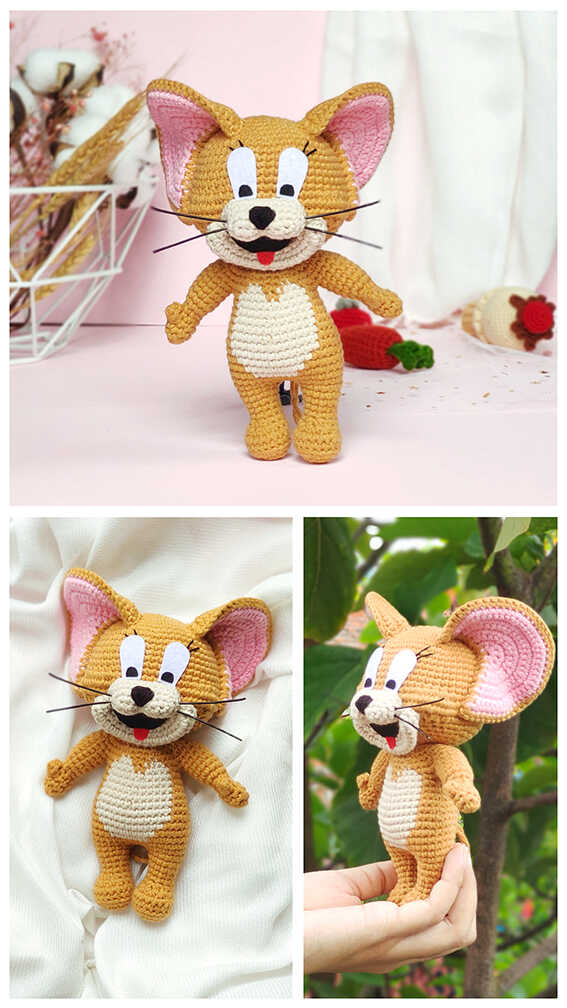
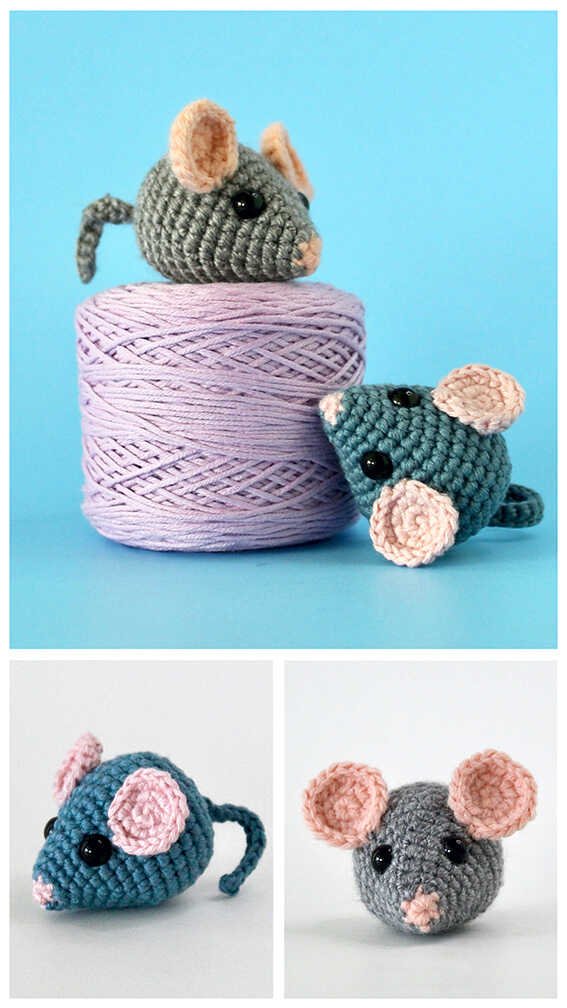
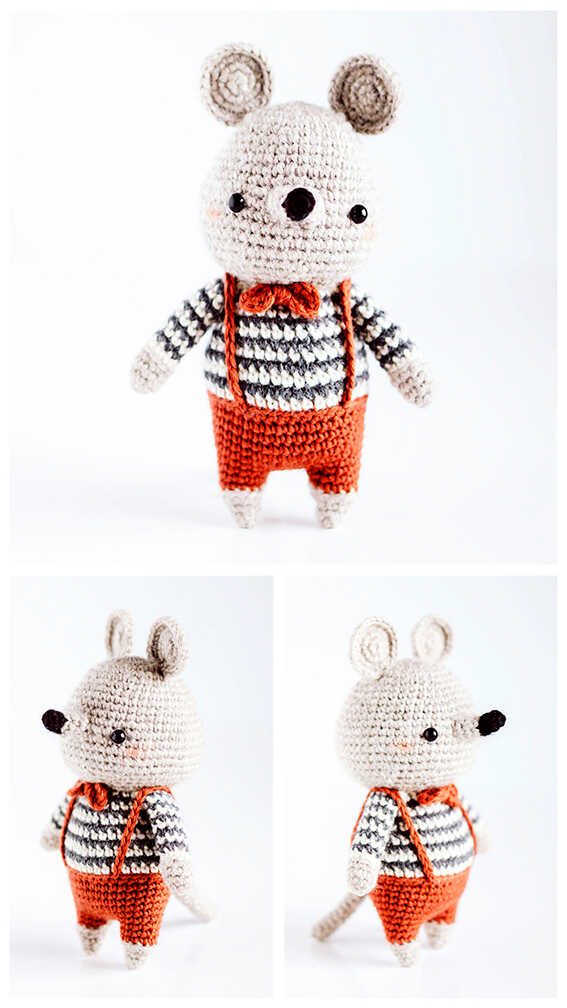
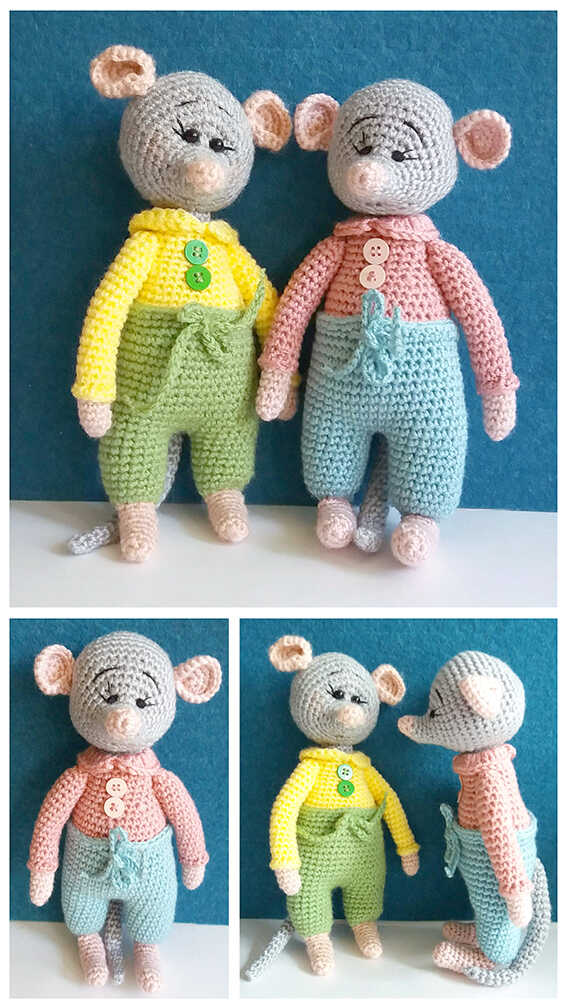
More Amigurumi Mouse İdeas