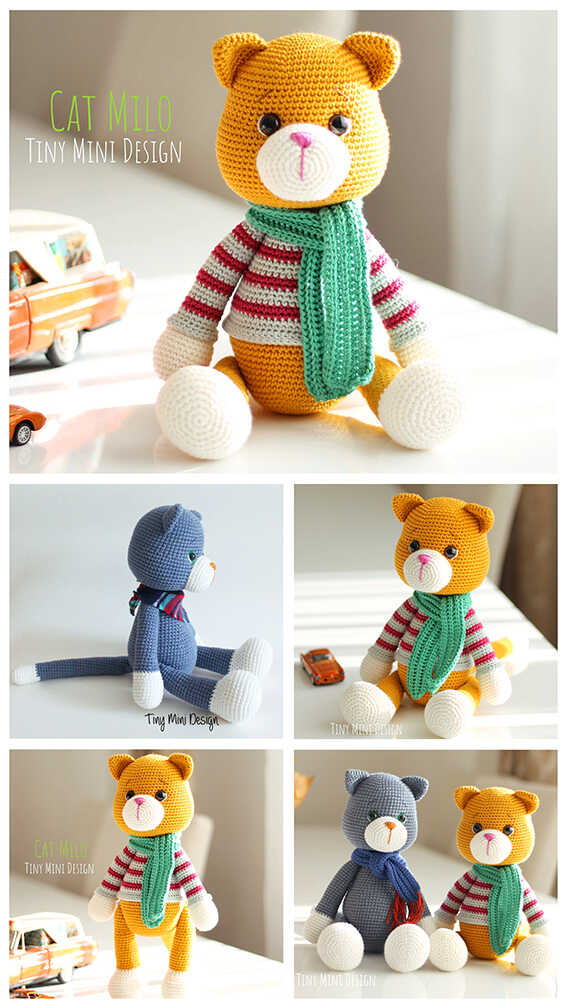
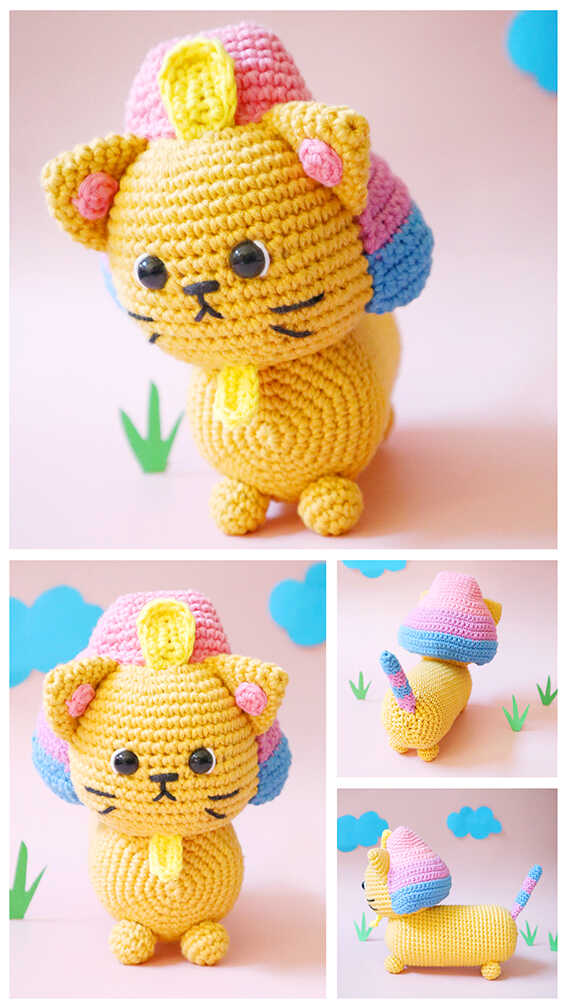
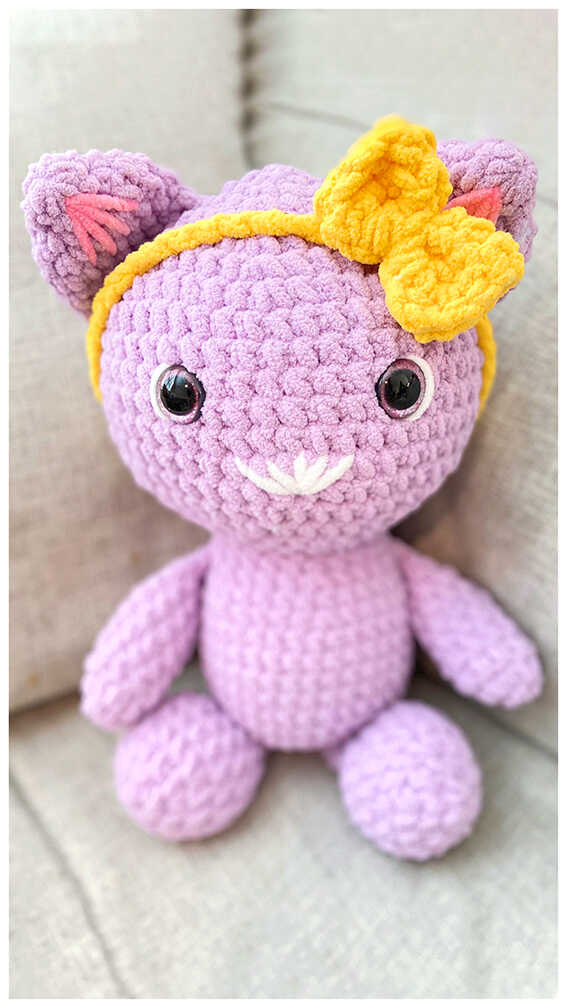
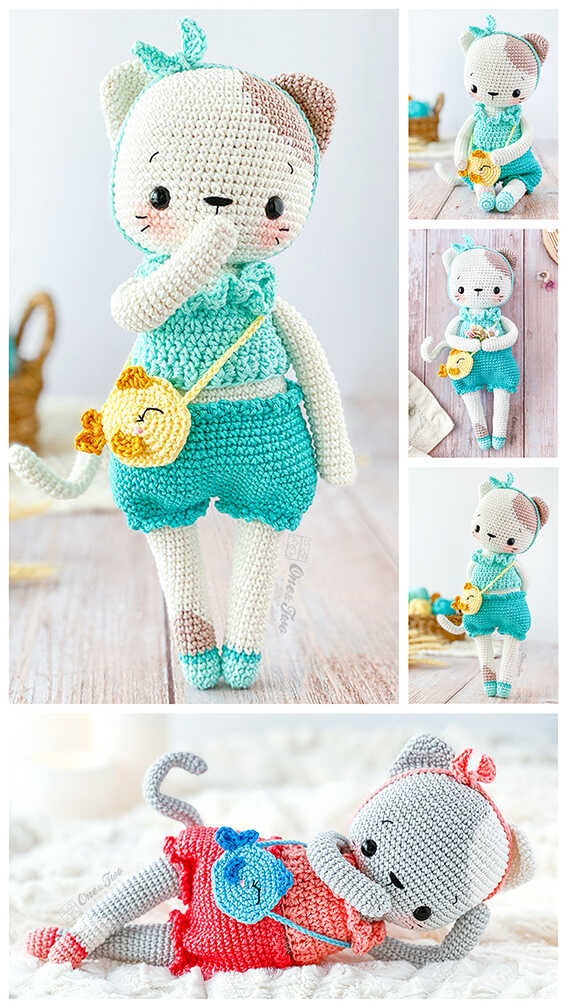
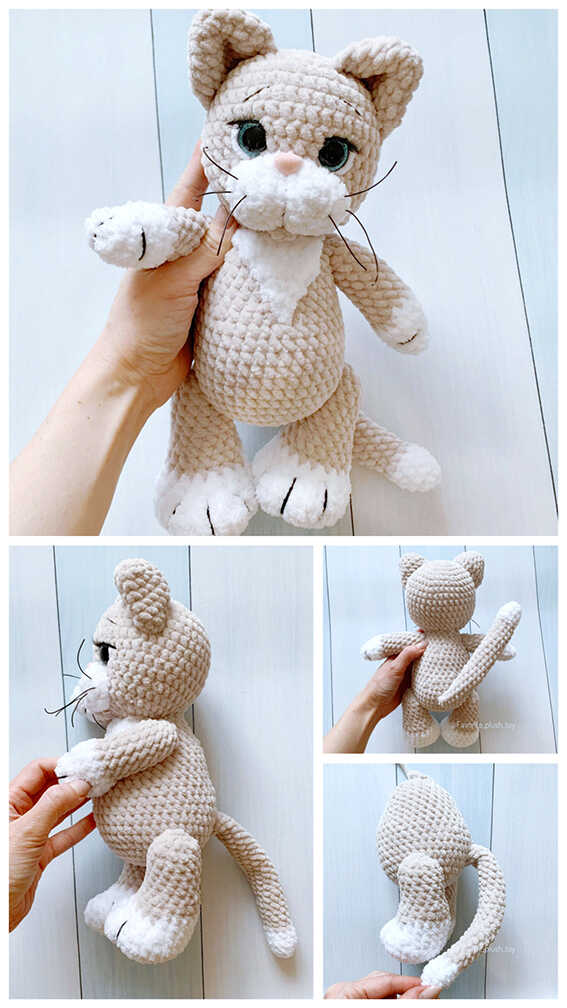
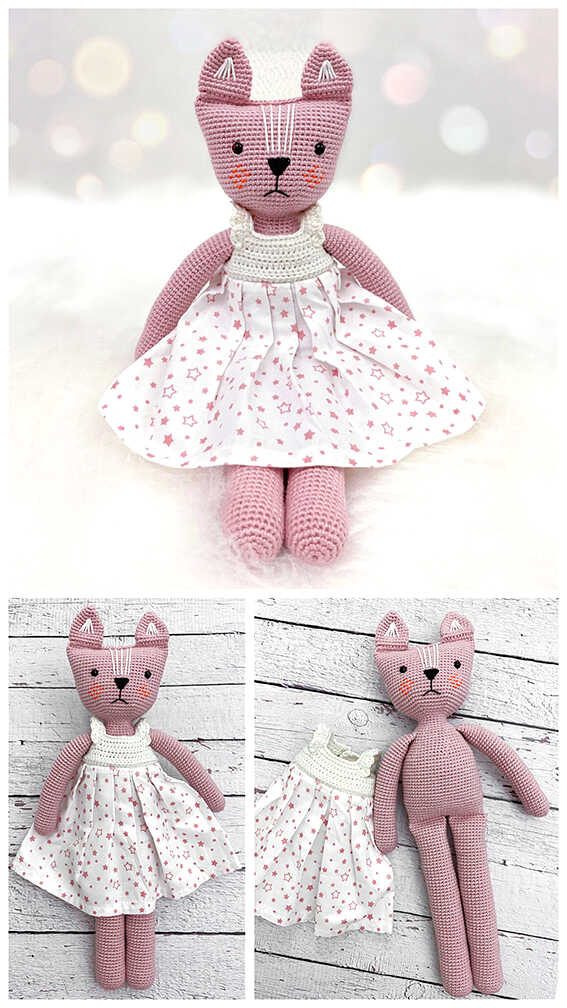
Amigurumi Crochet Cat Free Pattern
Materials and tools
1. Yarn:
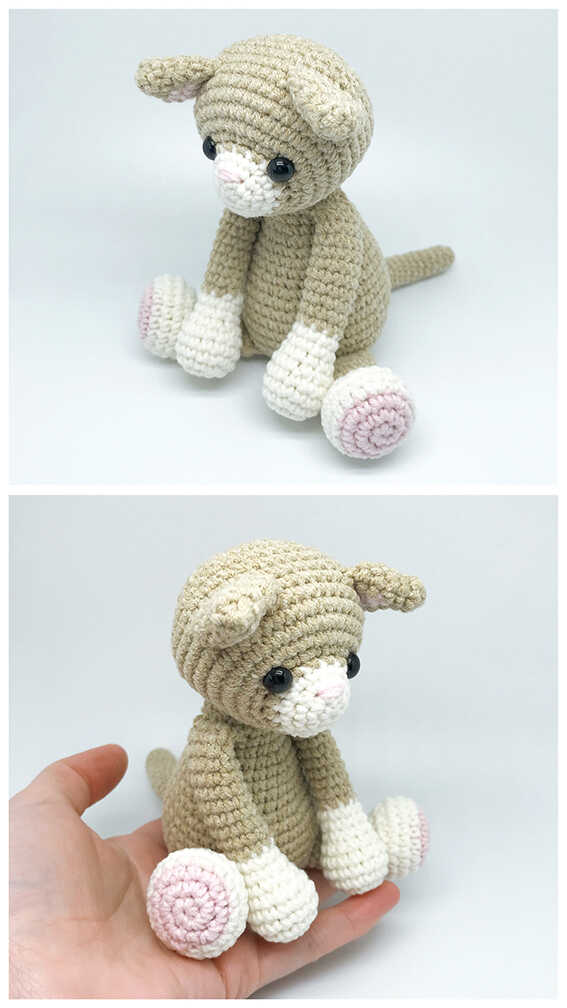
1. 1. for the body: YarnArt Violet, color No. 6194 (light beige)
1. 2. for dress 1 option: YarnArt Violet, color No. 4653 (yellow)
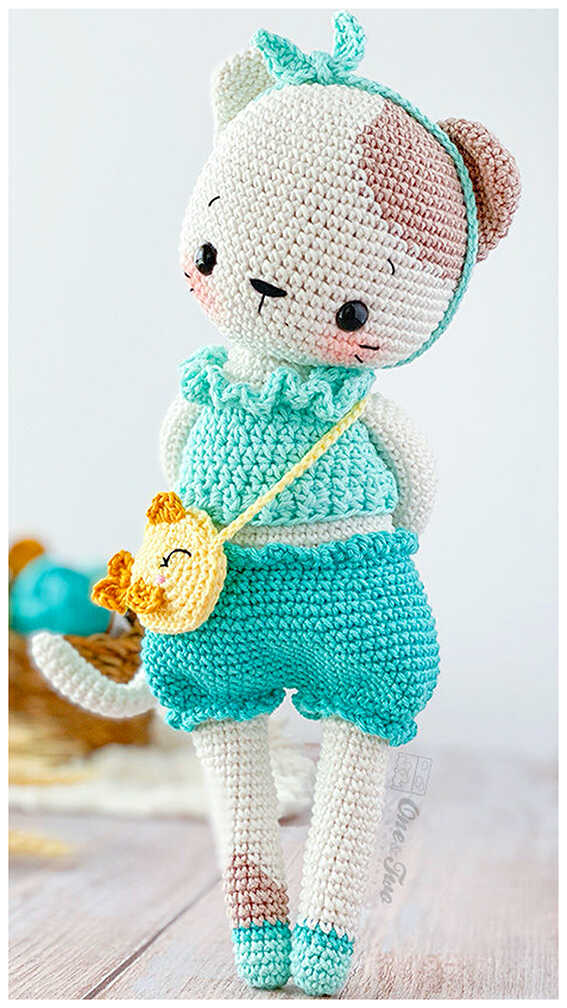
1. 3. for dress 2 option: YarnArt Violet, color No. 5352 (light green)
2. Hook number 1
3. Filler (holofiber or synthetic winterizer)
4. Eyes 5 mm (I have plastic ones, I will stick them)
5. Glue (for gluing the peephole, optional)
6. Some black, white and pink thread for embroidery of the muzzle
7. Stitching needle, scissors, pins, knitting marker
Abbreviations
MR: Magic ring
Sc: Single crochet
Slst: Slip stitch
Inc: Increase
Dec: Decrease
Hdc: Half double crochet
Ears (Make 2)
Crochet in light beige.
Rnd 1: 6sc in MR
Rnd 2: (1sc, inc)*3 (9sc)
Rnd 3: (2sc, inc)*3 (12sc)
Rnd 4: (5sc, inc)*2 (14sc)
Rnd 5: (6sc, inc)*2 (16sc)
Rnd 6: (7sc, inc)*2 (18sc)
Fasten the thread and cut, leave the long end of the thread for sewing.
Arms (Make 2)
Start crochet in light beige. Stuff in the process of crochet only the lower half of the handle, you do not need to stuff the upper half.
Rnd 1: 6 sc in MR
Rnd 2: 6 inc (12sc)
Rnd 3-12: 12sc (10rnds)
Change the thread color to yellow, the thread light beige cut off.
Rnd 13-16: 12sc (4rnd)
Fold the edges of the part together, crochet 6 sc. Fasten the thread, cut and hide inside the part. Tie the second handle in the same way.
Tail
Crochet in light beige. The tail does not need to be stuffed.
Rnd 1: 6sc in MR
Rnd 2: (1sc, inc)*3 (9sc)
Rnd 3-5: 9sc (3rnd)
Rnd 6: dec, 7sc (8sc)
Rnd 7-8: 8sc (2rnd)
Rnd 9: dec, 6sc (7sc)
Rnd 10-11: 7sc (2rnd)
Rnd 12: dec, 5sc (6sc)
Rnd 13-14: 6sc (2rnd)
Fold the edges of the part together, crochet 3 sc. Fasten the thread, cut and hide inside the part.
Legs and Body
Start crocheting in light beige. Stuff the legs and body tightly while crochet. Crochet the first leg first.
Rnd 1: 6 sc in MR
Rnd 2: 6 inc (12sc)
Rnd 3: (1sc, inc)*6 (18sc)
Rnd 4-6: 18sc (3rnd)
Rnd 7: (1sc, dec)*6 (12sc)
Rnd 8: 12 sc
Crochet another 5 sc, sl st. Finish crochet, fasten the thread and cut.
Tie the second leg in the same way as the first, do not cut the thread, continue to crochet the body.
Rnd 9. Crochet 6sc on the second leg, cast on a chain of 3 ch and attach it to the first leg where you finished crochet (into the loop following the sl st). Next, crochet 12 sc on the first leg, 3sc on a chain of ch, 6sc on the second leg (30sc).
Rnd 10: (4sc, inc)*6 (36sc)
Rnd 11: 36sc
Rnd 12: (5sc, inc)*6 (42sc)
Rnd 13: 42sc
In the next row, you need to crochet a tail. Make sure that the tail is located exactly in the middle.
Rnd 14: 30sc, 3sc (ponytail), 9sc (42sc)
Rnd 15: 42sc
Change the thread color to yellow, cut off the light beige thread.
Rnd 16: 42sc
Rnd 17: behind the back wall of the loop 42sc
Rnd 18: (5sc, dec)*6 (36sc)
Rnd 19-21: 36sc (3rnd)
Rnd 22: (4sc, dec)*6 (30sc)
Rnd 23-25: 30sc (3rnd)
In the next row, crochet handles. Make sure that they are located symmetrically on the sides of the body.
Rnd 26: 6sc (arms), 9sc, 6sc (arms), 9sc (30sc)
Rnd 27: (3sc, dec)*6 (24sc)
Change the thread color to light beige, cut the yellow thread.
Rnd 28: (2sc, dec)*6 (18sc)
Rnd 29: 18sc
The body is ready. Do not tear off the thread, continue to crochet the head.
Head
Stuff your head tightly while crochet.
Rnd 30: inc in every loop (36sc)
Rnd 31: (5sc, inc)*6 (42sc)
Rnd 32: 3sc, inc, (6sc, inc)*5, 3sc (48sc)
Rnd 33-42: 48sc (10rnds)
Rnd 43: 3sc, dec, (6sc, dec)*5, 3sc (42sc)
Rnd 44: (5sc, dec)*6 (36sc)
Rnd 45: 2sc, dec, (4sc, dec)*5, 2sc (30sc)
Rnd 46: (3sc, dec)*6 (24sc)
Rnd 47: 1sc, dec, (2sc, dec)*5, 1sc (18sc)
Rnd 48: (1sc, dec)*6 (12sc)
Fasten the thread and cut, leave the long end of the thread. Pull off the remaining hole and hide the thread inside the head.
Skirt
Attach the yellow thread and crochet for the front half loops of the 17th row.
Rnd 1: 2 ch, (6 hdc, inc from hdc)*6, slst (48 hdc)
Rnd 2-5: 2 ch, 48 hdc б, slst (48 hdc)
Fasten the thread, cut it off, hide the tip of the thread.
Design and Assembly
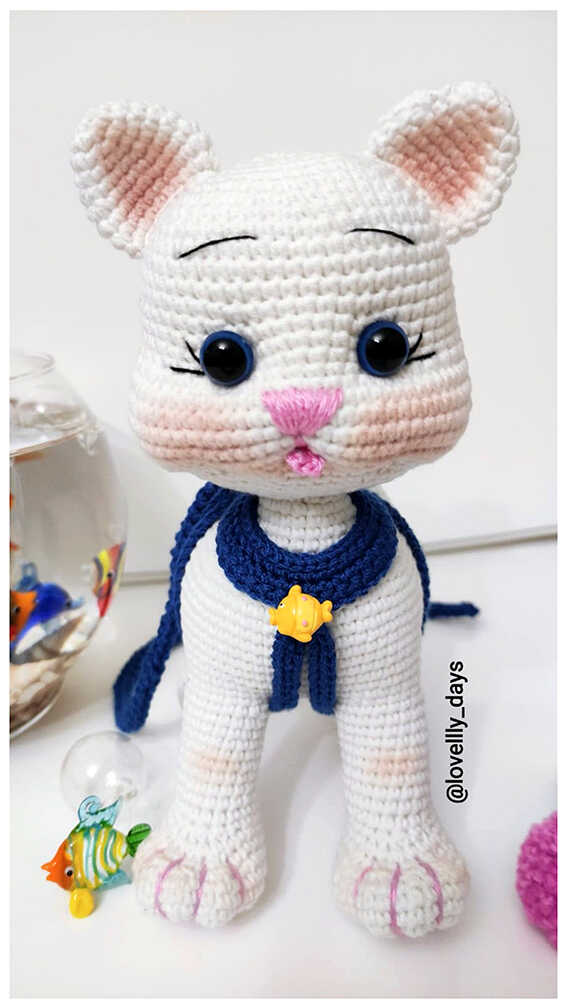
First sew on the ears, approximately between 2 and 10 rows. Make sure that the ears are sewn symmetrically.
Make a muzzle. Make tightenings at points 1-4 (see photo). First, mark with pins the location of the eye (points 1 and 2), they are between the 36th and 37th rows of the head, the distance between points 1 and 2 is 7 sc. Then mark points 3 and 4, which are located 1 sc to the side of points 1 and 2, respectively.
Insert a long needle with a thread into the base of the head (on the side opposite from the muzzle) and bring it out at point 1. Then insert the needle into point 3 and bring it out to the base of the head (to the same point where the needle was inserted). Tighten the thread a little. You can repeat the tightening one more time.
Similarly, tighten the second eye, but in this case, bring the needle out of the base of the head at point 2. Then insert the needle into point 4 and bring it out again to the base. Both ends of the thread should be close, pull the ends and tie a knot. Hide the node inside the part.
Glue the eyes in places of tightening. With white thread, make small stitches under the eyes. Embroider upper eyelids and brows with black thread. With a pink thread, between 35 and 36 rows, embroider a spout with horizontal stitches.
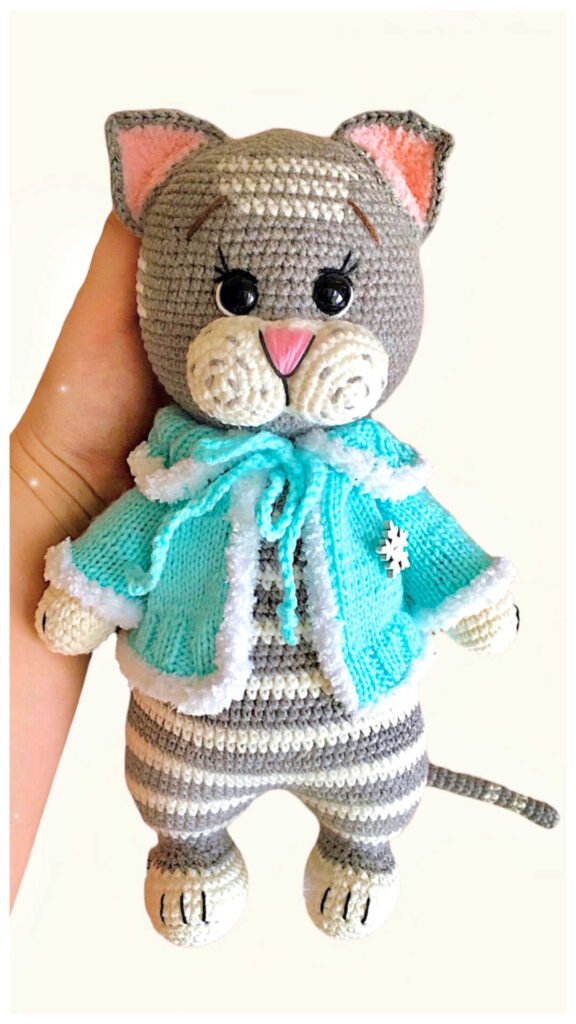
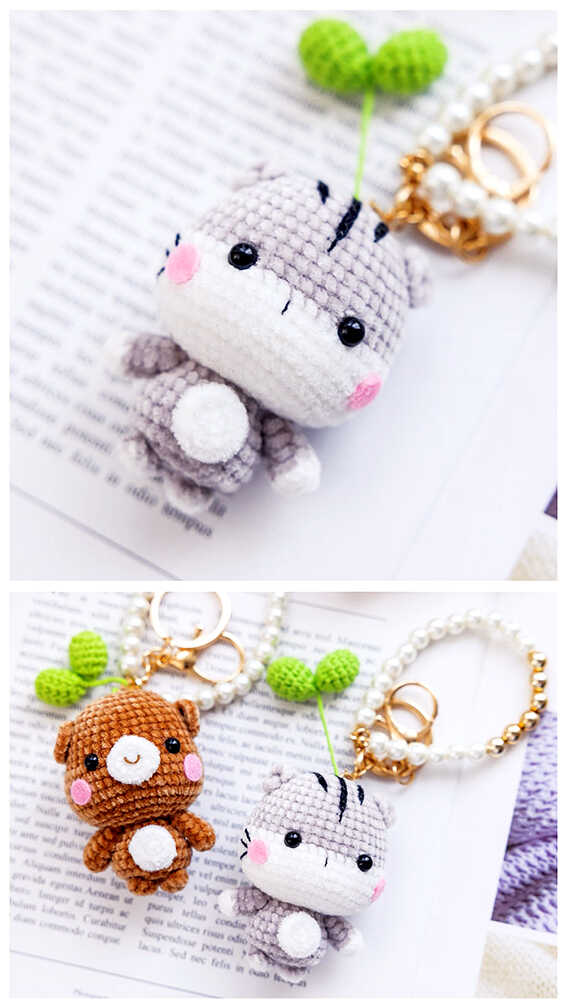
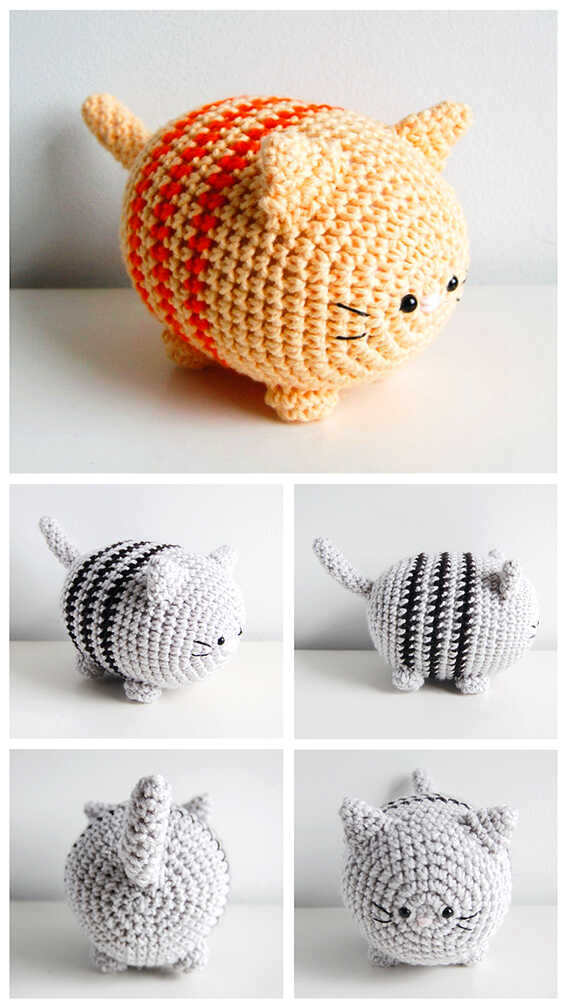
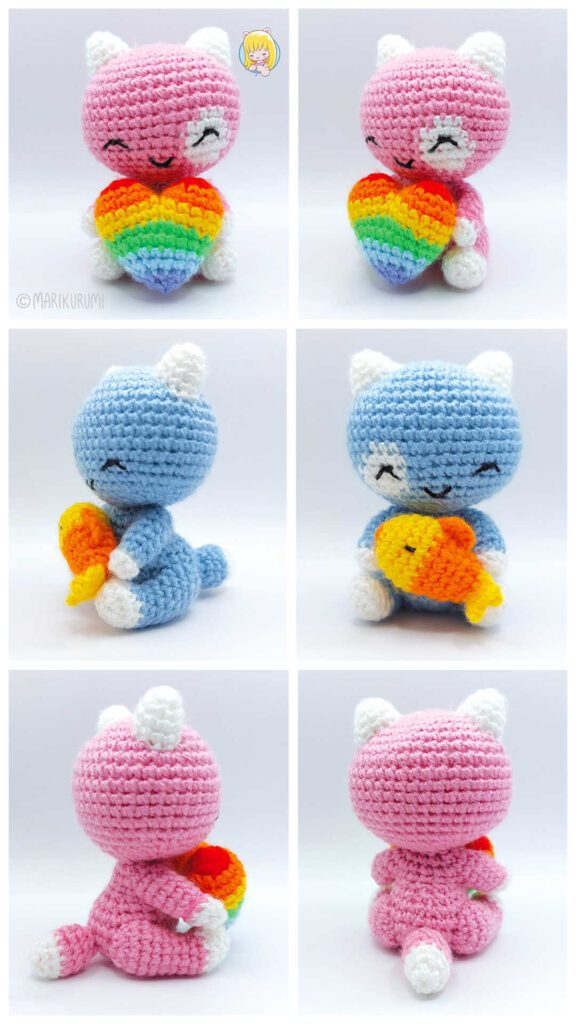
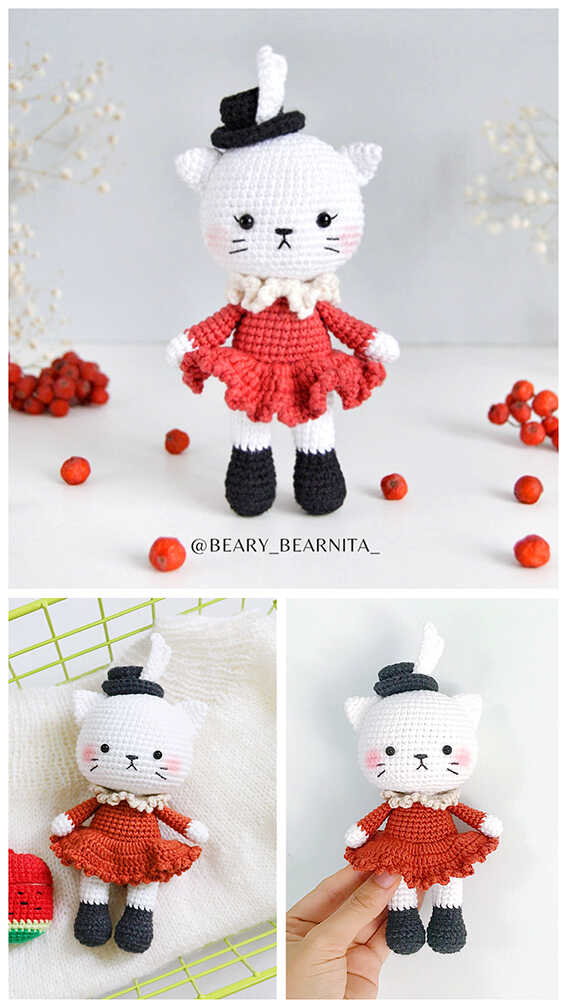
More Amigurumi Cat İdeas