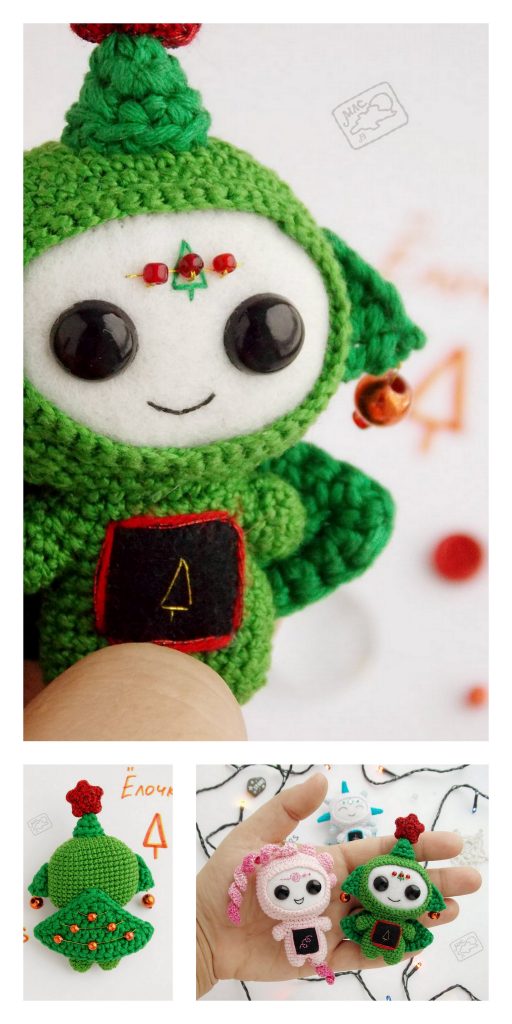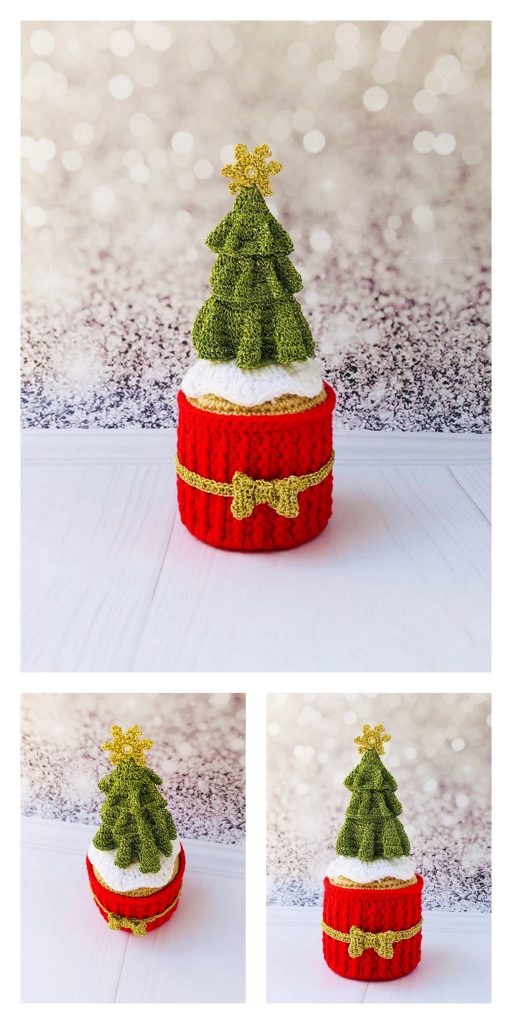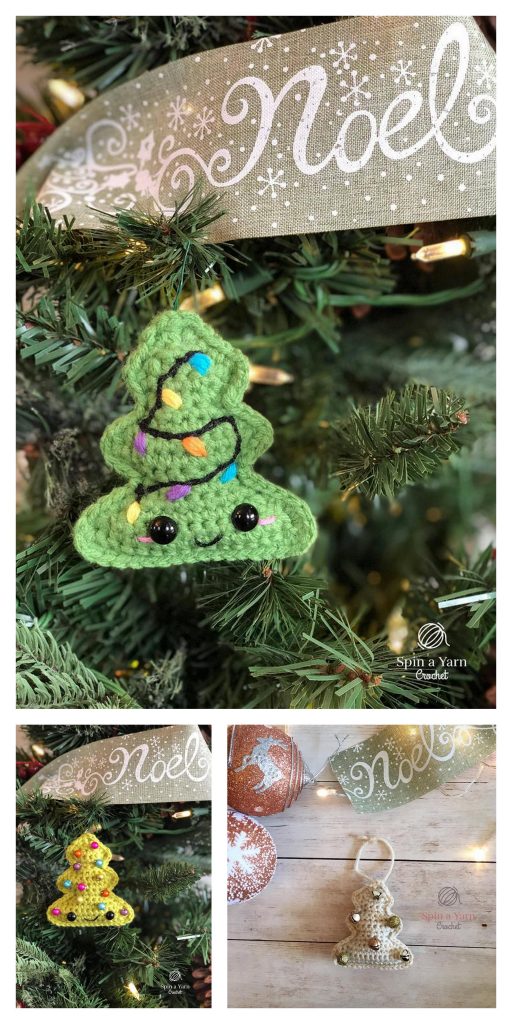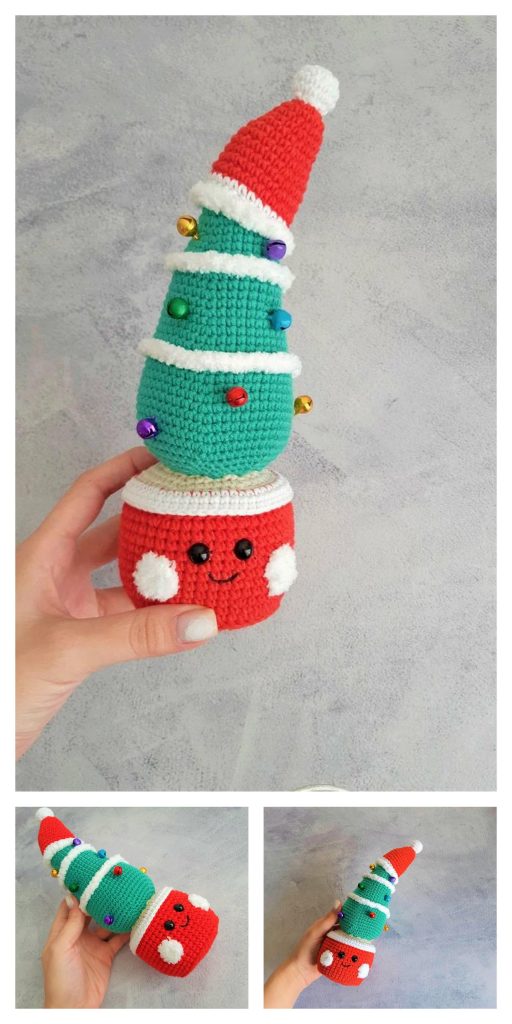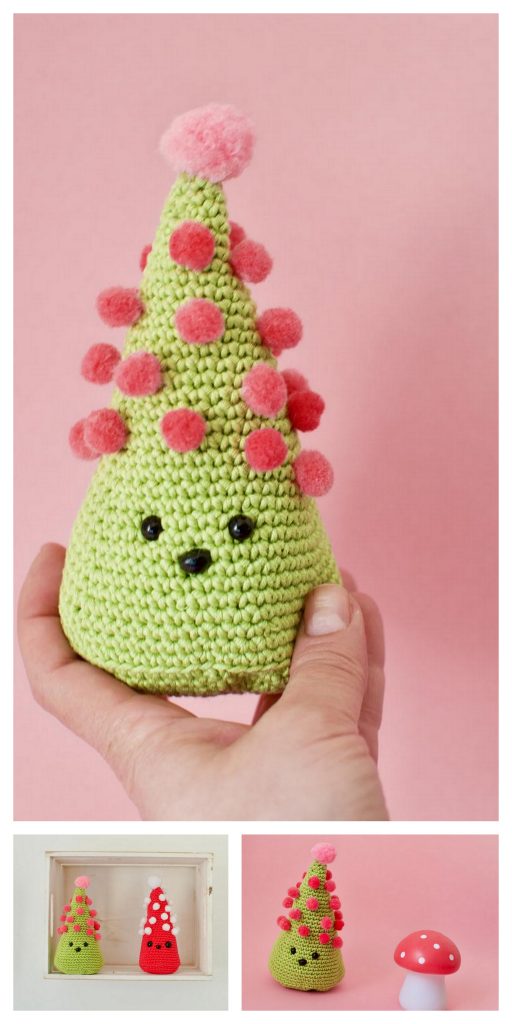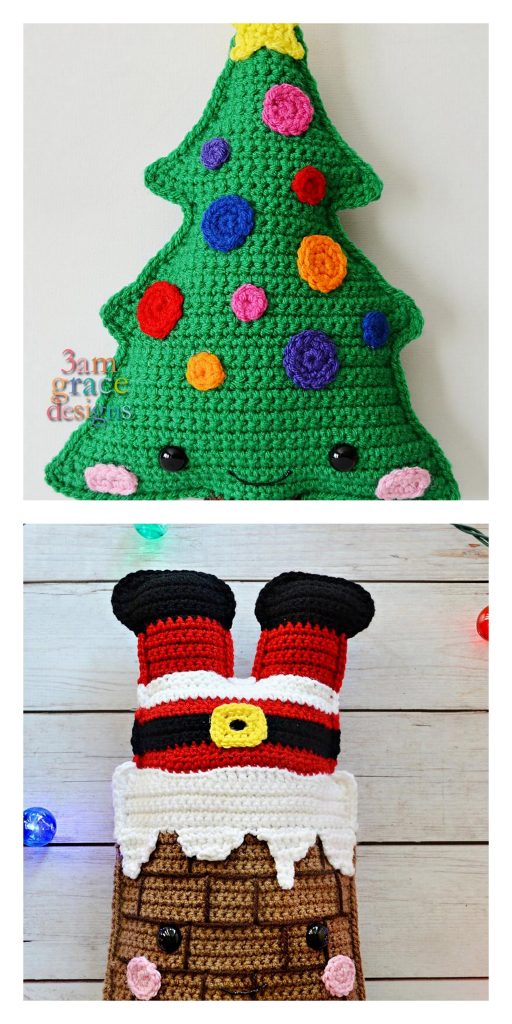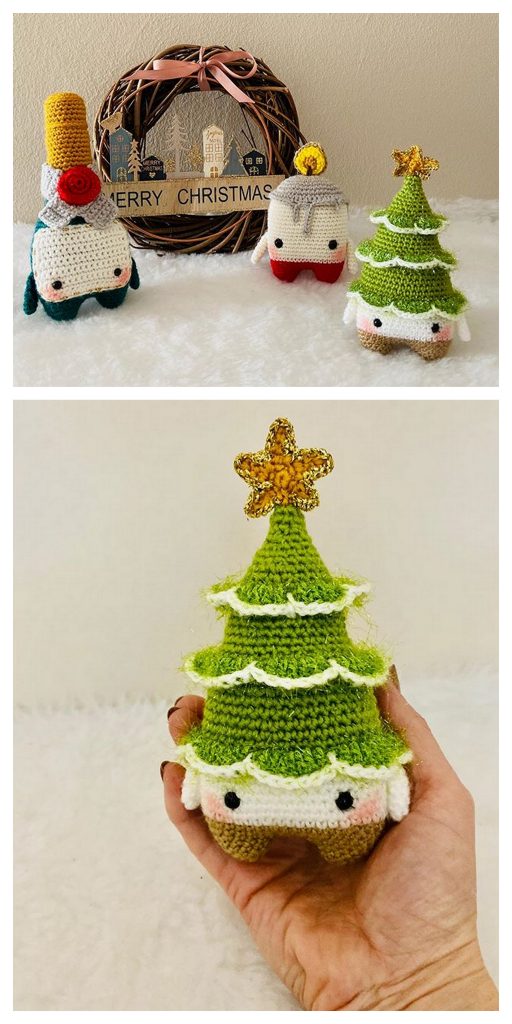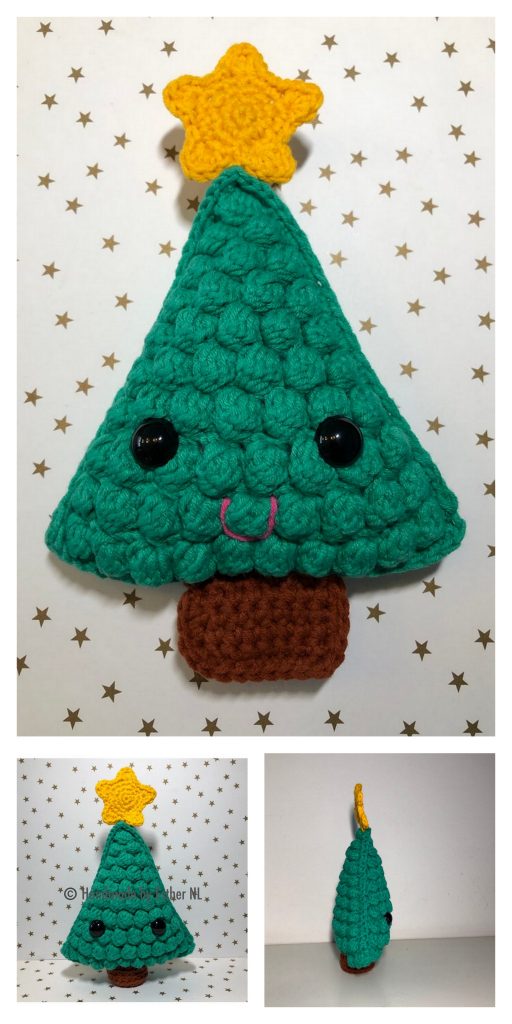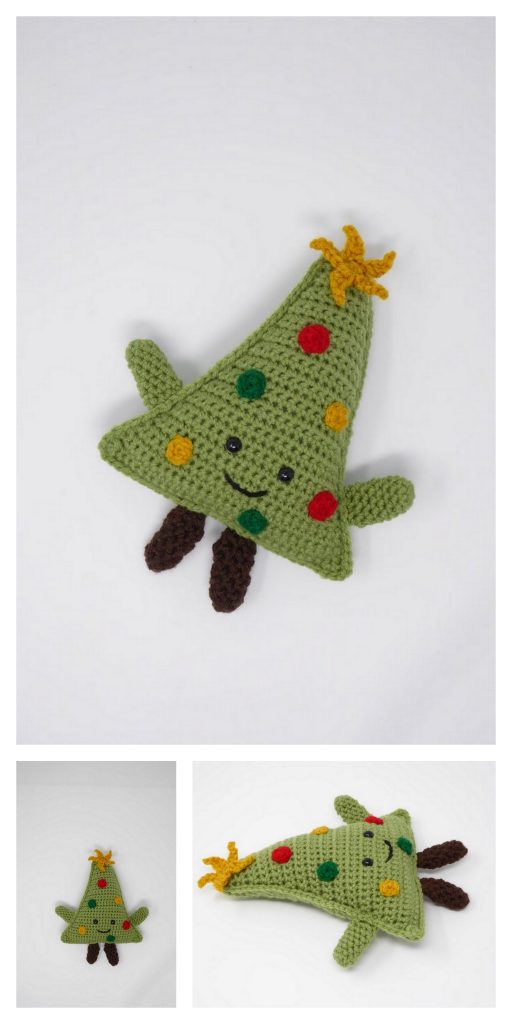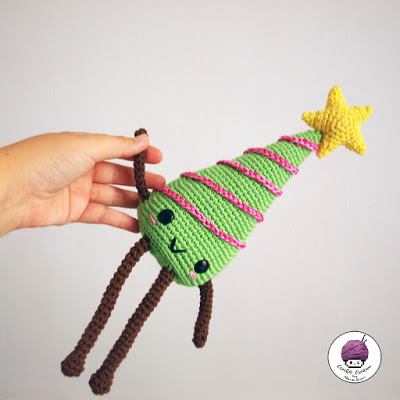
Amigurumi Christmas Tree Kawaii Free Crochet Pattern
Materials:
- 100% cotton balls, green, pink and brown.
- Crochet according to the thickness of the ball used. In this pattern I used cotton NINFA and crochet of 3’5mm.
- Fill.
- Flat 12 mm safety eyes (you can use the ones you like best).
- Wire, tongs and bodybuilder’s tape (optional).
- Hot silicone gun (optional).
- Needle wool.
- Scissors and turn marker.
Abreviations:
mr. – magic ring
ch – chain stitch
st – stitch
sc – single stitch.
inc – increase.
dec – decrease.
Rnd – round
(nº) – The number inside parentheses are the total stitch of the round. Ex: (24), in total 24 stitch in that round.
*…* – Repeat the instructions between the asterisks for the entire round.
(…)xN: repeat the instructions between the parentheses N times. Ex: (2sc, 1dec) x3, would indicate kniting 2sc, 1dec, 2sc, 1dec, 2sc, 1dec.
Body of the tree:
We begin to kniting by the tip of the tree.
In green color:
Rnd1: 6sc in mr
Rnd2: 6 sc
Rnd3: *1sc, 1 inc* (9)
Rnd4: 9sc
Rnd5: *2sc, 1 inc* (12)
Rnd6: 12sc
Rnd7: *3sc, 1 inc* (15)
Rnd8: 15sc
Rnd9: *4sc, 1 inc* (18)
Rnd10: 18sc
Rnd11: *5sc, 1 inc* (21)
Rnd12: 21sc
Rnd13: *6sc, 1 inc* (24)
Rnd14: 24sc
Rnd15: *7sc, 1 inc* (27)
Rnd16: 27sc
Rnd17: *8sc, 1 inc* (30)
Rnd18: 30sc
Rnd19: *9sc, 1 inc* (33)
Rnd20: 33sc
Rnd21: *10sc, 1 inc* (36)
Rnd22: 36sc
Rnd23: *11sc, 1 inc* (39)
Rnd24: 39sc
Rnd25: *12sc, 1 inc* (42)
Rnd26: 42sc
Rnd27: *13sc, 1 inc* (45)
Rnd28: 45sc
Rnd29: *14sc, 1 inc* (48)
Rnd30: 48sc
Rnd31: *15sc, 1 inc* (51)
Rnd32: 51sc
Rnd33: *16sc, 1 inc* (54)
Rnd34: 54sc
Rnd35: *17sc, 1 inc* (57)
Rnd36: 57sc
Rnd37: *18sc, 1 inc* (60)
Rnd38: 60sc
Rnd39: *19sc, 1 inc* (63)
Rnd40: 63sc
Rnd41: *20sc, 1 inc* (66)
Rnd42-43: 66sc
From here we continue kniting to close the tree below. You can also knit a separate circle, the size of the base of the tree and sew it to cover it, as you find it easier, just keep in mind when sewing it, take the back loops the stitch of each part and place the eyes, stuffing and embroider the details BEFORE sewing it completely.
Rnd44: BACK LOOPS 66sc
Rnd45: (6sc, 1dec)x8, 1 dec.
Rnd46: (5sc, 1dec)x7, 6sc, 1 dec. take the last three stitch.
Rnd47: *4sc, 1dec*
We stop here. It is a good time to put your eyes and embroider the details. The eyes are placed between the Rnd39 – 40, with approximately 8 sts of separation.
Rnd48: *3sc, 1dec*
Rnd49: *2sc, 1dec*
Stuffing.
Rnd50: *2sc, 1dec*
Rnd51: *1sc, 1dec*
Close. You can close the fabric by making decreases until closing or finishing and cutting leaving a long thread on the Rnd51. With that thread sew picking only the front loops of each stitch all the way round, pull hard and close.
Arms (x2):
Brown:
Rnd1: 4sc in mr.
Rnd2 onwards:4sc
Work until approximately 2’76 inches of arm.
We fasten of and cut, leaving a long tail to sew the body.
Legs (x2):
Brown:
Rnd1: 5sc in mr.
Rnd2: 5 inc (10)
Rnd3: 10sc
Rnd4: 5 dec (5)
Rnd5 onwards: 5sc
Work until 4’3-4’5 inches of leg.
We fasten of and cut, leaving a long tail to sew the body.
For the assembly of arms and legs. We can fill and sew, or we can fill them with wire so that both arms and legs are mobile and stay in the position we want.
To prepare the wire for arms, we measure from the tip of one arm to the other, passing through the body (through the area where we are going to sew). We cut that wire measurement. We bend the ends of the wire so that it does not come out through the fabric, and we cover the wire with a layer of bodybuilder’s tape. We start at one point, and, when we are at something more than half, we stop. We put the wire through the part that we already have covered with tape on one arm, we pass the wire through the body, and we continue covering with tape to the tip. We put the other arm and sew it to the body. We can help ourselves with some pins, both to see where we put the wire and to see where we sew the arms.
For legs wire is more or less the same as with the arms, only that the wire goes in a U-shape, and we must leave a distance between the legs to cross the body as the distance we want to put between the legs , I left about 0’79 inches, about 5 stitches away when sewing legs.
Ornament garland:
For the garland I used two yarn together of light pink and fuchsia for 2 mm crochet. Chains are made up to about 33-34 inches in length. Help yourself with pins to place around the tree, doing 5 laps. You can sew it or stick it with hot silicone.
Star (x2):
Two equal parts are made, then they are sewn and stuffing soft.
Yellow:
Rnd1: 5sc in mr
Rnd2: 5 inc (10)
Rnd3: *1sc, 1inc* (15)
Rnd4: *2sc, 1inc* (20)
Here we begin to knitting the tips of the star. They are made by rows.
Rnd5: 1º tip: 3sc, 1ch. turn, skip 1stitch, 2sc, 1ch. and turn. Skip 1stitch, 1sc. Fasten off and cut.
2º tip: we hook the yarn in the next stitch of Rnd4. We knit 1 sc in the same stitch where we have hooked, 3 sc (in total 4 sc), 1ch. and turn. We skip 1stitch, 3sc, 1ch and turn. We skip 1stitch, 2sc, 1ch and turn. We skip 1stitch, 1sc, fasten off and cut.
3º, 4º and 5º tips: like the 2nd tip, just hook the strand in each next stitch of rnd4.
Once woven the two parts are sewn by the edge. Stuffing soft before finishing sewing. It is then stitched or glued with silicone to the tip of the tree.
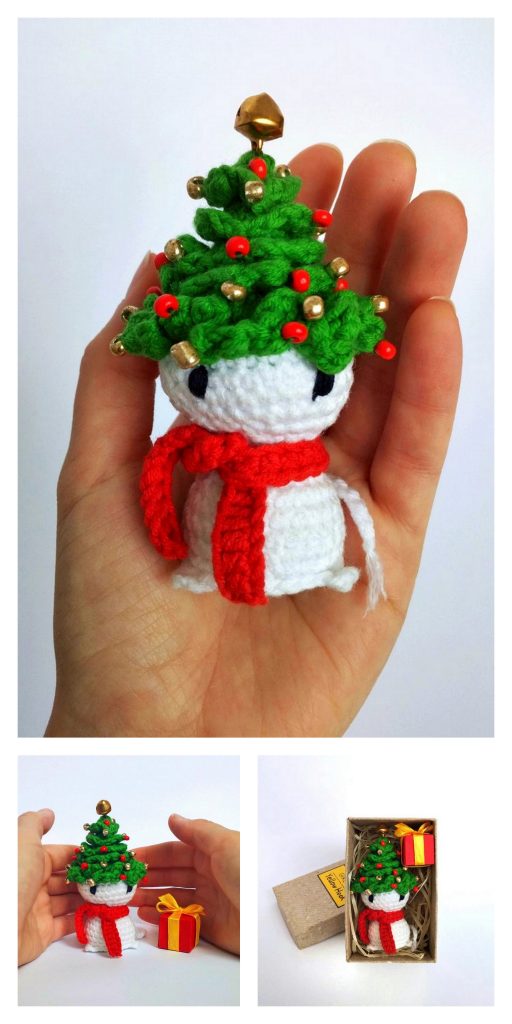
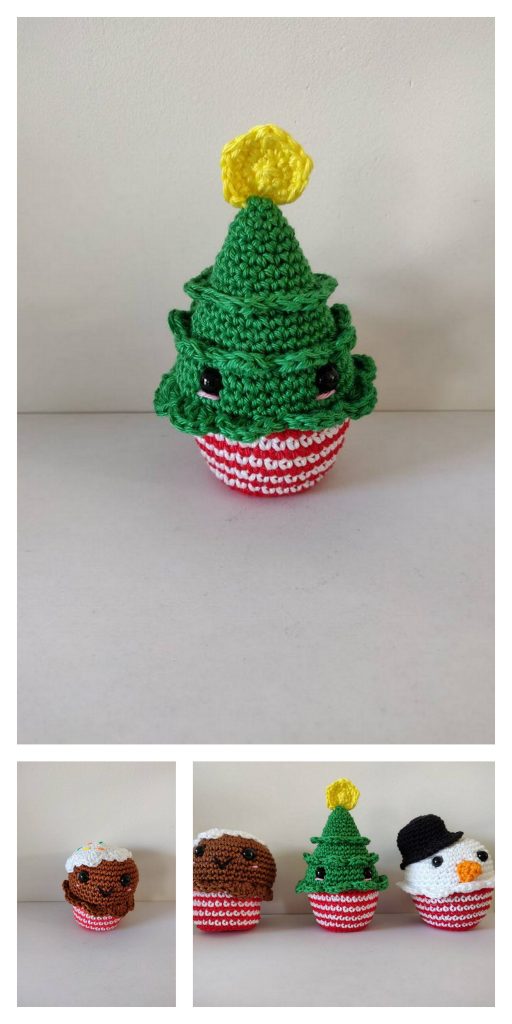
More Amigurumi Christmas Tree Kawaii Ideas:
