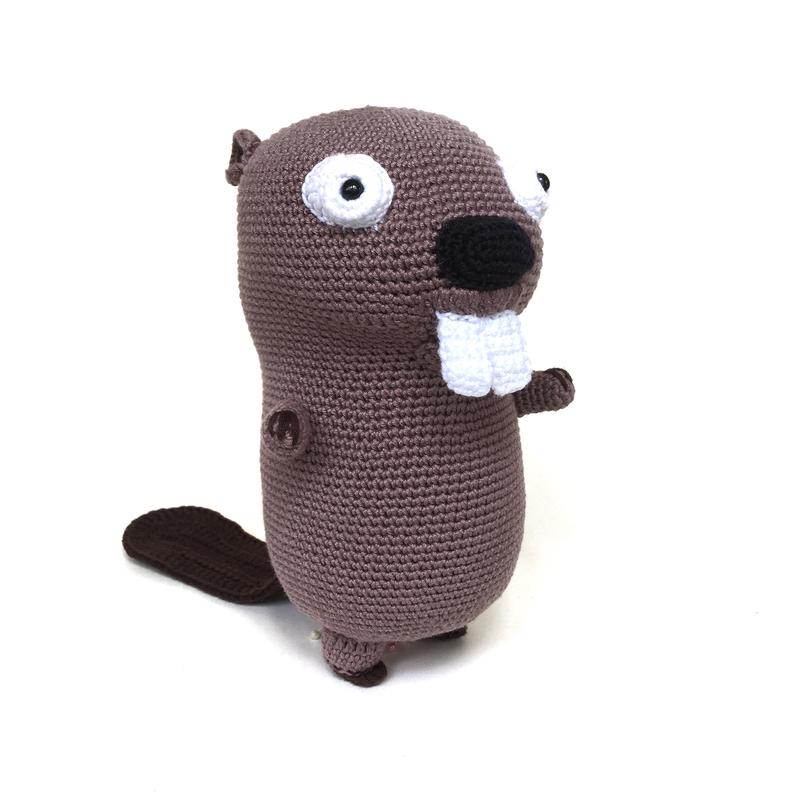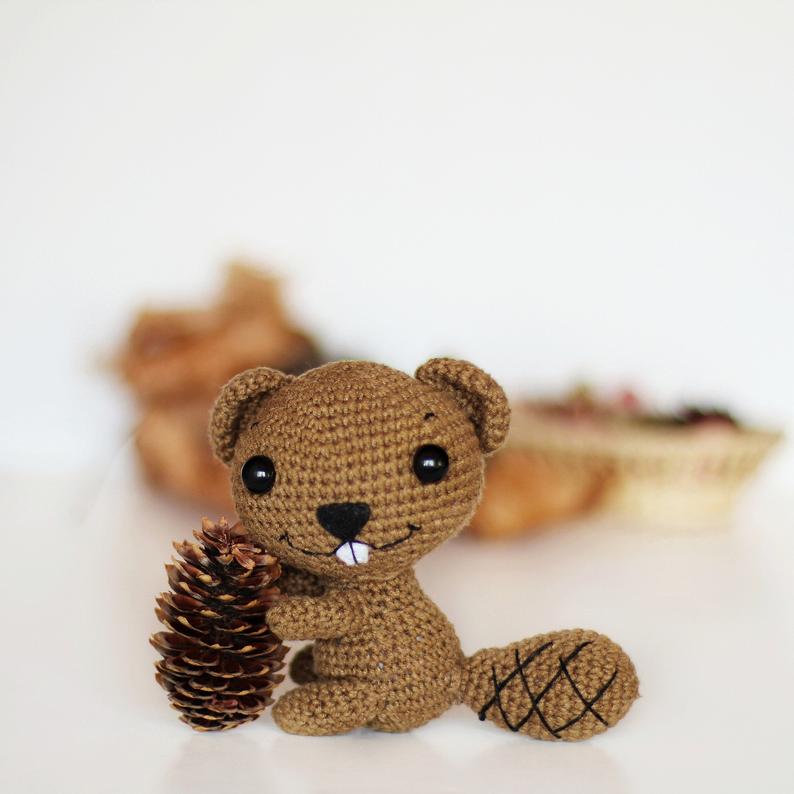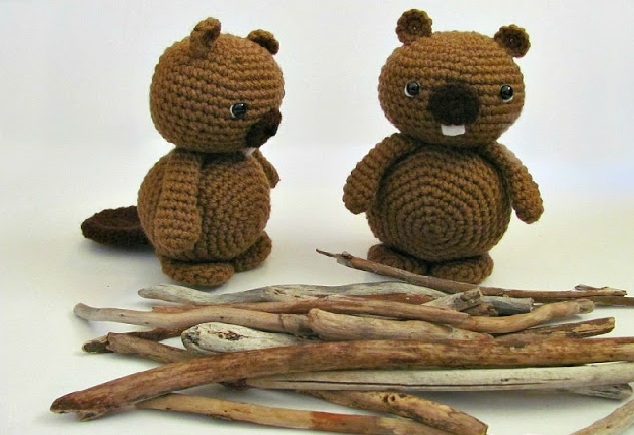
Amigurumi Beaver Crochet Free Pattern
st = stitch
sc = single crochet
2tog = 2 stitches together
sl st = slip stitch
f/o = finish off
Supplies used:
light brown worsted weight medium #4
dark brown worsted weight medium #4
black sport weight yarn for the nose, you could also use worsted weight
small bits of white felt
hot glue
florist wire for tail – optional
black safety eyes 7.5mm but use any size you like
How to read the rows: Each row has a sequence as given below. For example 1sc then 2sc in next st means repeat that sequence 1sc then 2sc in next st followed by 1sc then 2sc in next st over and over to the end of that particular row. The number inside the parentheses ( ~ ) is the number of stitches you should have at the end of that particular row.
Add a marker at the end of row 2 and move that marker at the end of each row.
Muzzle with Dark Brown
1) magic circle with 6sc(6)
2) 2sc in each st (12)
sl st next st and f/o
Using black yarn or thread, whip stitch the nose in.
Glue or sew a bit of white felt on for the teeth. I glued the piece onto the back of the muzzle and made sure some was exposed so that you could see the teeth when the muzzle was sewn in place. Shown below is the back of the muzzle.
HEAD
Remember if you use safety eyes to put them in before closing up the head. I used a small bit of white felt and hot glued them to the under side of the safety eyes to add some color. I placed the eyes in between the 10th and 11th row and they have 8st between them. I put the eyes in place when I finished the 15th row. The nose was stitched onto the muzzle then the muzzle was sewn in when I finished the 17th row. This photo shows the muzzle sewn in. I would have preferred the muzzle just a bit higher than shown, but that is a matter of preference. Make sure you are happy with placements before permanently sewing the pieces in.
1) magic circle with 6sc (6)
2) 2sc in each st (12)
3) 1sc then 2sc in next st (18)
4) 1sc in next 2st then 2sc in next st (24)
5) 1sc in next 3st then 2sc in next st (30)
6) 1sc in next 4st then 2sc in next st (36)
7) 1sc in next 5st then 2sc in next st (42)
8-12) 1sc in each st for 5 rows
13) 1sc in next 5st then 2tog (36)
14-15) 1sc in each st for 2 rows
put in eyes
16) 1sc in next 4st then 2tog (30)
17) 1sc in each st
stitch nose on muzzle, glue on felt for the teeth then sew muzzle in place
18) 1sc in next 3st then 2tog (24)
19) 1sc in next 2st then 2tog (18)
f/o leaving a long tail for sewing
Body
take a look at the photos below and see how I positioned the body under the head. You could do it either way you like but if you plan to sew the body on as I did with the starting magic circle used as the belly button then take care to finish off the last rows of the body as neat as you can and after you stuff the body take care not to pull the stuffing through that last couple rows when closing the gap.
1) magic circle with 6sc (6)
2) 2sc in each st (12)
3) 1sc then 2sc in next st (18)
4) 1sc in next 2st then 2sc in next st (24)
5) 1sc in next 3st then 2sc in next st (30)
6) 1sc in next 4st then 2sc in next st (36)
7) 1sc in next 5st then 2sc in next st (42)
8) 1sc in next 6st then 2sc in next st (48)
9-13) 1sc in each st for 5 rows
14) 1sc in next 6st then 2tog (42)
15) 1sc in each st
16) 1sc in next 5st then 2tog (36)
17) 1sc in each st
18) 1sc in next 4st then 2tog (30)
19) 1sc in next 3st then 2tog (24)
20) 1sc in next 2st then 2tog (18)
stuff the body
21) 1sc then 2tog (12)
22) 2tog 6 times
f/o leaving a long tail for sewing. Using a yarn needle, weave the yarn tail in and out through those last 6 st then pull the yarn tail until the gap closes, knot off the yarn tail then hide inside the body
Legs
1) magic circle with 6sc (6)
2) 2sc in each st (12)
3) 1sc then 2sc in next st (18)
4-5) 1sc for 2 rows
6) 1sc then 2tog (12)
7-10) 1sc in each st for 4 rows
f/o leaving a long tail for sewing. fold flat, do not stuff . Sew under the body. Take your time to position and sew on neatly, the legs are as wide as the body when placed side by side. You could pin them in place before sewing to make sure you are happy with the placement before sewing them in place.
Arms
1) magic circle with 6sc (6)
2) 2sc in each st (12)
3-4) 1sc for 2 rows
5) 1sc then 2tog (8)
6-13) 1sc in each st for 8 rows
f/o leaving a long tail for sewing. stuff hand, do not stuff arms. Sew just under the head
Ears
1) magic circle with 6sc (6)
2) 1sc then 2sc in next st (9)
sl st the next st and f/o leaving a long tail for sewing. pin the ears in place before sewing to make sure you are happy with the placement.
Tail with a dark brown
1) magic circle with 6sc (6)
2) 2sc in each st (12)
3) 1sc then 2sc in next st (18)
4) 1sc in next 2st then 2sc in next st (24)
5) 1sc in next 3st then 2sc in next st (30)
6) 1sc in next 4st then 2sc in next st (36)
7) 1sc in next 4st then 2tog (30)
8) 1sc in next 3st then 2tog (24)
9-10) 1sc for 2 rows
11) 1sc in next 2st then 2tog (18)
12-13) 1sc for 2 rows
14) 1sc then 2tog (12)
15-16) 1sc in each st for 2 rows
f/o leaving a long tail for sewing. You could add a wire to the tail as I did or you can leave that part out. If you use the wire then bend the wire and push it into the tail, making sure the wire outlines the entire inside edge of the tail. Cut the wire down to size, leaving about 2 inches then bend the tips over so there are no sharp points. Now bend the exposed wire so that the ends goes up in the direction of the head then sew the tail in place
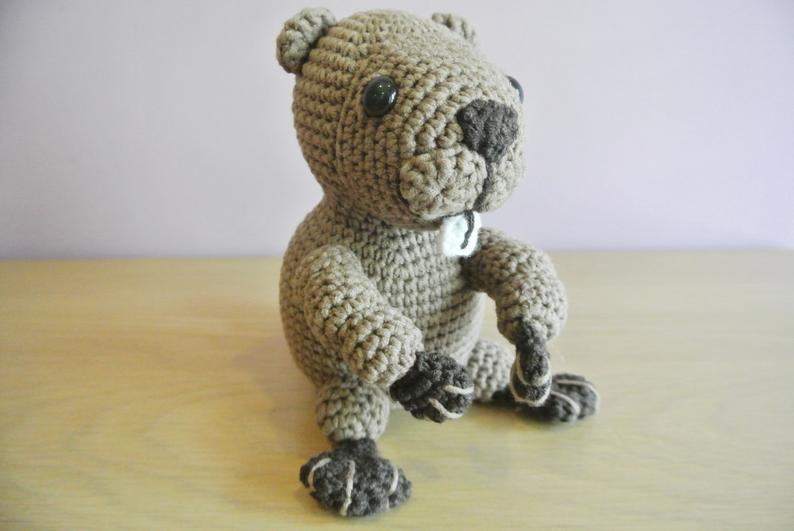
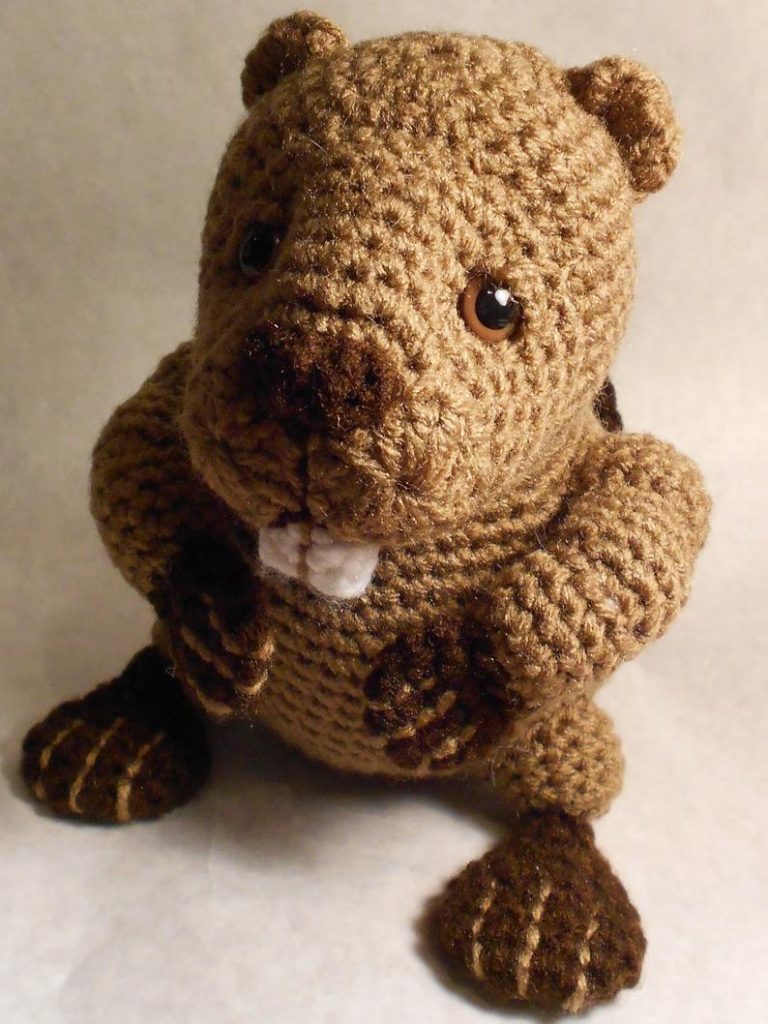
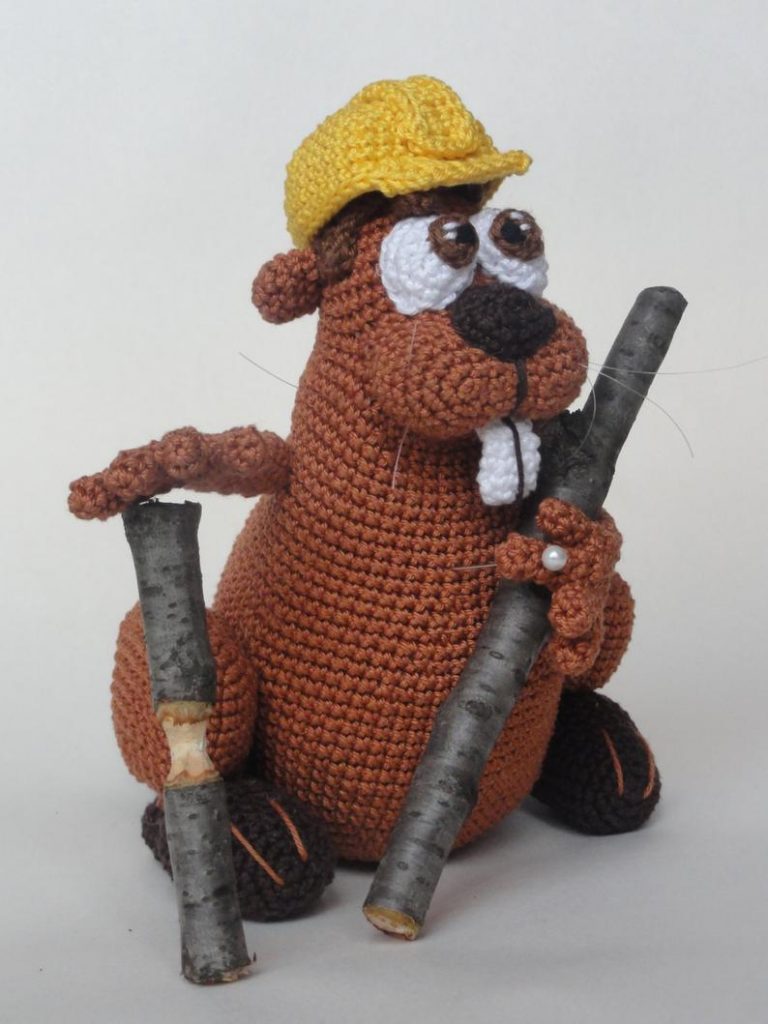
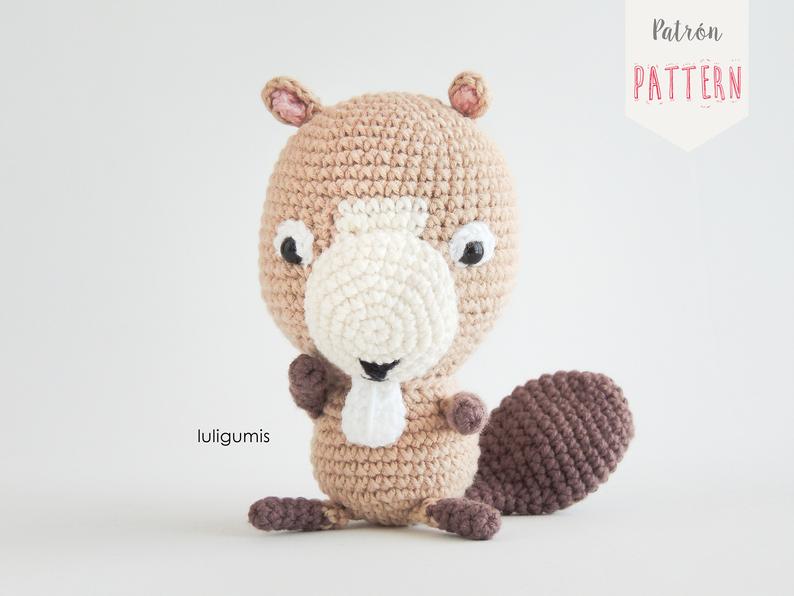
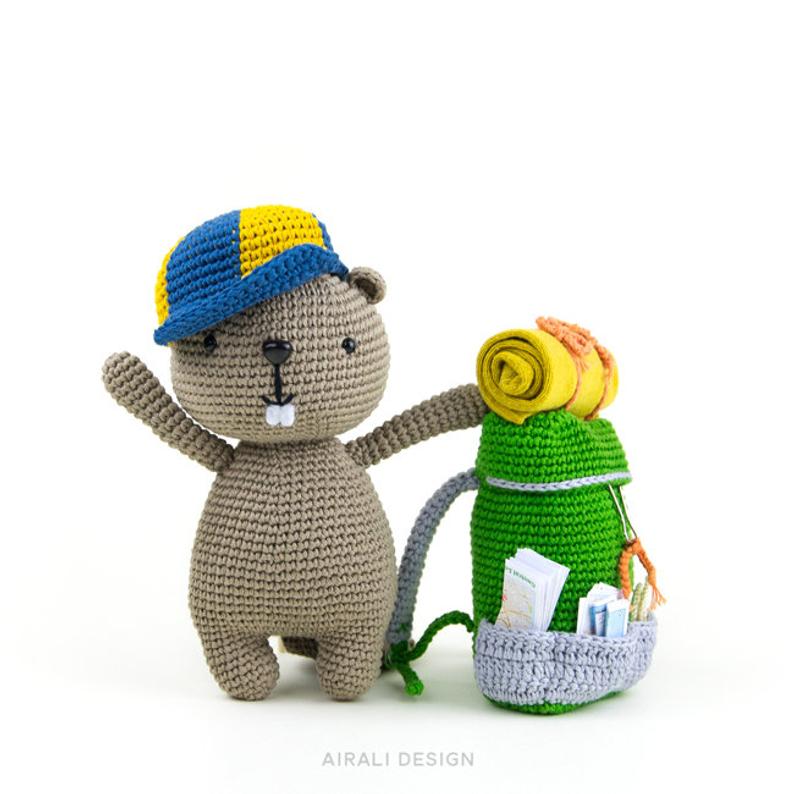
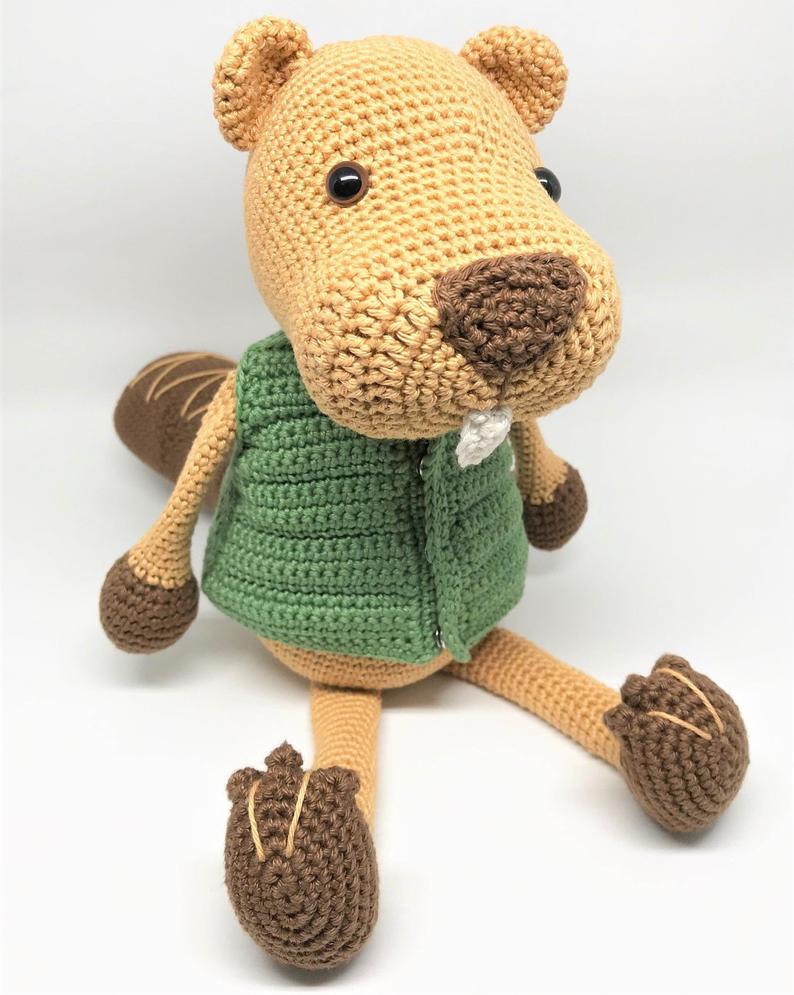
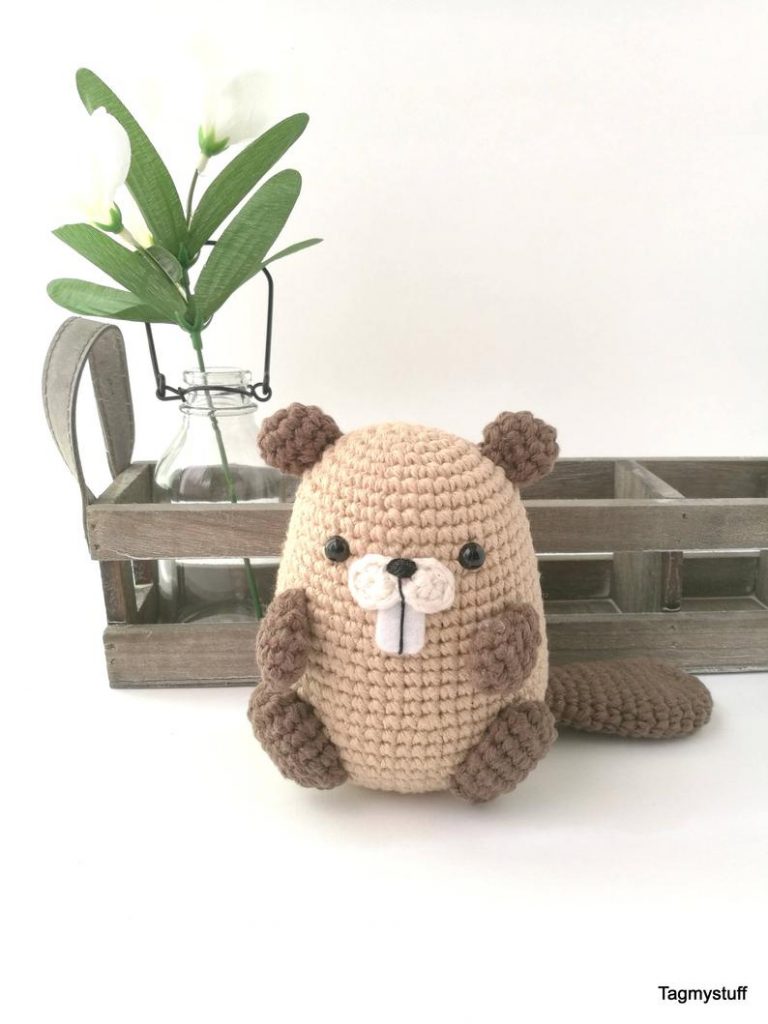
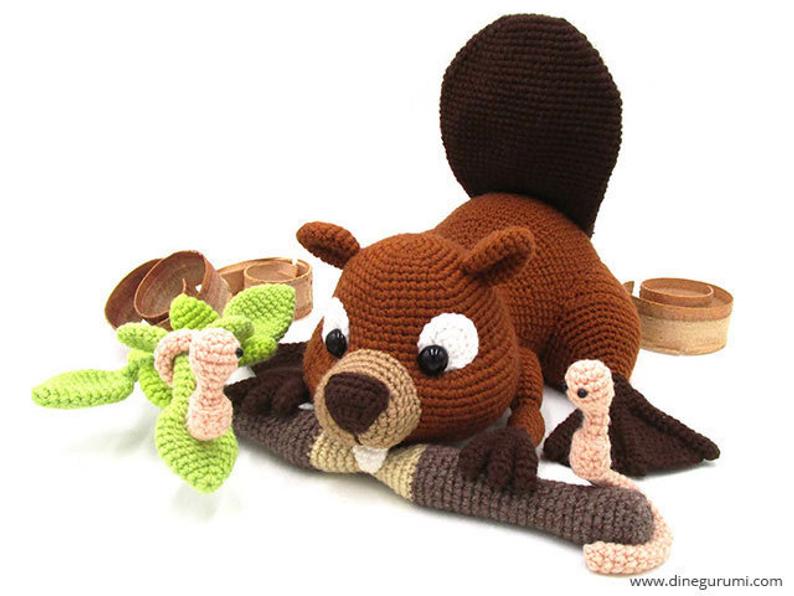
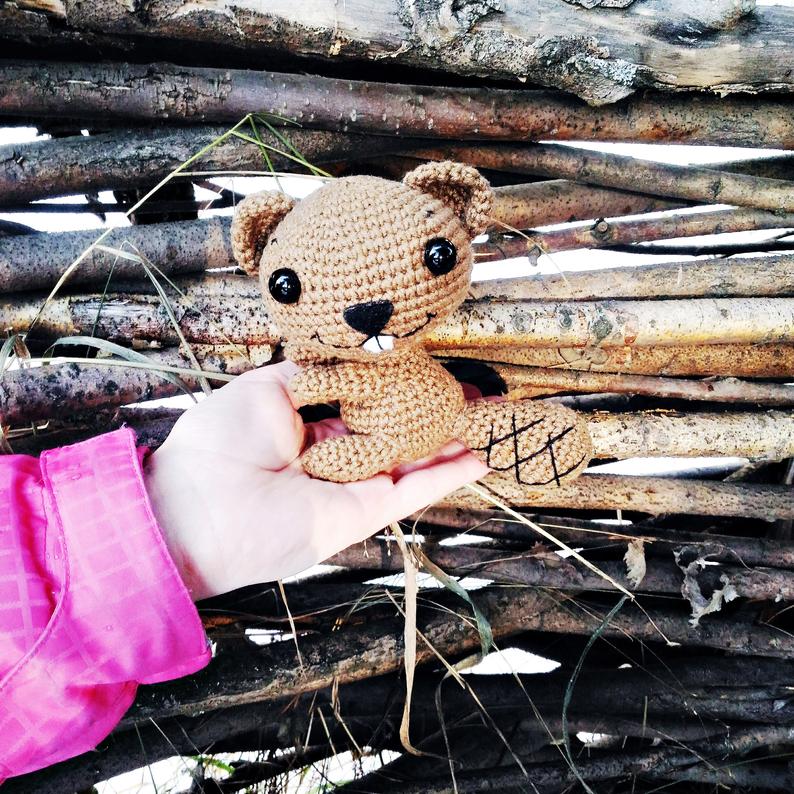
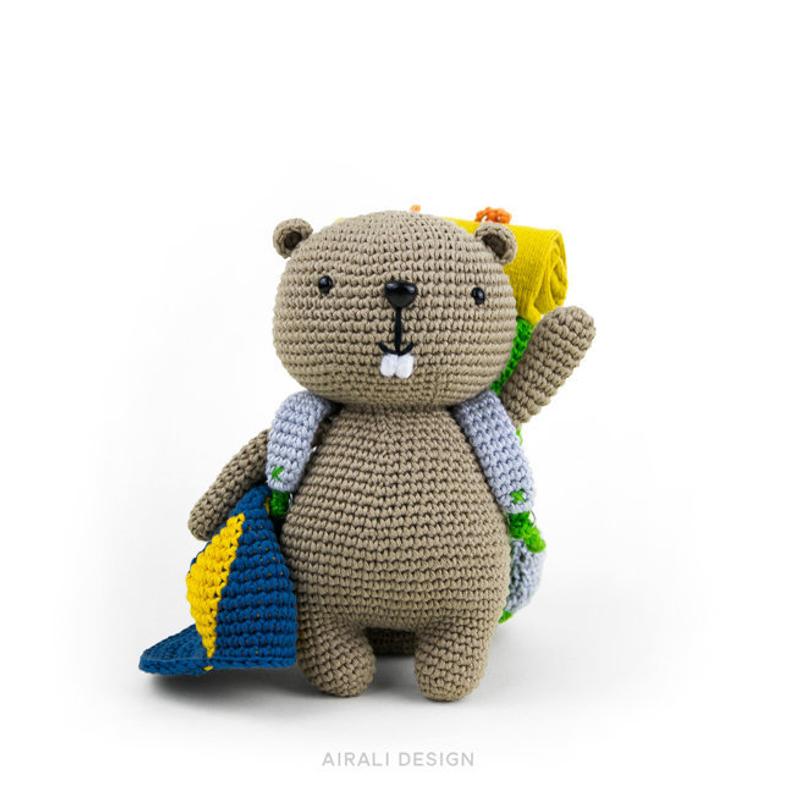
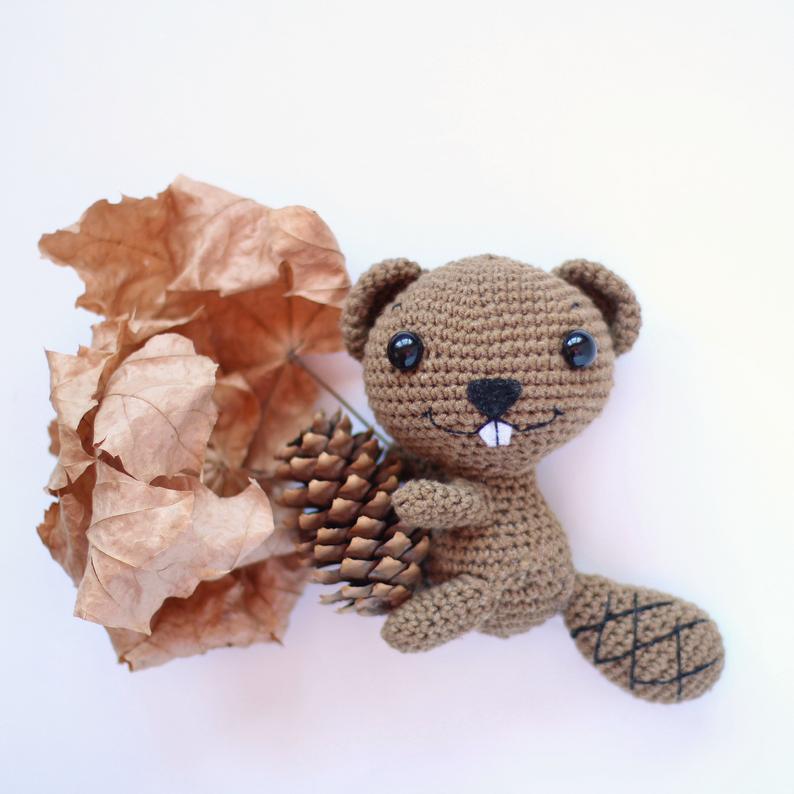
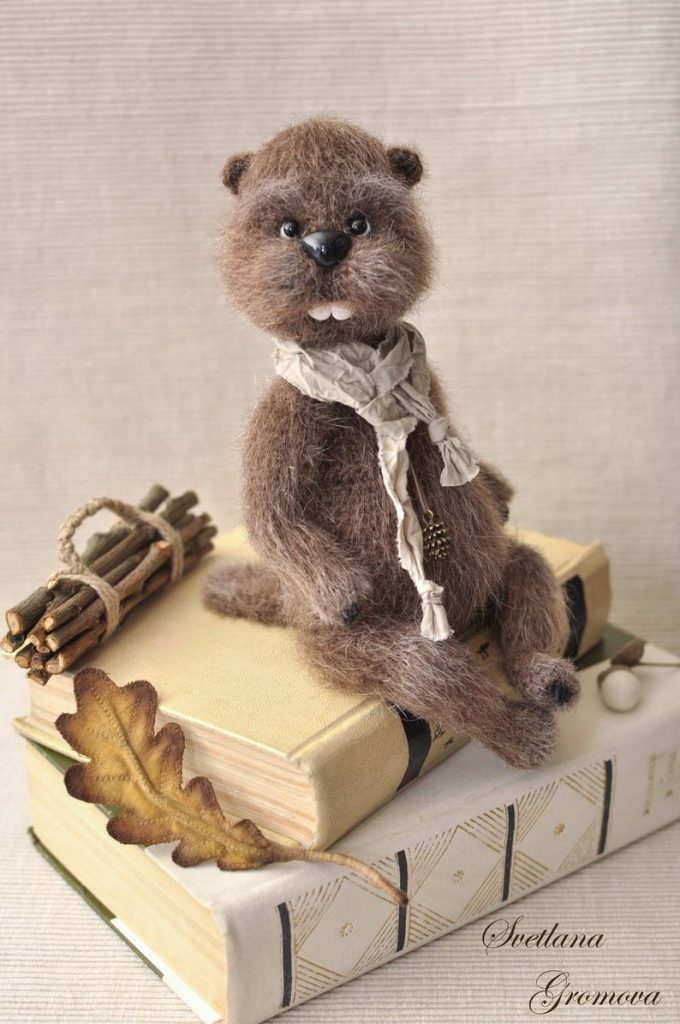
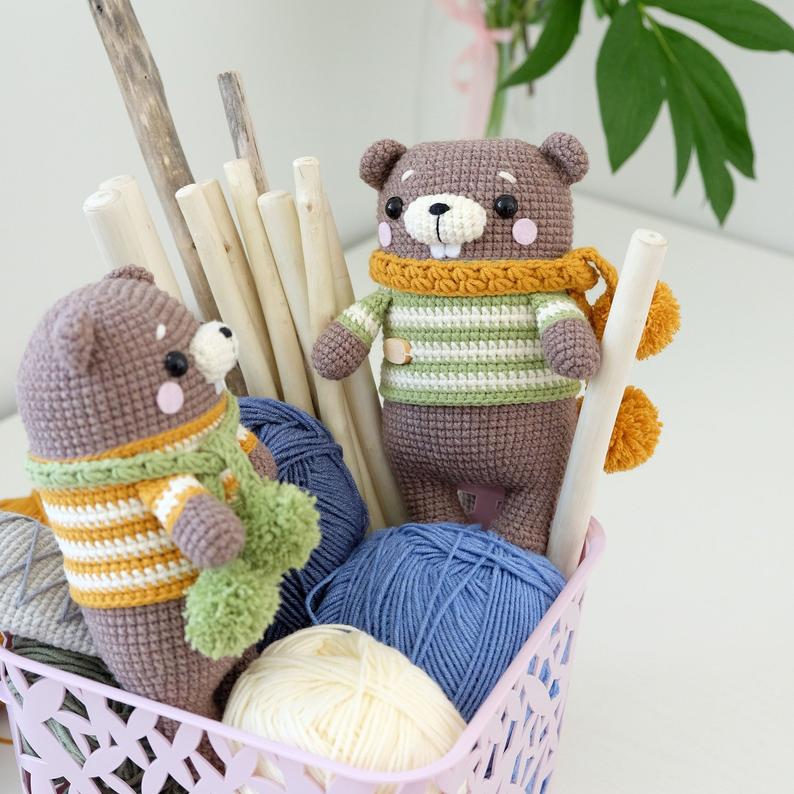
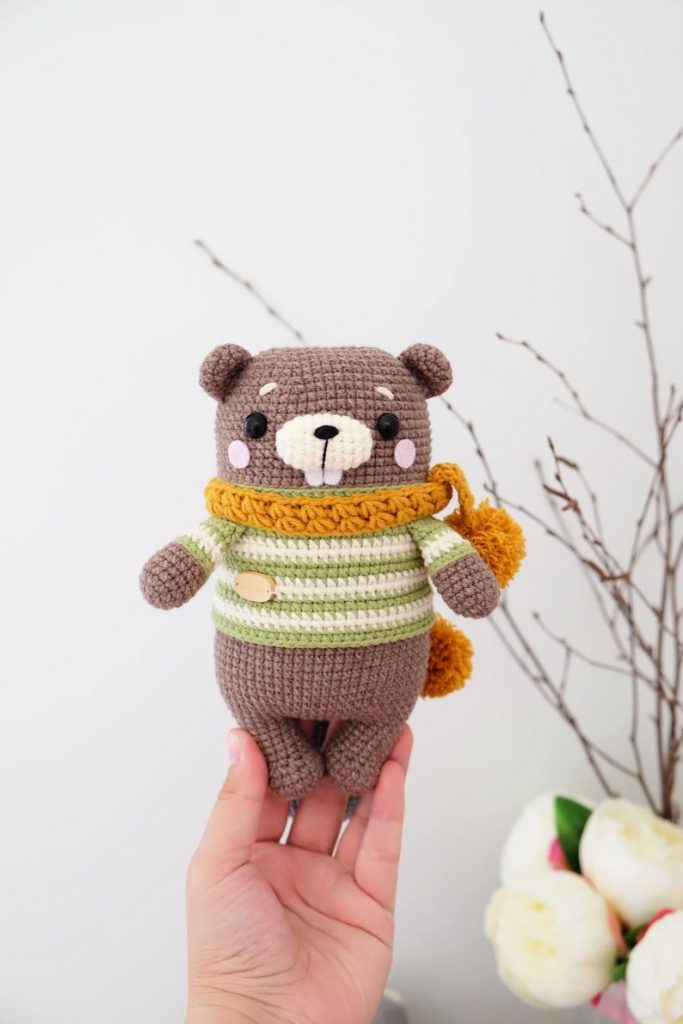
More Amigurumi Beaver Ideas: