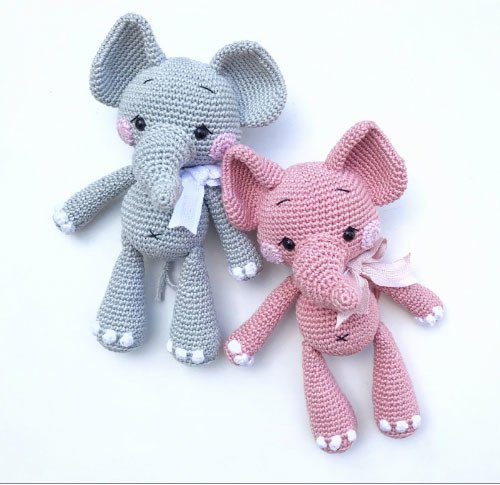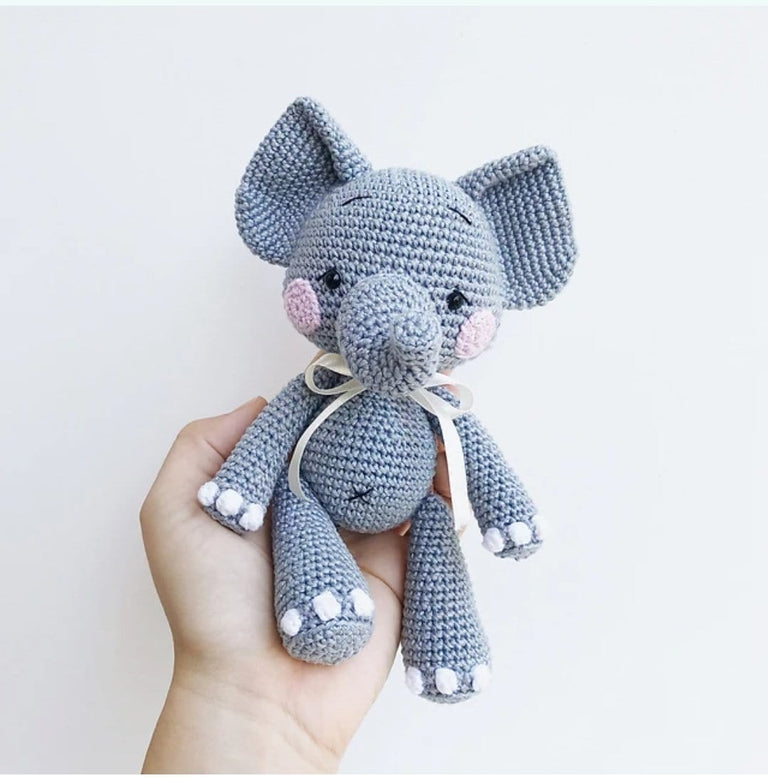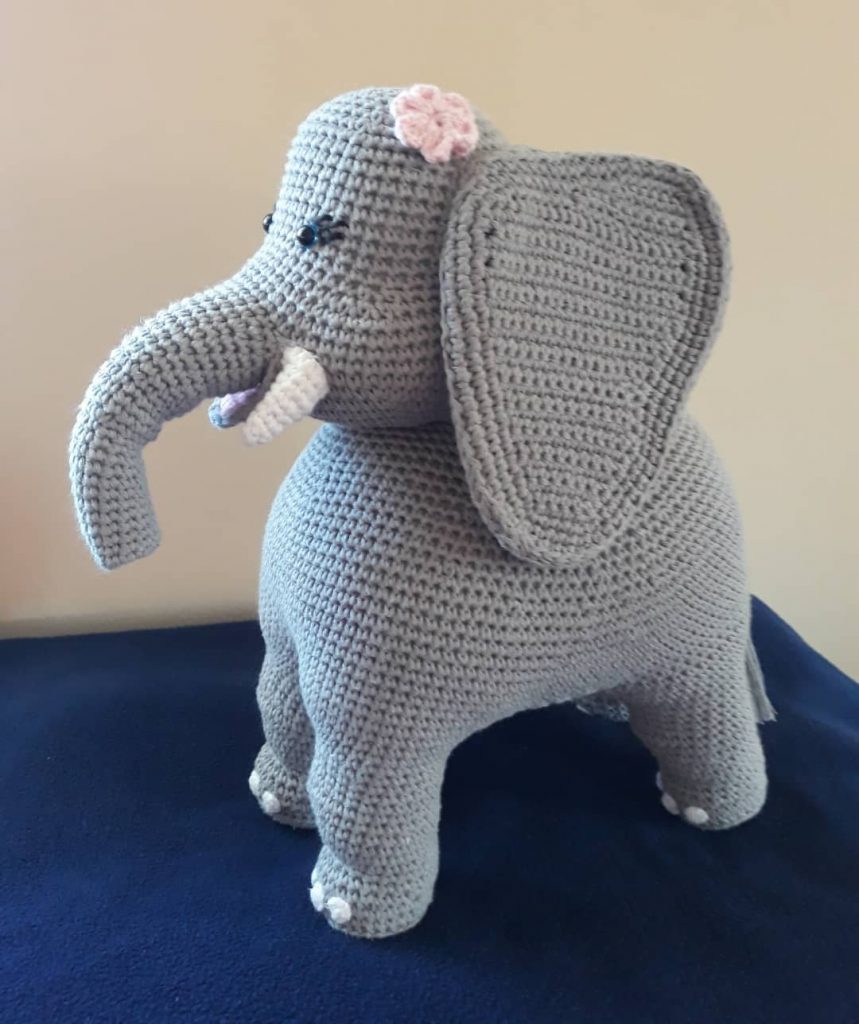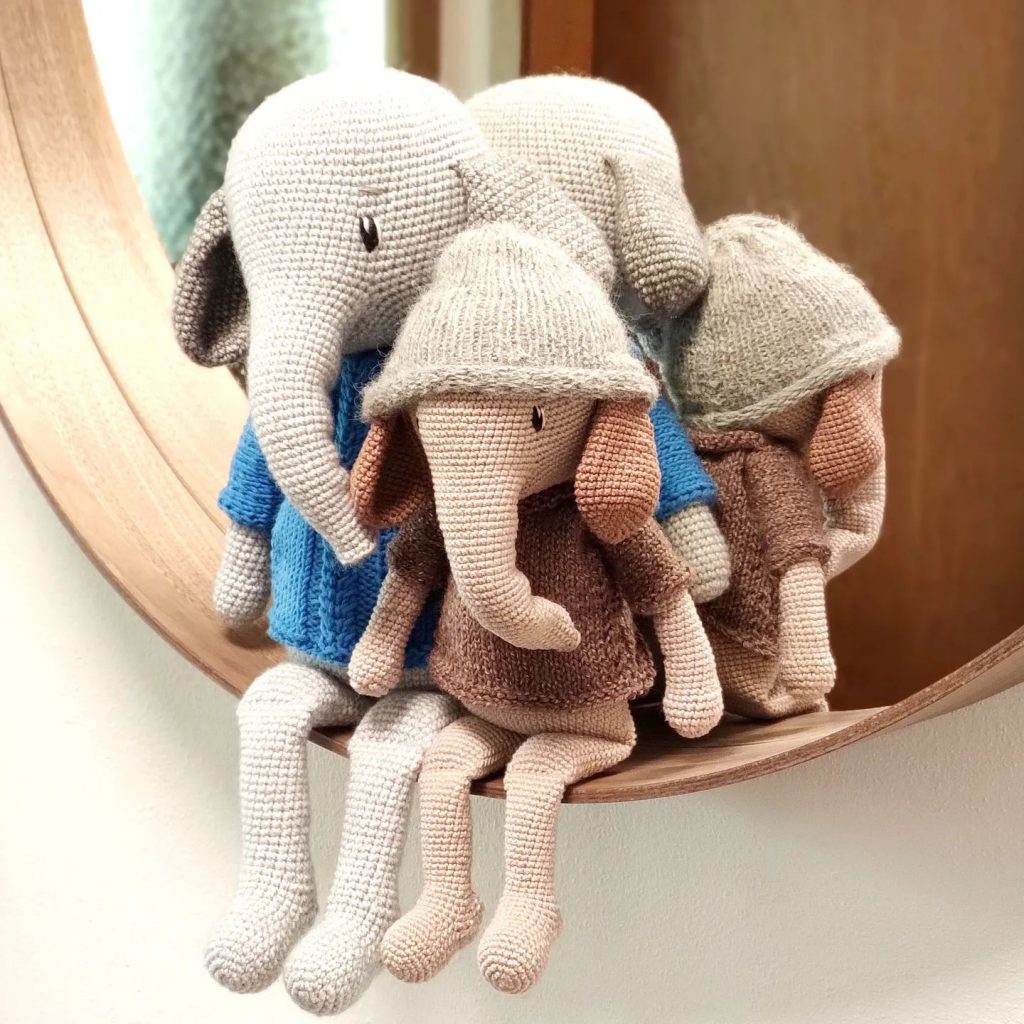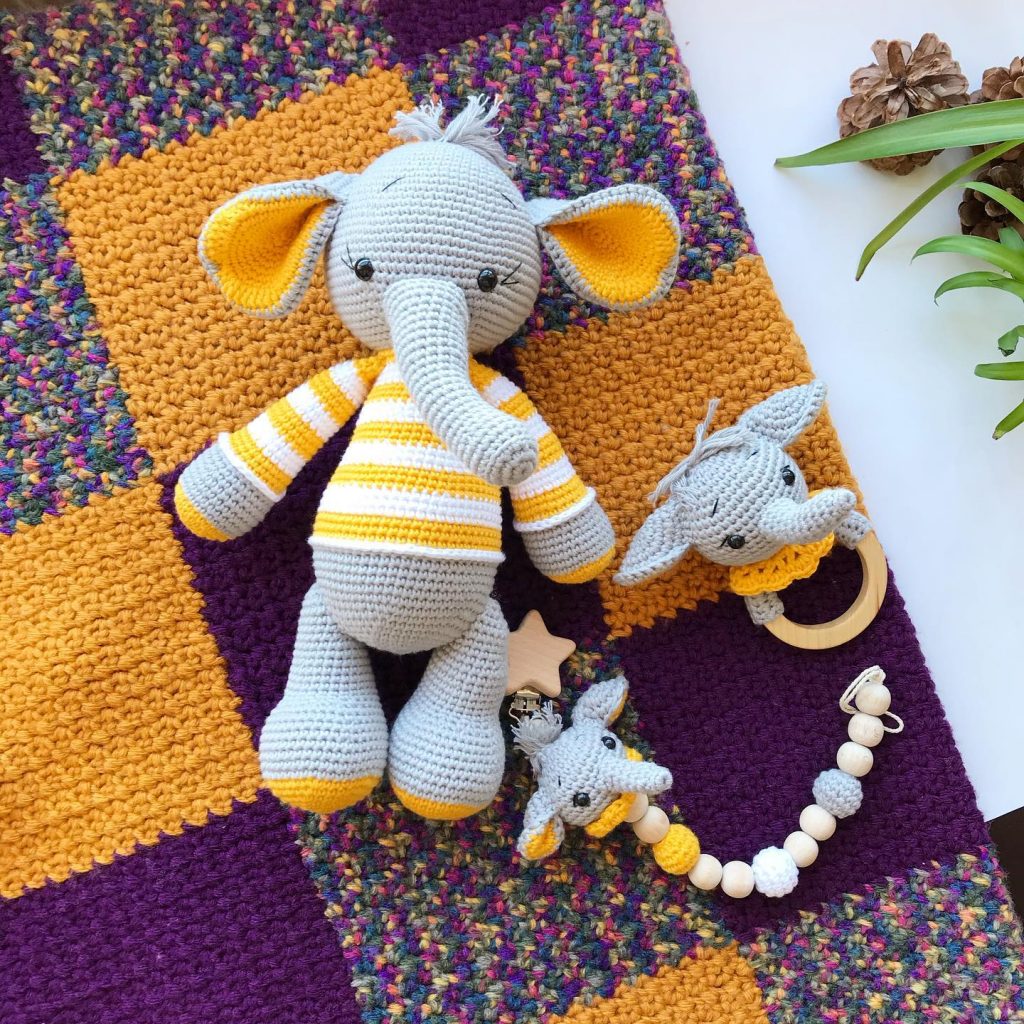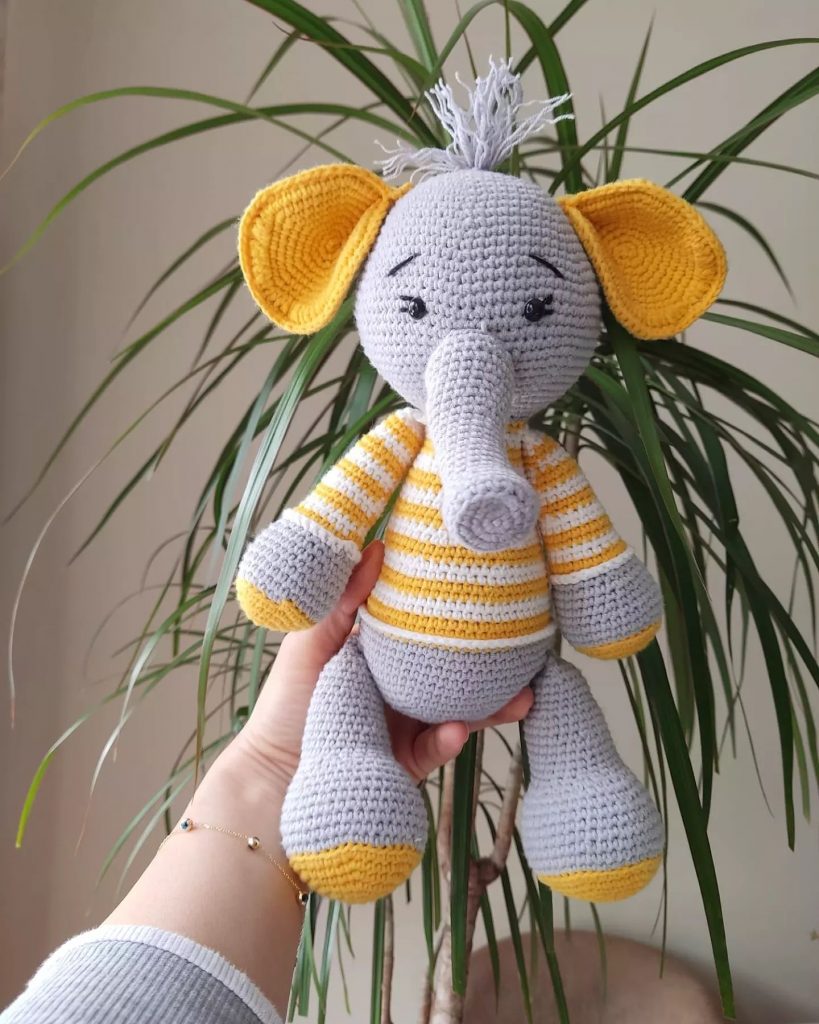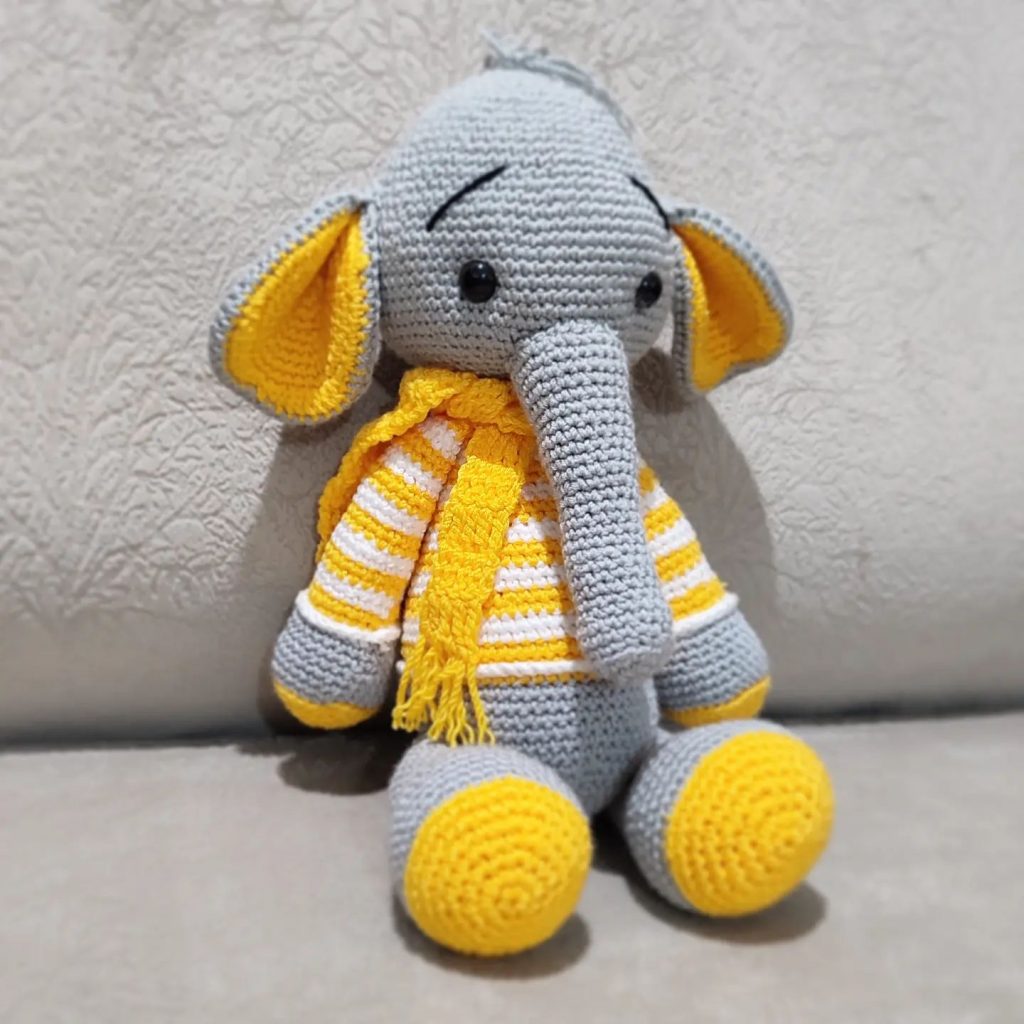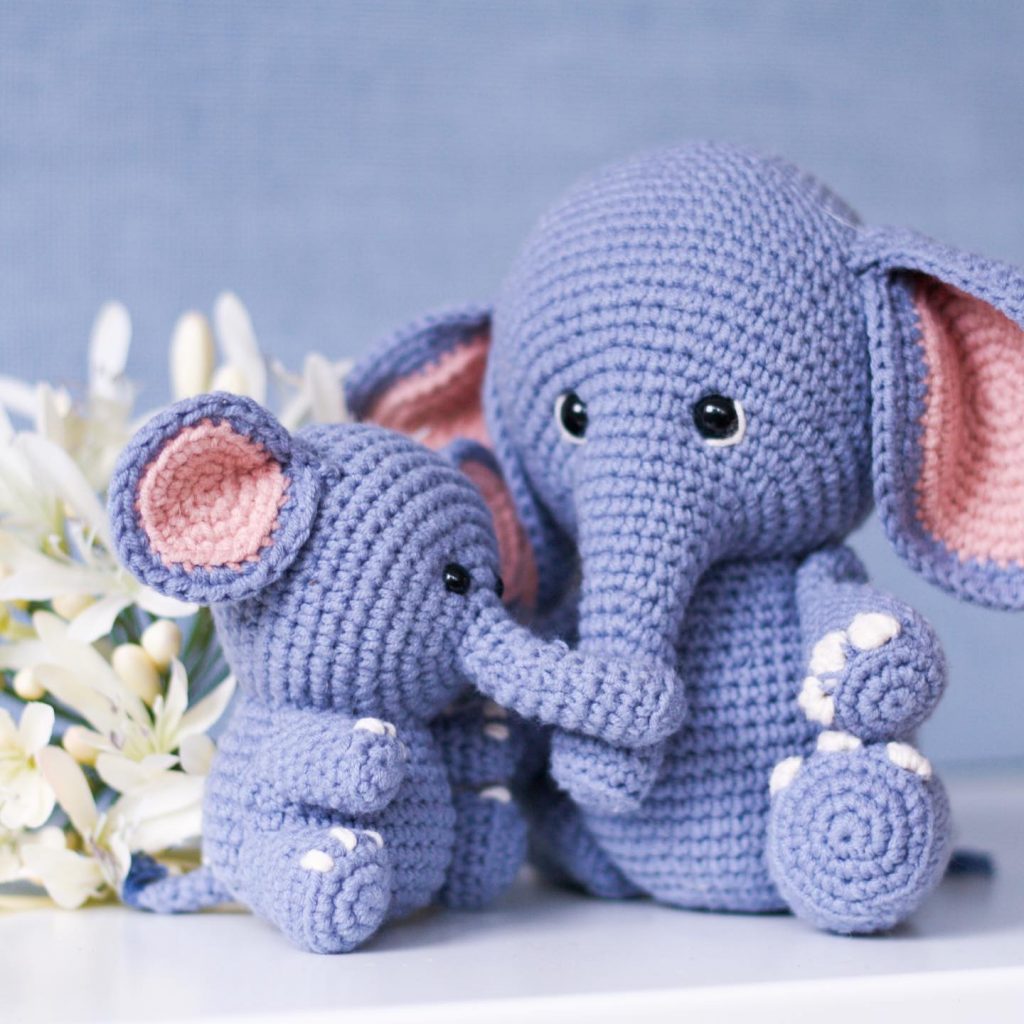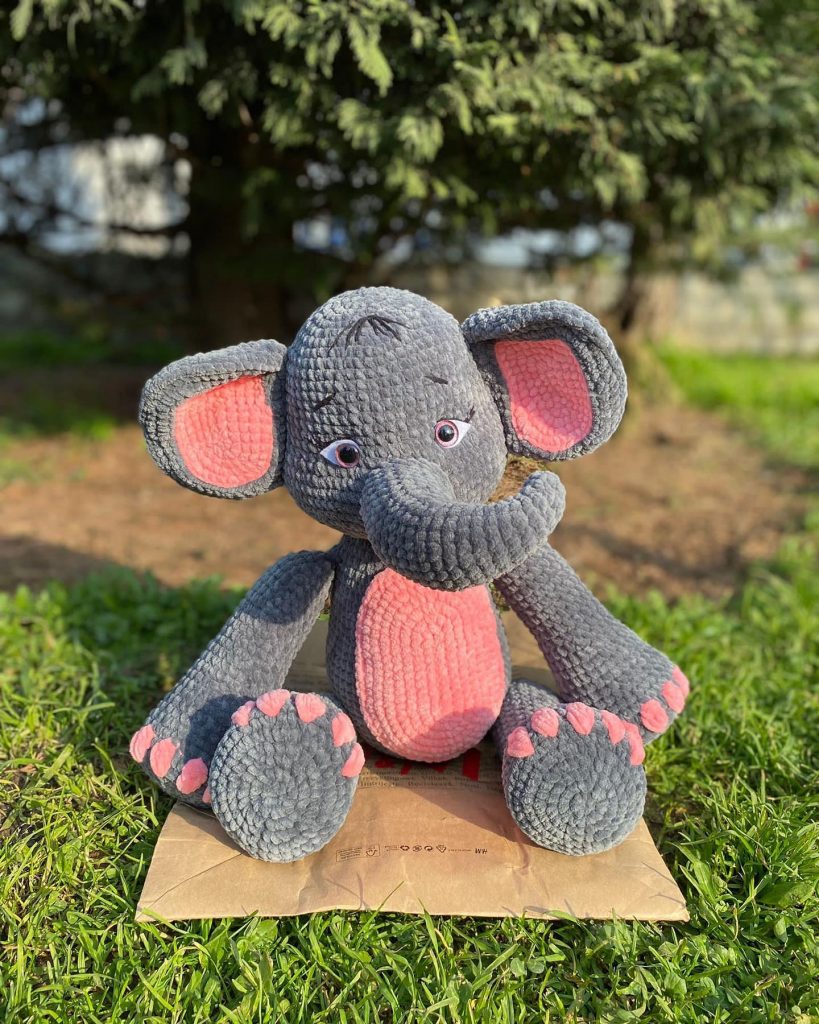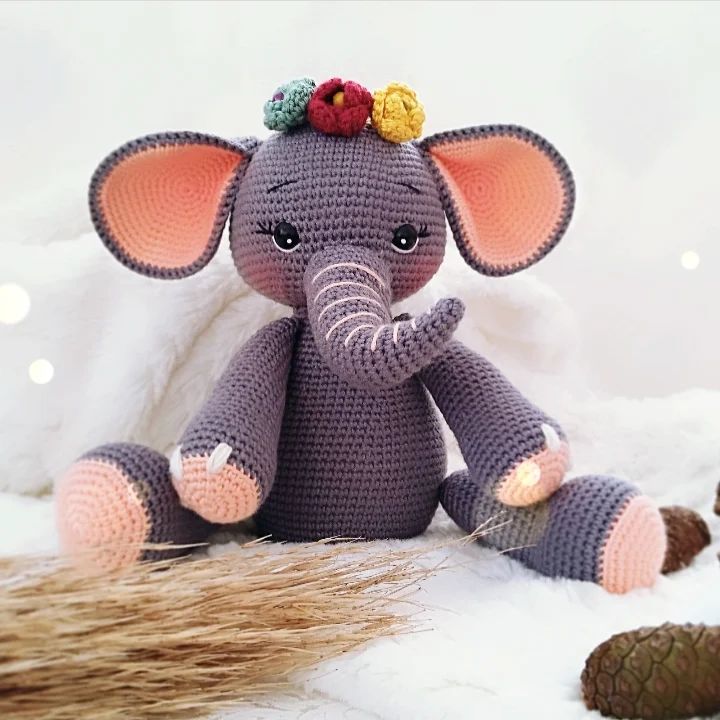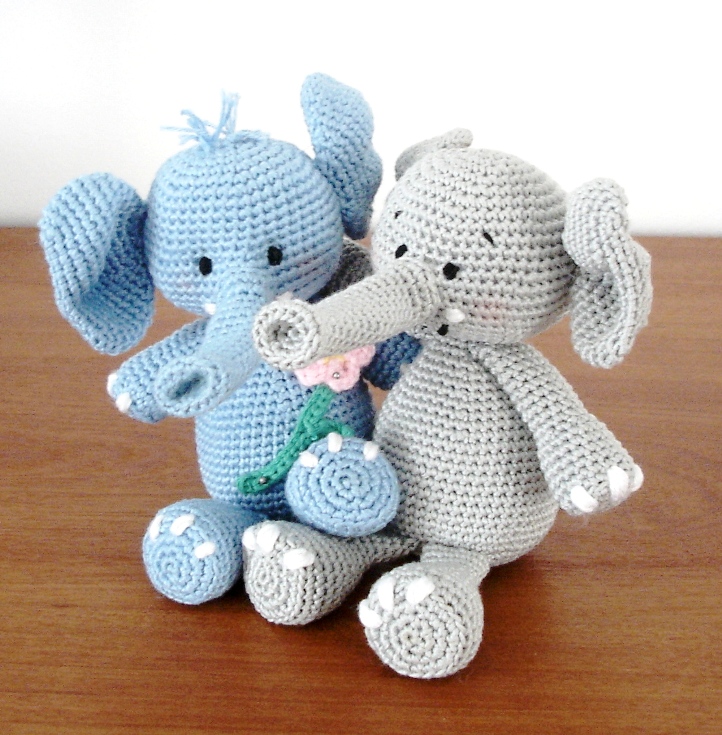
Elephant Ella and Her Lover Amigurumi Free Pattern
Materials used:
2mm crochet hook
8 ply cotton yarn in light blue
or grey color
black embroidery thread for
eyes and mount
embroidery needle for sewing
up the parts and details
white yarn for tusks and
toenails
for stuffing I used polyester
fiberfil
Abbreviations:
Ch: chain
St: Stitch
Sc: Single crochet
Inv.dec.: Invisible decrease
You will work in continuous rounds. Make sure to mark the first
stitch, but only for the easier row count. You will not be working
any slip stitches at the end of each row, or any ch1. As you finish,
just continue working the next round as indicated in the pattern.
When finishing the piece, after making last single crochet, slip
stitch to the following stitch and tie off pulling the thread out of the
stitch.
For those that wish to make identical size doll to these that I have
made, here is the gauge used:
1×1 cm: 4 rows x 3 stitches
1×1 inch: 9 rows x 8 stitches
Head
R1: sc6 in magic ring (6 sts)
R2: 2sc in one st x6 (12 sts)
R3: 2sc in one st, sc1 x6 (18 sts)
R4: 2sc in one st, sc2 x6 (24 sts)
R5: 2sc in one st, sc3 x6 (30 sts)
R6: 2sc in one st, sc4 x6 (36 sts)
R7: 2sc in one st, sc5 x6 (42 sts)
R8: 2sc in one st, sc6 x6 (48 sts)
R9-R12: sc48
R13: 2sc in one st, sc7 x6 (54 sts)
If you work with safety eyes, place them here leaving 6 stitches
space between each one.
R14: 2sc in ne st, sc8 x6 (60 sts)
R15-R16: sc60
R17: Inv.dec, sc8 x6 (54 sts)
R18: Inv.dec., sc7 x6 (48 sts)
R19: Inv.dec., sc6 x6 (42 sts)
R20: Inv.dec., sc5 x6 (36 sts)
R21: Inv.dec., sc4 x6 (30 sts)
R22: Inv.dec., sc3 x6 (24 sts)
R23: Inv.dec., sc2 x6 (18 sts)
Tie off, stuff the head firmly.
Ears (x2)
Ch11
R1: sc9, 3sc in one st (last one on the chain), continue stitching on
the other side of the chain, sc8, 2sc in one st. (22 sts)
R2: 2sc in one st, sc1 x10 (33 sts)
R3: 2sc in one st, sc2 x10 (44 sts)
R4-R8: sc44
R9: Inv.dec., sc2 x10 (33 sts)
R10: sc33
R11: In.dec., sc1 x10 (22 sts)
R12: sc22
R13: Inv.dec x11
Tie off and leave long end for swing the ears on the head later
Nose
R1: sc5 in magic ring (5 sts)
R2: 2sc in each st x5 (10 sts)
R3: 2sc in one st, sc1 x5 (15 sts)
R4: sc15 in the outer loop (15 sts)
R5: sc15 (both loops) (15 sts)
R6: Inv.dec.3, sc9 (12 sts)
R7-R16: sc12
R17: sc3, 2sc in one st, sc1, 2sc in one st, sc1, 2sc in one st, sc4
15 sts)
R18: sc15
Tie off and leave long end for sewing the nose on the head later.
Body
R1: sc6 in magic ring (6 sts)
R2: 2sc in one st all around (12 sts)
R3: 2sc in one st, sc1 x6 (18 sts)
R4: 2sc in one st, sc2 x6 (24 sts)
R5: 2sc in one st, sc3 x6 (30 sts)
R6: 2sc in one st, sc4 x6 (36 sts)
R7: 2sc in one st, sc5 x6 (42 sts)
R8: 2sc in one st, sc6 x6 (48 sts)
R9-R18: sc48 (48 sts)
R19: Inv.dec., sc6 x6 (42 sts)
R20: sc42
R21: Inv.dec., sc5 x6 (36 sts)
R22: sc36
R23: Inv.dec., sc4 x6 (30 sts)
R24: sc30
R25: Inv.dec., sc3 x6 (24 sts)
R26: sc24
R27: Inv.dec., sc2 x6 (18 sts)
R28: sc18
Tie off and leave long end to sew the body with the head later.
Stuff the body well.
Legs (x2)
R1: sc6 in magic ring (6 sts)
R2: 2sc in each st all around (12 sts)
R3: 2sc in one st, sc1 x6 (18 sts)
R4: 2sc in ne st, sc2 x6 (24 sts)
R5: sc24 in the outer loop only (24 sts)
R6-R10: sc24
R11: Inv dec., sc2 x6 (18 sts)
R12-R13: sc18
R14: Inv.dec., sc1 x6 (12 sts)
R15-16: sc12
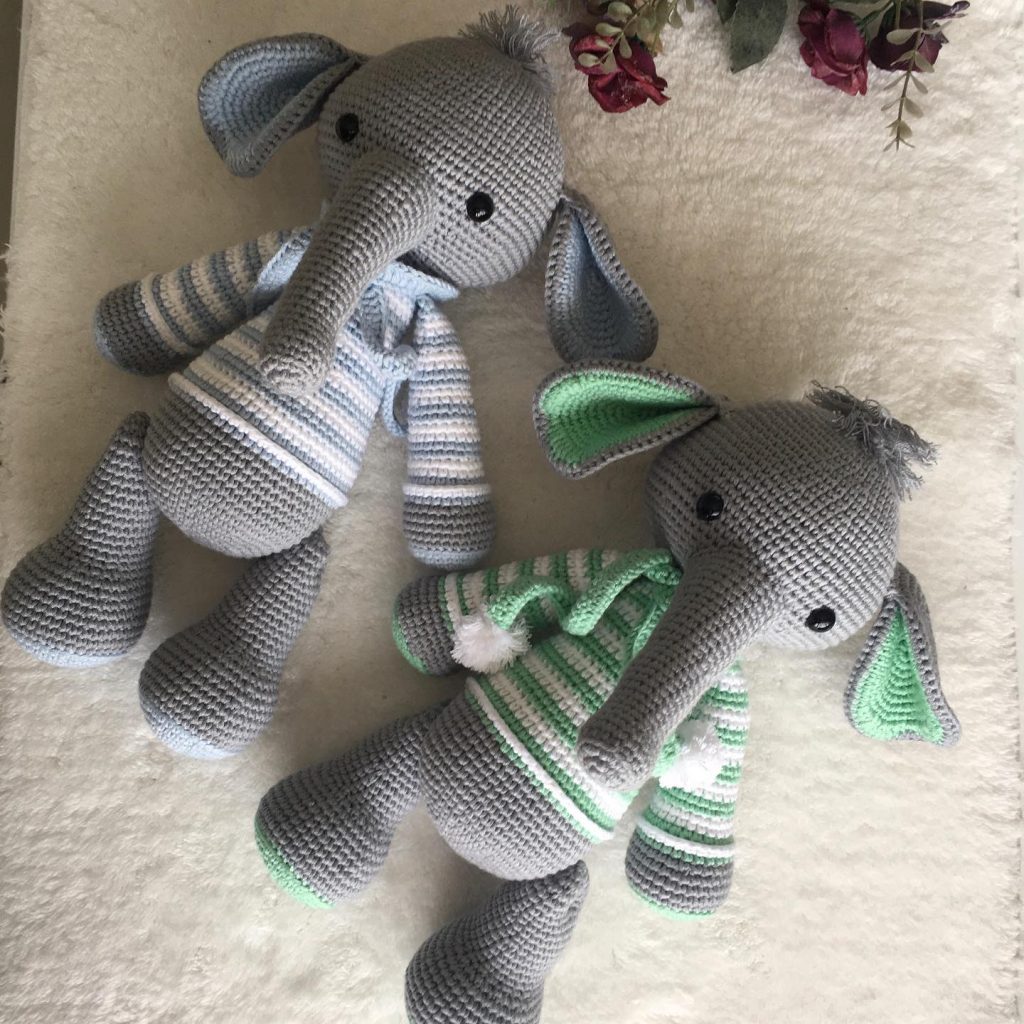
(if you wish to make legs longer as they are made at grey
elephant, add 3 more rows)
Tie off and leave long end for sewing the legs later. Stuff only the
wide, bottom part of the legs with the stuffing.
Arms (x2)
R1: sc6 in magic ring (6 sts)
R2: 2sc in each st all around (12 sts)
R3: 2sc in one st, sc1 x6 (18 sts)
R4: sc18 in the outer loop only
R5-R8: sc18 (for grey elephant arms add one more row)
R9: Inv.dec., sc1 x6 (12 sts)
R10-R15: sc12 (12 sts)
For grey elephant kind of arms, add 4 more rows.
Tie off and leave long end for sewing the arms later.
Stuff only the wide lower part of the arms with the stuffing
Tail
Ch10
Tie off. Make a simple knot at the end. You can add few more
threads in the last loop before fastening to give end of the tail have
few hairs (and sew all as kind of little tassel), but it is optional.
Assembling the parts
Sew body and head first.
You will have 18 stitches to connect at both sides, so it should be
pretty easy and give you nice clean connection. Start sewing,
connecting end stitch of the head (where you tied off ) with end
stitch of the body (where your thread for sewing begins), facing
each other. Before finishing the sewing, add some more stuffing to
the head and/or body so they connect nice and fill all empty
spaces there might be between head and the body.
Now before sewing the rest look at your elephant carefully.
Turn her around looking at the head, until you notice the points
where you started to make decreases. Pick one you like the best,
as this peak will be the one onto which we will sew on the nose.
Safe place the nose, with bobbin pins and sew it on the head. Sew
through both loops of each stitch, for every stitch around nose. It is
little picky work, but be patient so it will look nice later.
Arms you will sew on sides of the body. Take nose as the center
point. Leave 5 stitches between each arm (looking from front side).
Position the arms, safe them with pins and sew them nicely.
Sewing the legs.
Turn the Ella upside down.
Count 7 rows from the middle towards the front of the belly. You
will be sewing the legs between row 7 and 8. Take the bottom ring
as your center point to position the legs evenly. Leave 3 stitches
between legs, safety pin the legs on the body and sew them nicely.
Ears:
Position the ears evenly on the sides of the head. Place the ears
starting R8 downwards, till R13. Sew them nicely, tie off, hide the
ends.
Sew the tail between row 7 and 8 (counting from the starting ring
of the body) centering it at the back side of the body.
Now you Ella is sewed completely.
Eyes:
Sew on the eyes one row above the nose level, leaving 6 stitches
between each eye.
Sew them through only one stitch.
If you would like to use safety, eyes. Place them right after R13,
leaving 6 stitches space between them.
Tusks:
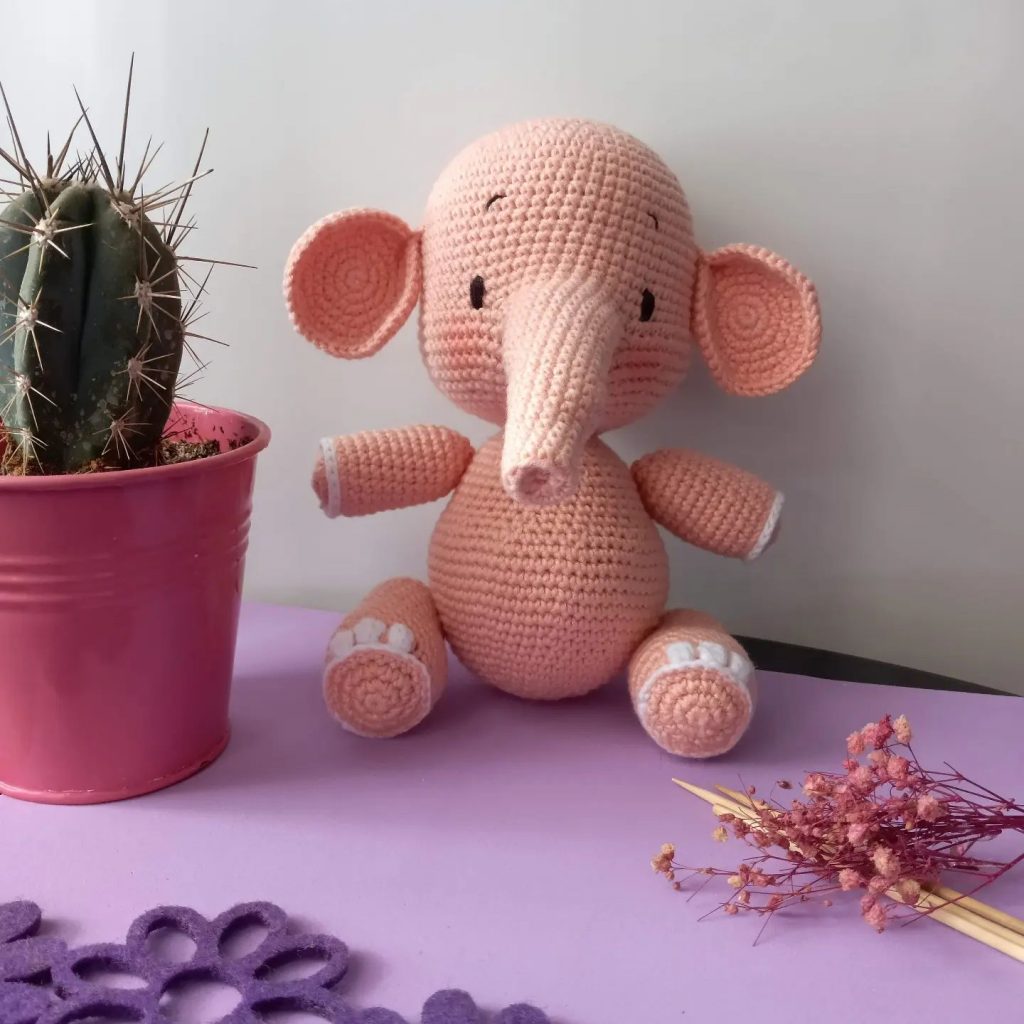
Using white yarn or embroidery thread, sew the tusks on the sides
of the bottom of the trunk. Go through one stitch several times to
create ball kind shape to indicate small growing tusks here.
Mouth:
Two rows below the trunk, using black yarn or embroidery thread,
embroider the mouth, stitching through three vertical stitches. Then
curve them with diagonal stitch both sides, to make it smiley effect.
Feet/Arms toenails:
I made three on each arm and leg (but you can make it up to 5 as
it is that many elephant can have ☺
Using white yarn or embroidery thread, sew the toenails same way
as you did with the tusks, leaving 2 stitches space between each.
Start the stitch at the bottom of the leg or arm and sew over the
edge ending in the first stitch above (the edge). Tie off at the end
and hide thread inside the arm or leg.
At the end if you wish to make hair or two at the top of Ella’s head.
Cut two or three strings of yarn, 5-6 cm long. Using crochet hook
(try some smaller size so you don’t make big gap on the stitch) pull
it through one stitch at top of the head, hook the yarn folded at
half, pull out through the stitch. Pull just enough to create a small
loop you will use to yarn over and pull the rest of the strings
through. Make two or three hairs like that, cut them to the length
you find likable.
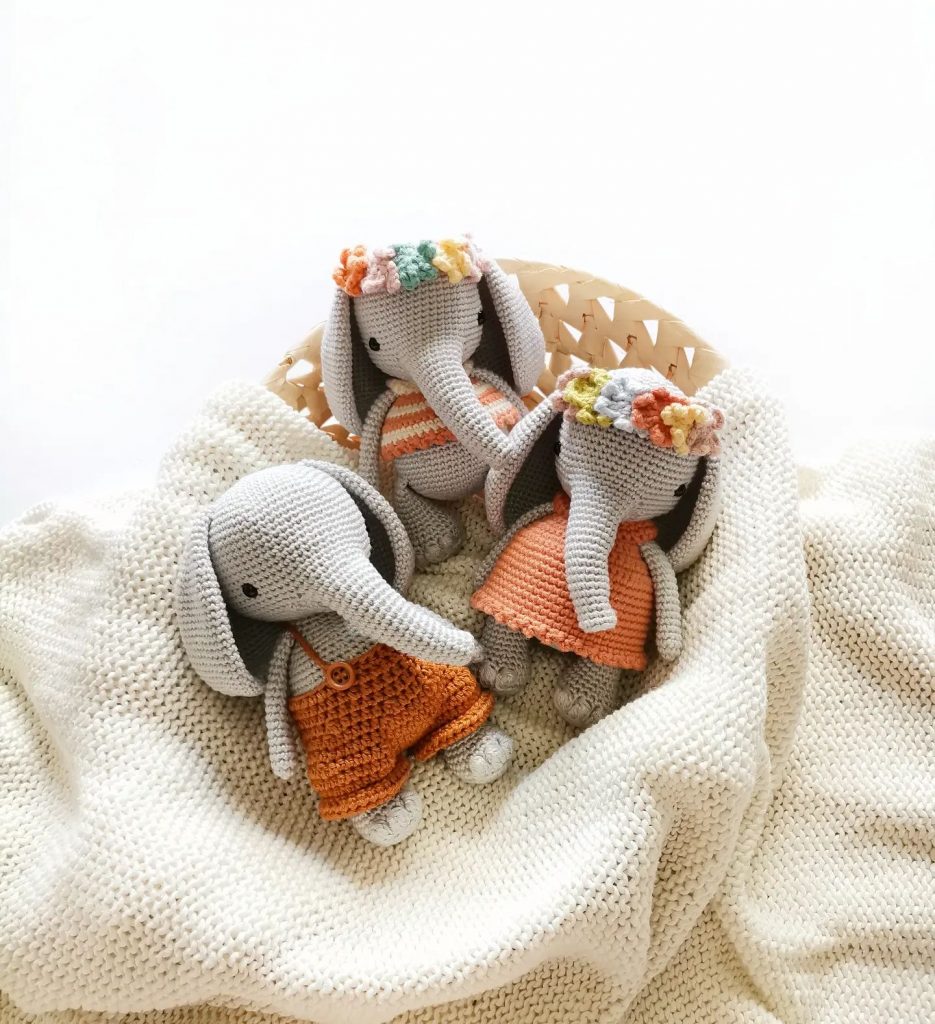
More Amigurumi Elephant İdeas
